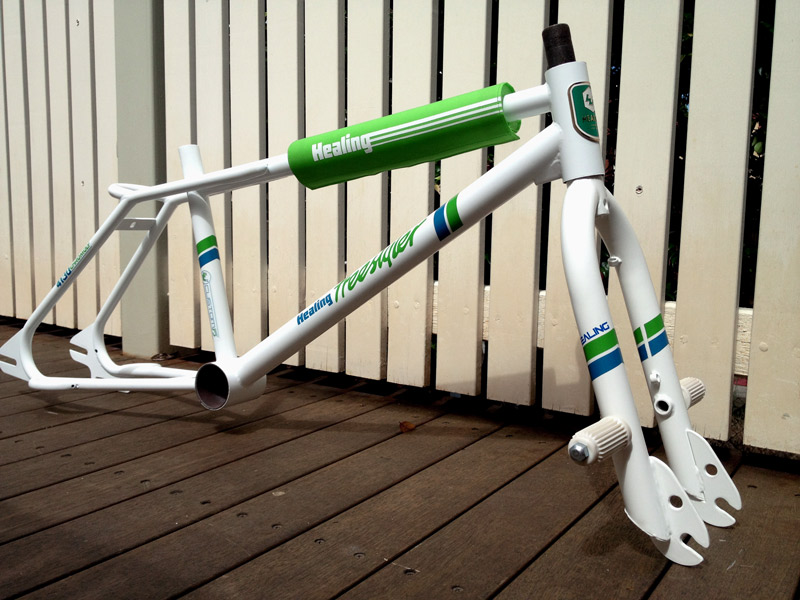
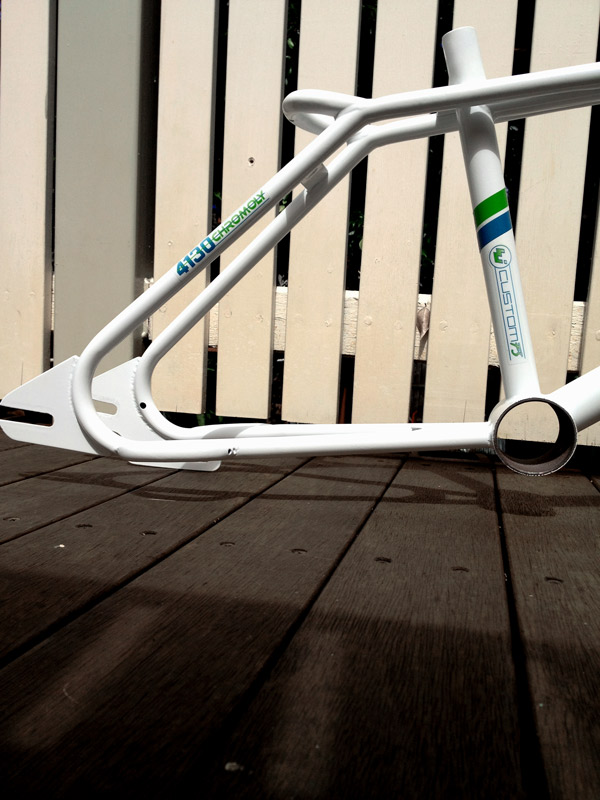
1986 HEALING FREESTYLER
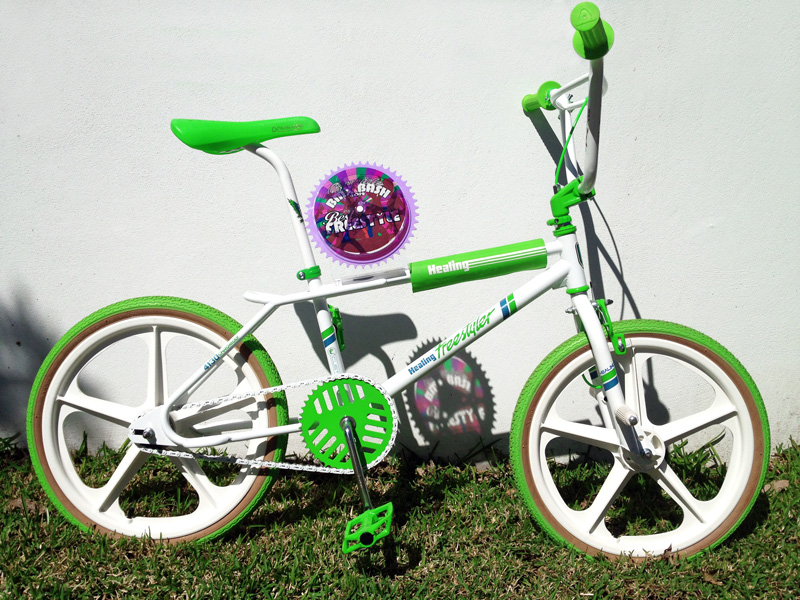
My childhood best friend. This is the bike I dreamt about back in 2011, the reason for my return to BMX.
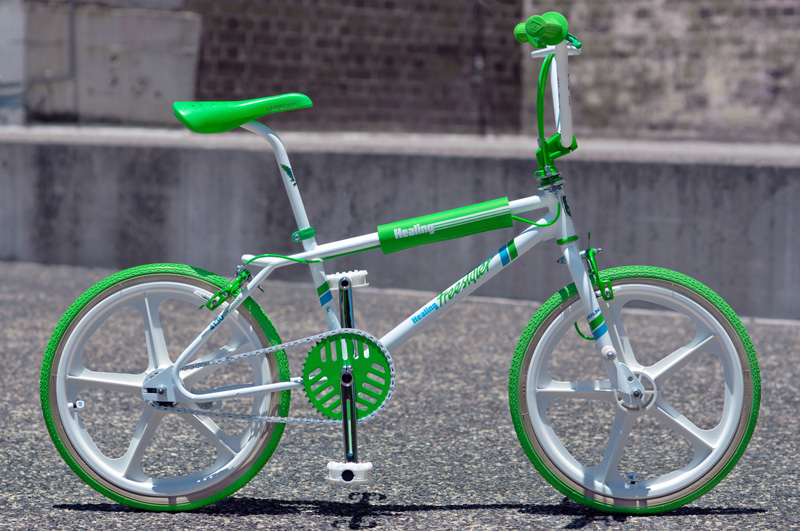
Healing was the New Zealand sister company to Australia’s Malvern Star. Both companies released their own branded versions of the SuperMax, the bike made famous by Nicole Kidman’s character in BMX Bandits (1983).
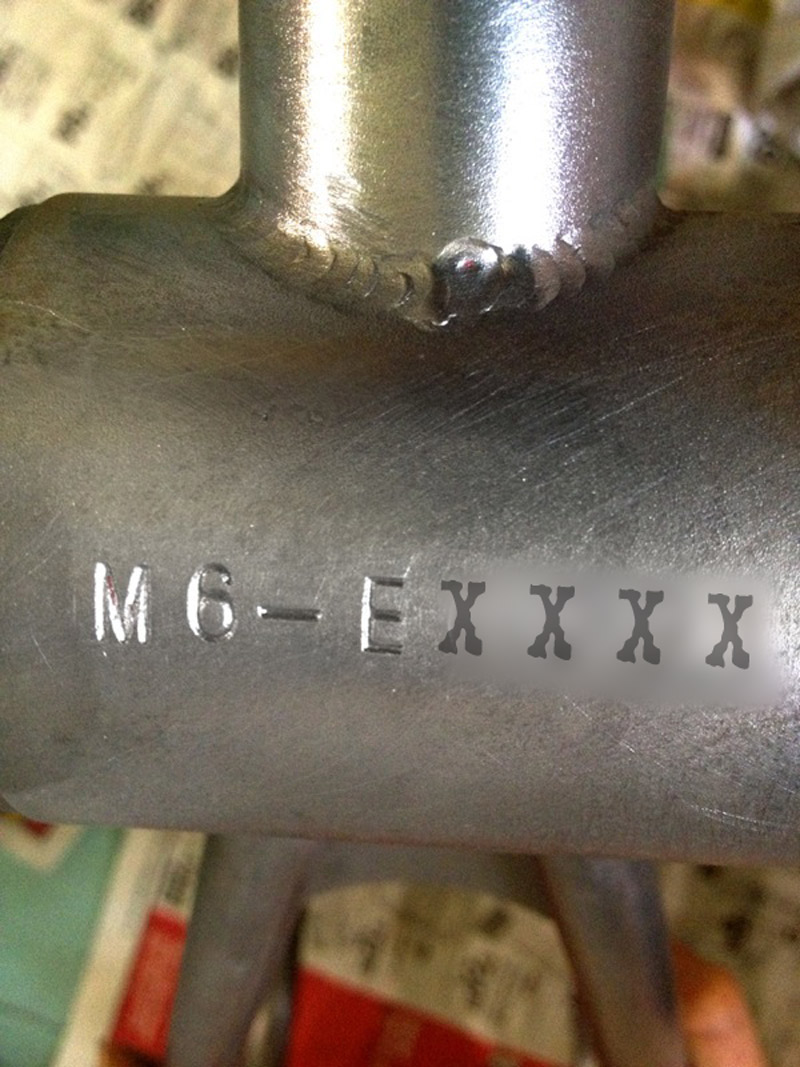
By 1986 Healing had stopped manufacturing its own frames, and like many other bike companies world wide (incl. major BMX players Hutch and Kuwahara), had shifted production to Taiwan. Sporting an M6-XXXXX serial number, the full chromoly ’86 Healing Freestyler frame was manufactured in the same Merida factory in Taiwan as the identical Hutch Wind Styler frame – note the classic Hutch fork dropouts – the notable difference with the Healing frame being the addition of a kicktail loop behind the seat, and the screw in fork pegs. This same kicktail version of the Hutch Wind Styler frame was also released as the Raleigh Freestyle in Canada, but with different forks and without the freestyle ‘H’ handlebars that came with the Healing.
Scroll down below the photos of the finished build to see a comprehensive build diary with lots of progress pics, and many more photos of the completed bike. For info on why this particular build means so much to me check out the About page.
PARTS LIST
Frame & Forks: 1986 Healing Freestyler
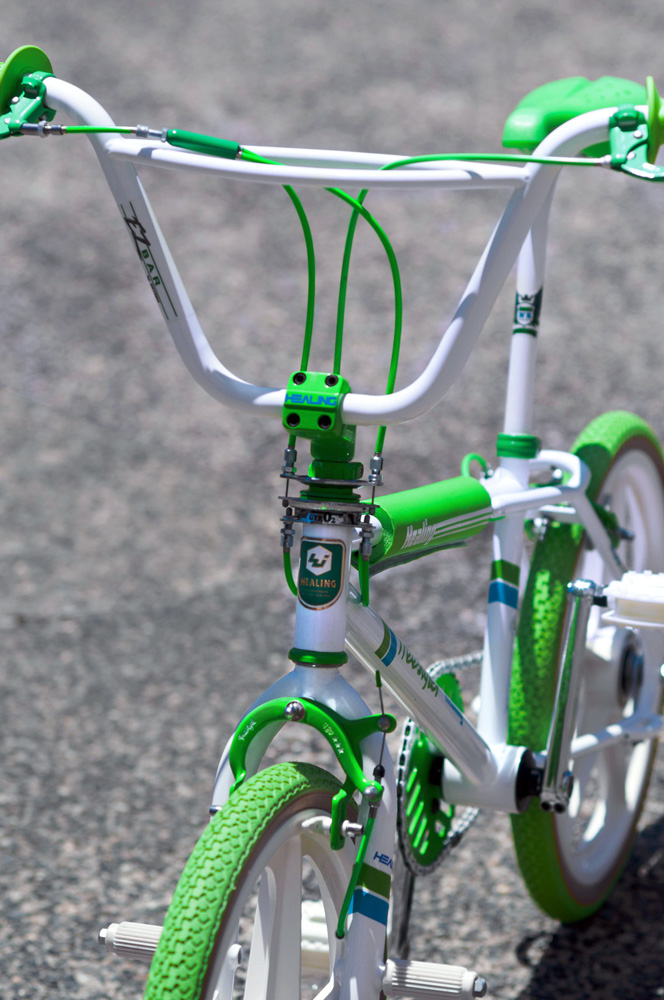
Bars: Skyway EZ Bars MK1
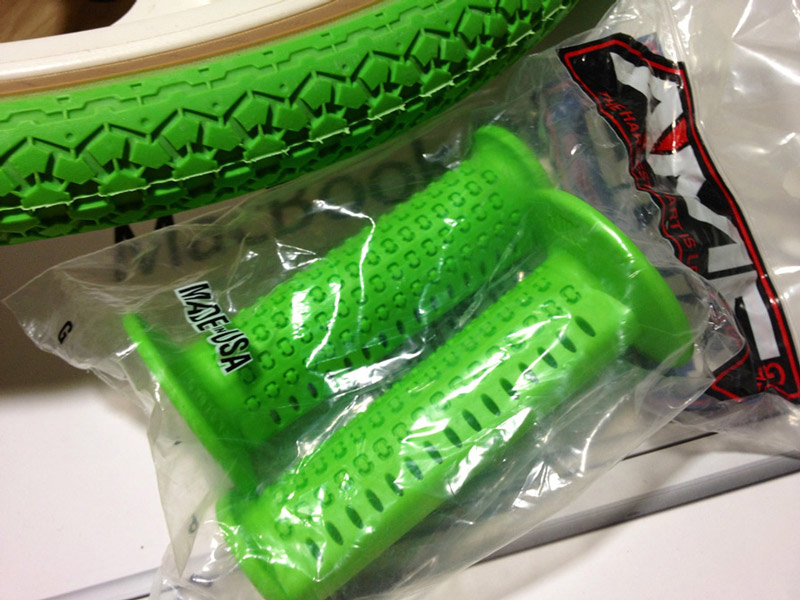
Grips: A’ME CAM grips
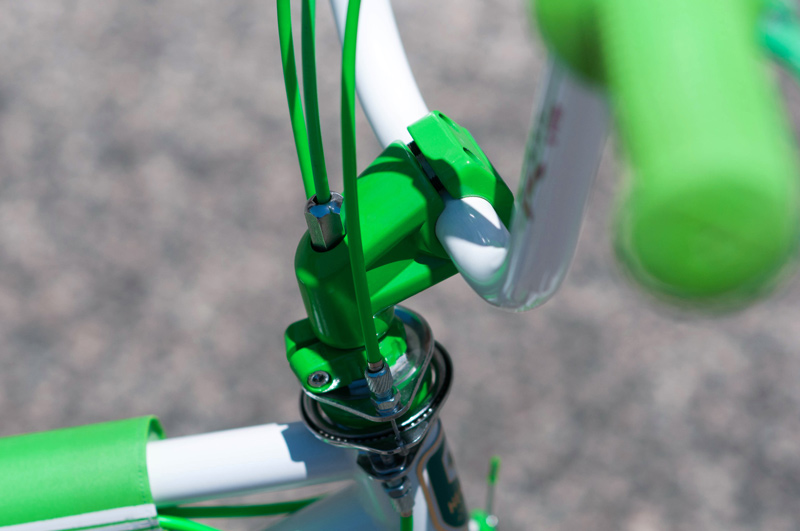
Stem: Forklifter w Pots Mod bolt (NOS before refinishing)
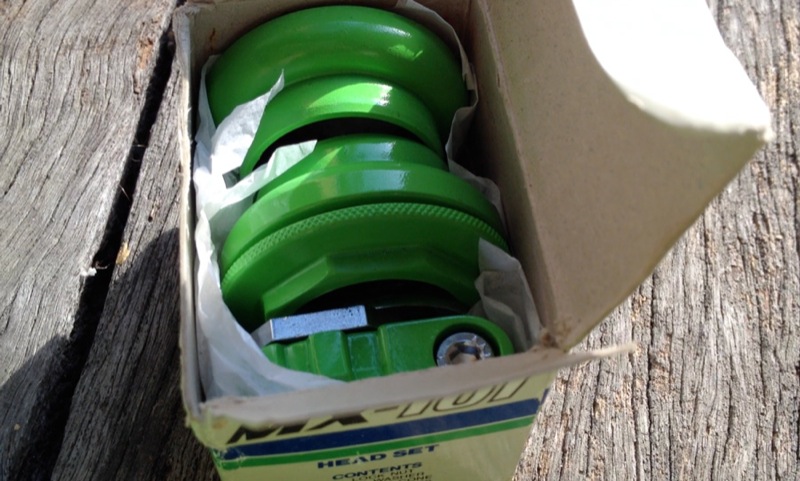
Headset: Tioga MX101 (NOS before refinishing)
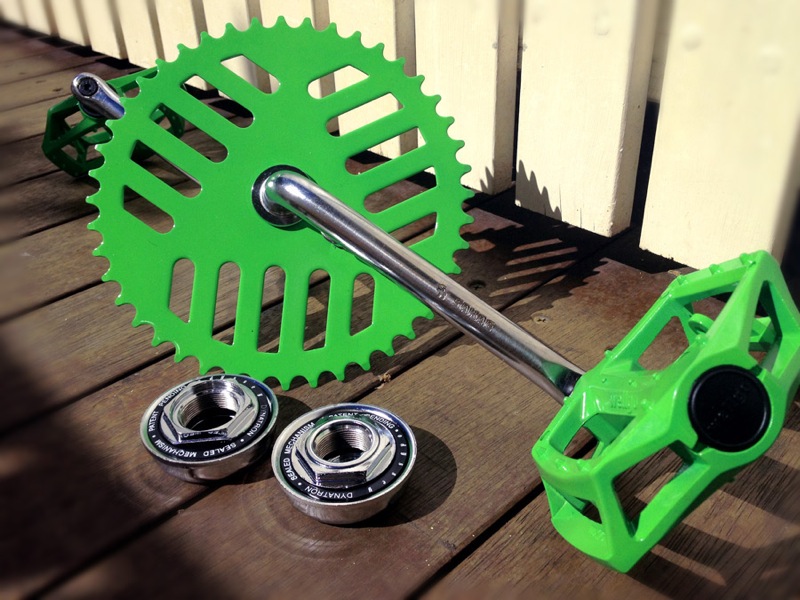
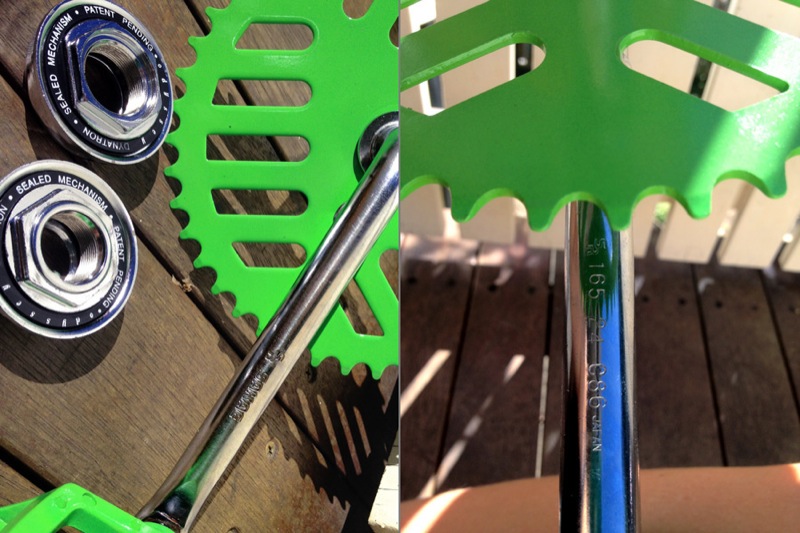
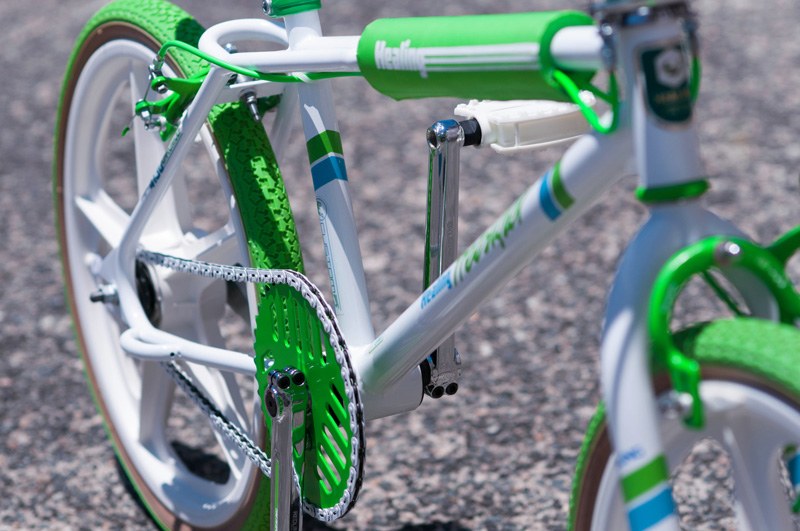
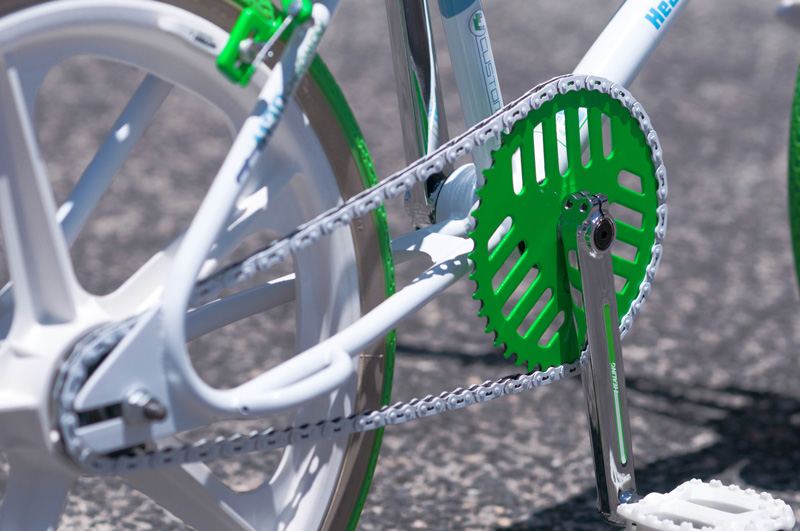
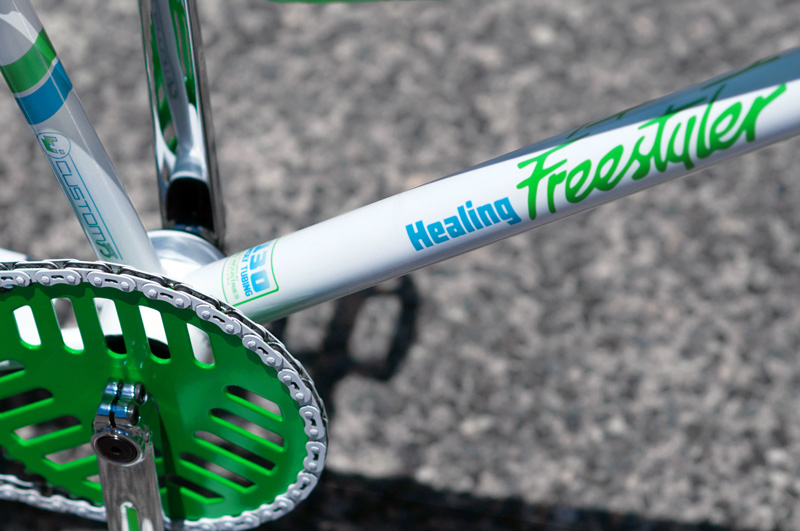
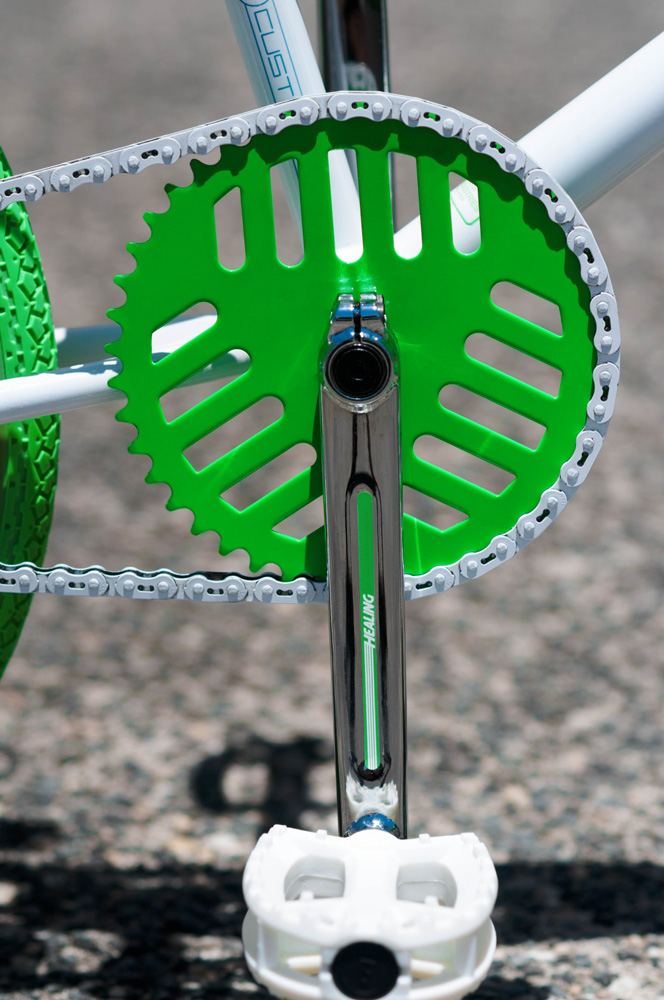
Cranks and BB: Redline Flight 175mm (new, double pinch, with custom Healing decals)
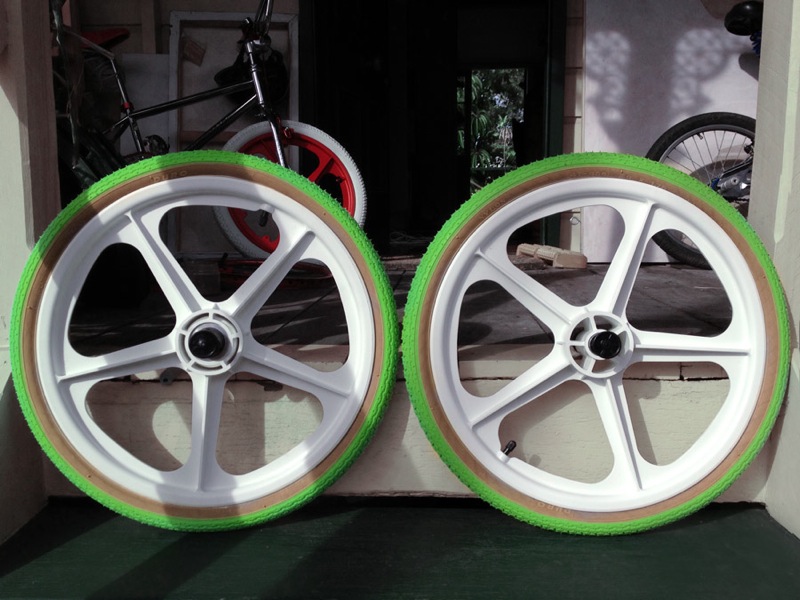
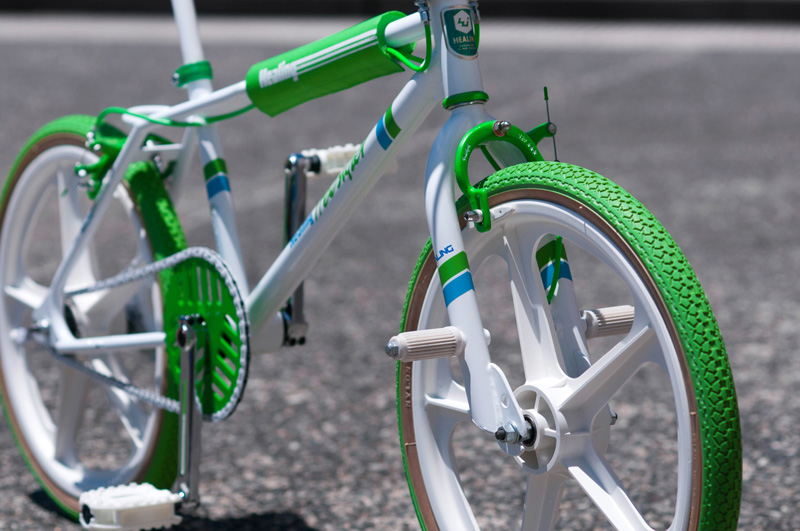
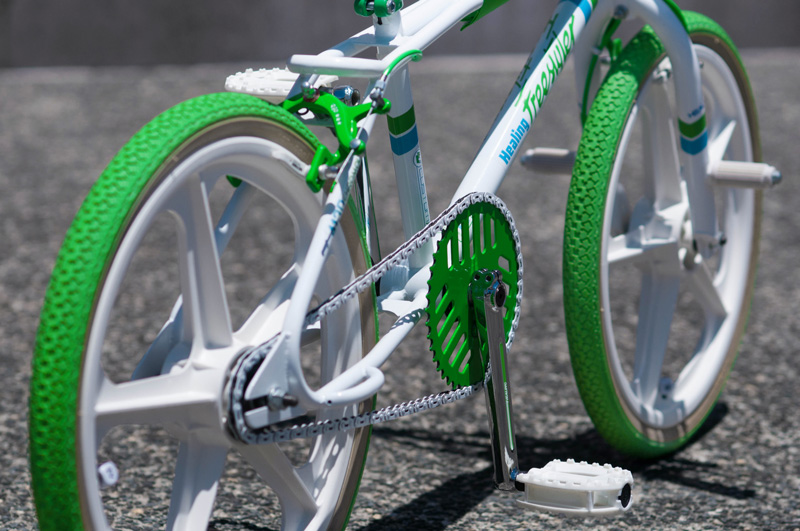
Wheelset: Skyway Tuff II (new, sealed Bearing)
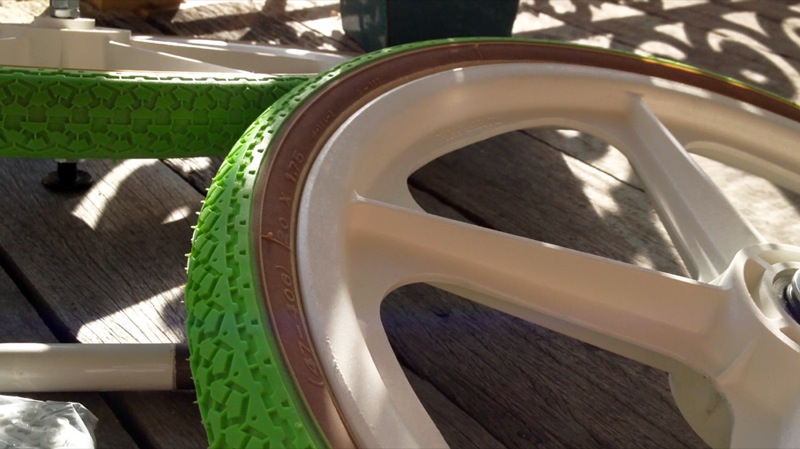
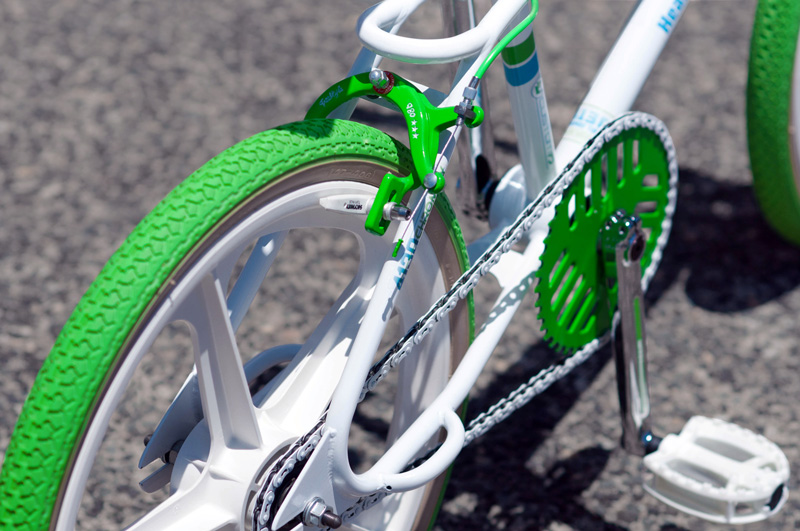
Tyres: Duro Freestyle skinwall 1.75
Sprocket: Tri-wing (GT Performer copy) 44t
Chain: YBN MK747 Freestyle 1/8″
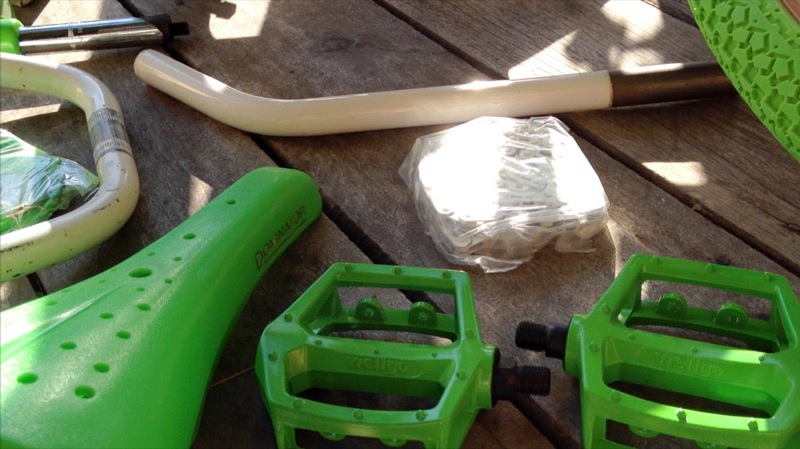
Pedals: VP-767
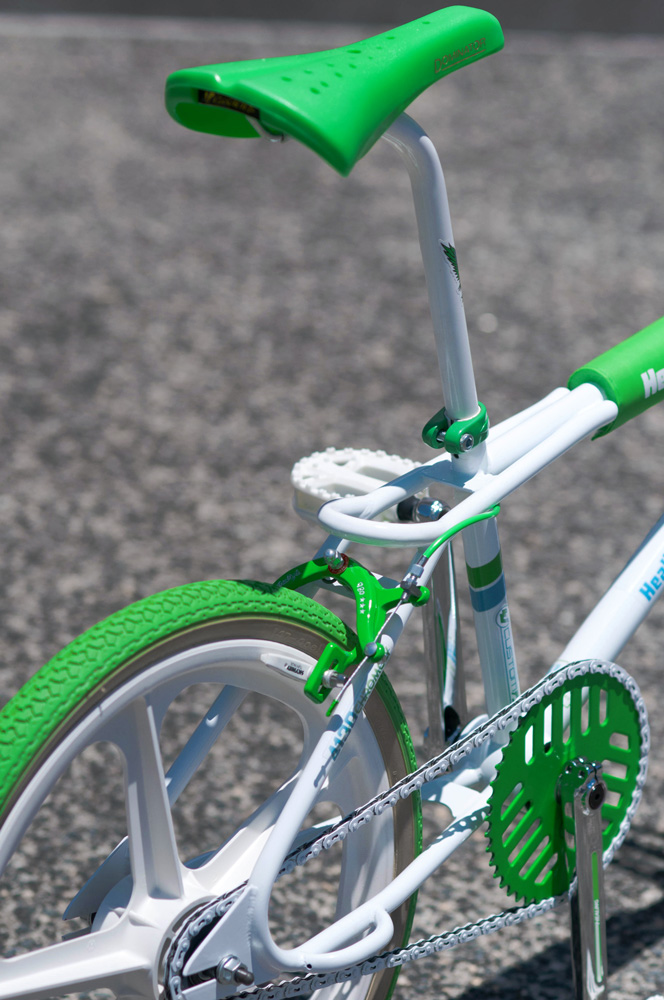
Seat: NOS Viscount Dominator
Seat post: 80s Madison Layback (21mm)
Seat Post clamp: Suntour copy
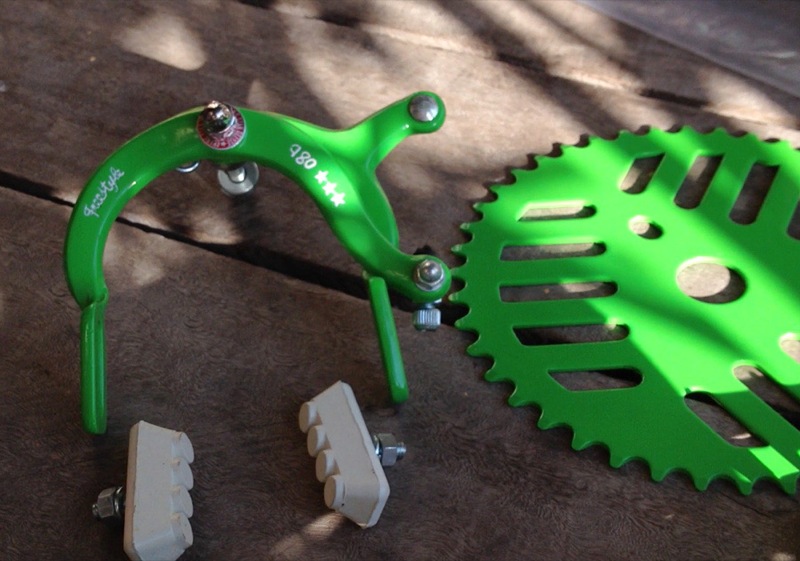
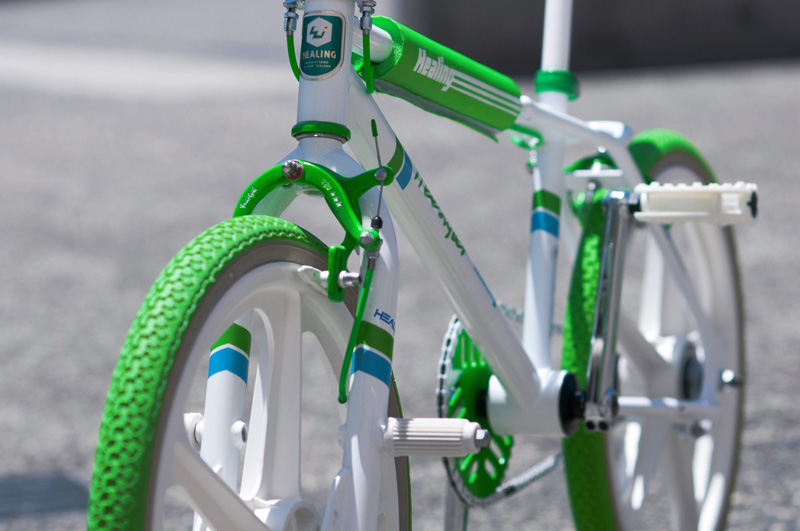
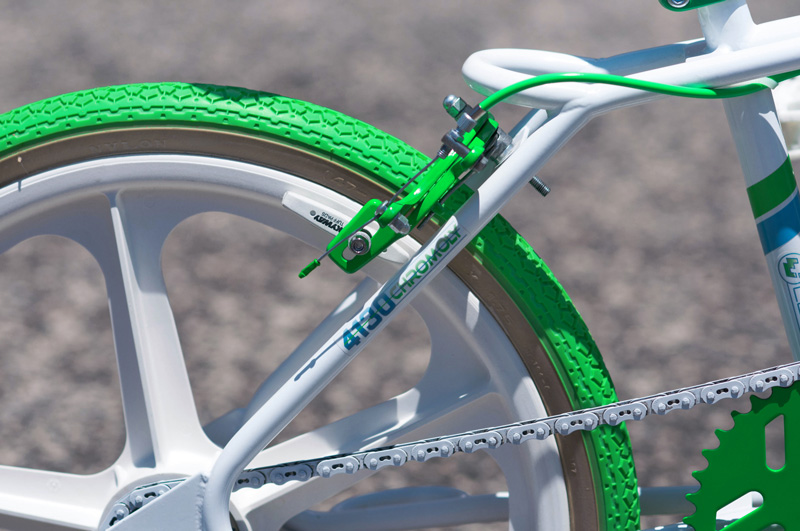
Brake calipers: Chang Star 980 Freestyler, Potts’ Mod front setup, with Skyway Tuff pads
Brake Levers: NOS Dia Compe Tech 4
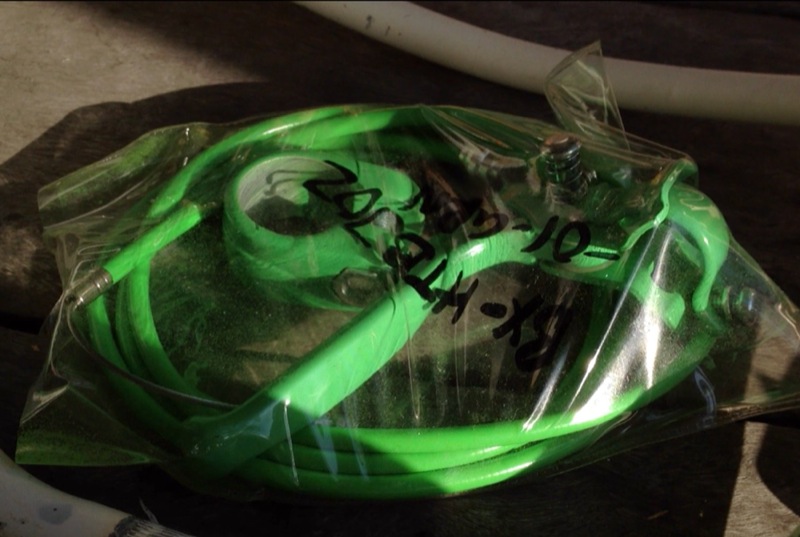
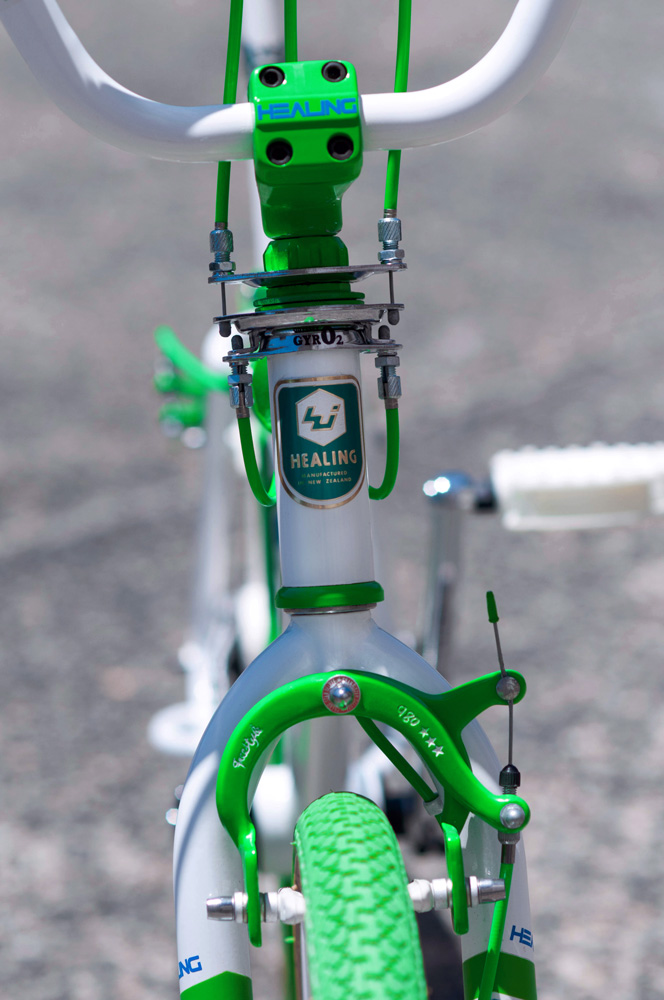
Detangler: Odyssey Gyro 2
Front Brake Cable: Hi-Tech Slick Cable
Rear Brake Cable: Savage Gyro cables (extra long upper cable to fit the Skyway Bars)
Pegs: NOS Healing Freestyler / Hutch Excel screw in pegs
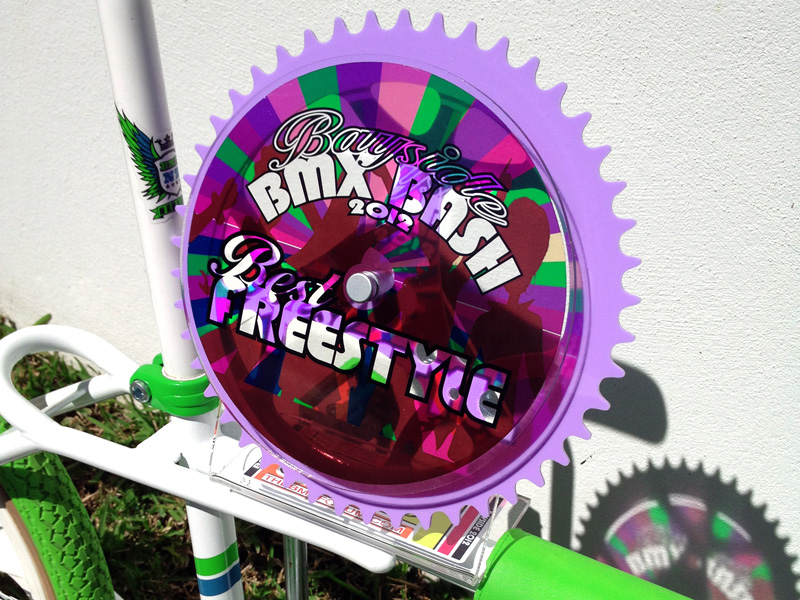
This bike took out March Bike of the Month on OzBMX.com.au (see the 2012 winners’ post is HERE) and in May won the Freestyle trophy at the Bayside Bash 2012 old school BMX show’n’shine. The finished build is listed on BMXMuseum.com HERE and you can check out a feature article about the build at CycleEXIF.com. Andy White from Fyxomatosis.com recently ranked my Healing Freestyler as ‘Silver’ on his podium of personal choice at the 2012 Pushies Galore bike show. Check out the Pushies article on Fyxo HERE (Andy’s photo of me with the Healing is about halfway down the page).
Winner of the Freestyle trophy at the Bayside Bash Show’n’Shine 2012
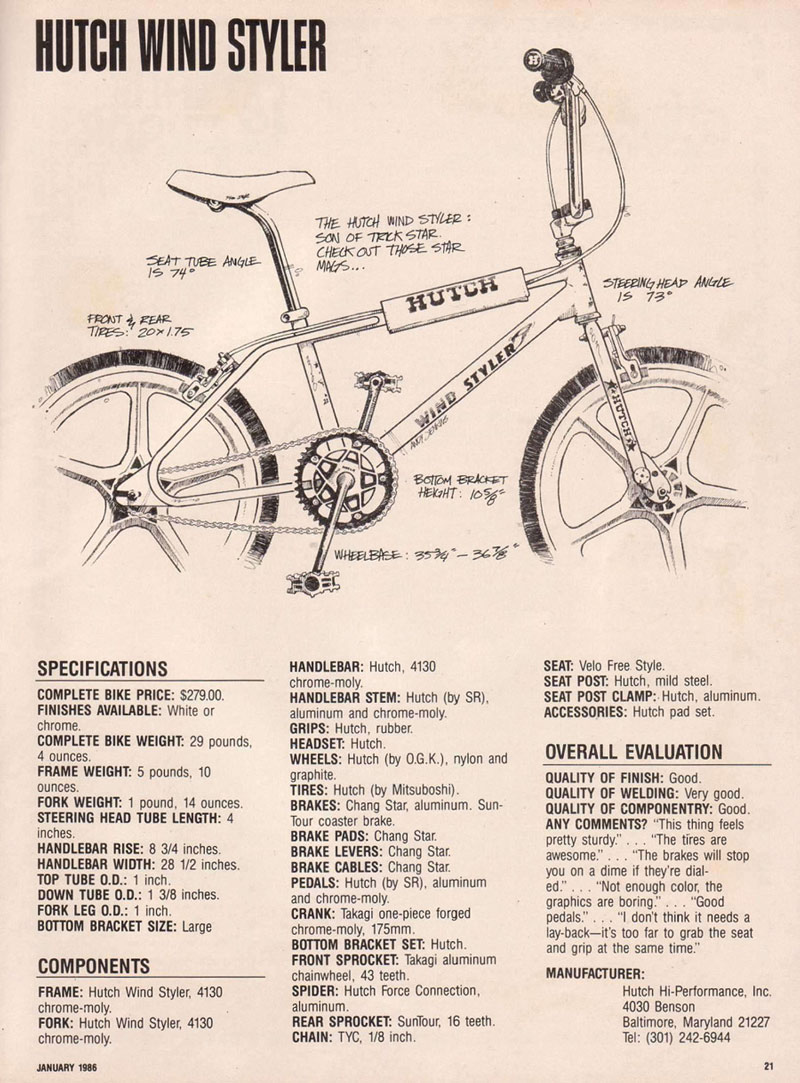
The 1986 Hutch Wind Styler, ‘cousin’ to the Healing Freestyler
Below is a spec sheet from Freestylin’ magazine’s review of the 1986 Hutch Wind Styler, which provides some really useful manufacturer frame measurements and angles for the Healing frame:
The full scanned review by Andy Jenkins and Woody Itson from the January 1986 issue of Freesstylin’ magazine review can be downloaded HERE. It’s interesting to hear what they say about the quality of the Hutch Taiwanese made frames, the great looking tig welds on the Healing certainly match what’s been said in the review.
WHERE IT ALL BEGAN…
(More photos of the finished build at the bottom of the page)
Below is a photo of me clowning around on my original Healing Freestyler, a Christmas gift in 1986, affectionately nicknamed ‘Domi’ because of the Dominator seat (to an 8yr old it makes perfect sense that a bike would have its first name embossed in gold on its seat). Looking at the chrome forks, the pic must have been taken after ’the incident’, which means I’d probably just turned 9. My Dad, in haste on his way out, had reversed over my bike (lying in the middle of the driveway where I intelligently left it) in his old Holden Belmont and irrevocably bent the OG forks with the threaded peg holes.
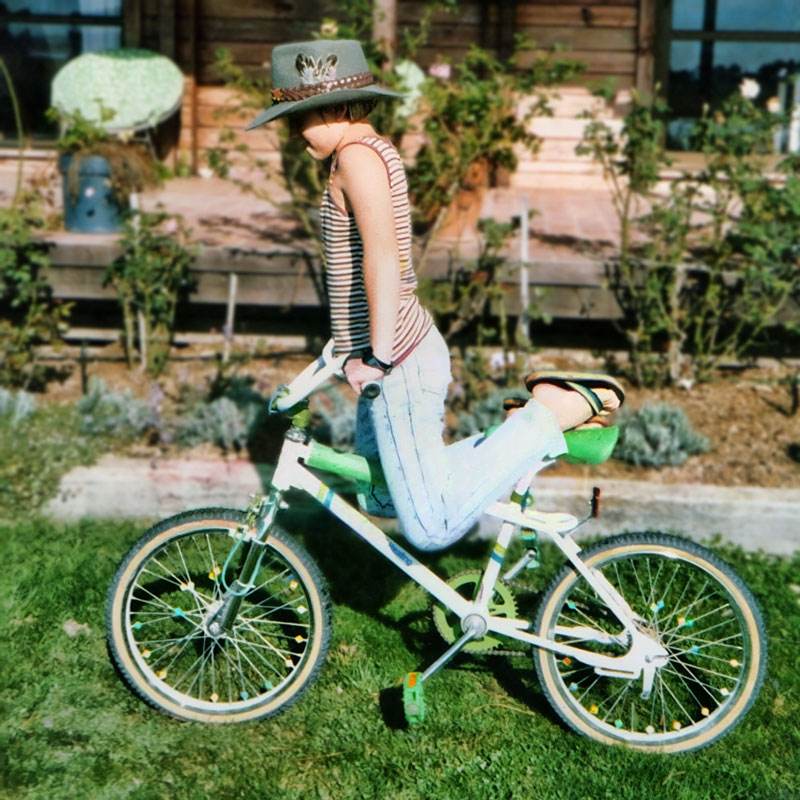
And so we fast forward a quarter of a century…
BUILD DIARY
In mid 2011 I started to dream about a Healing Freestyler ‘re-incarnation’ build, a tribute to my OG bike but with some custom additions, some of my favourite freestyle parts from classics like the Streetbeat and the Performer.
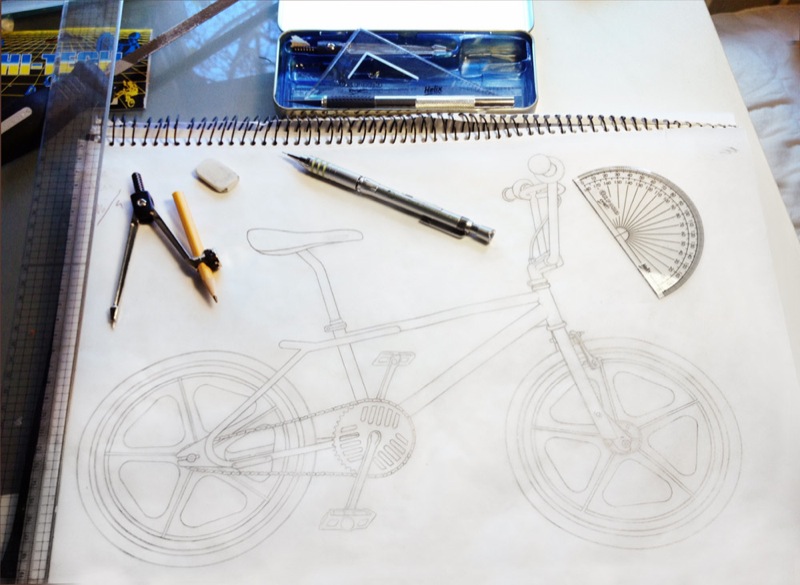
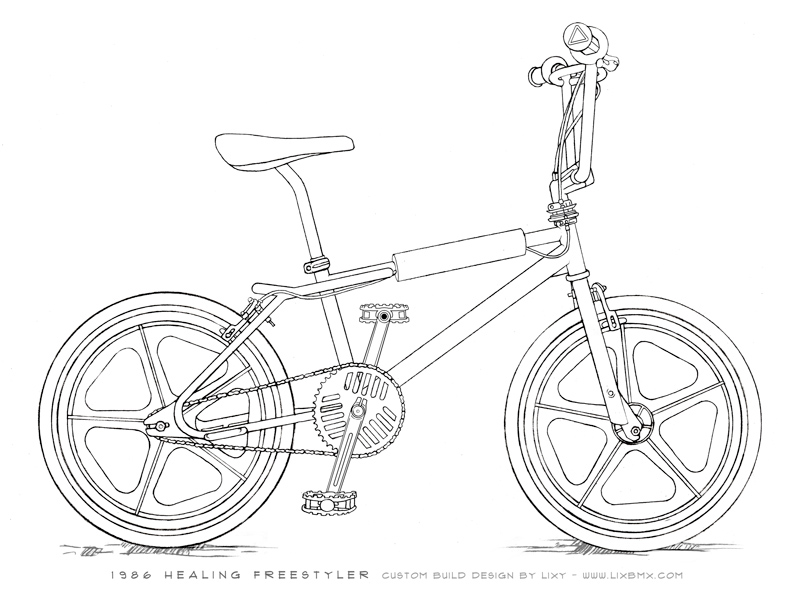
I started to sketch….
…scanned in the sketch…
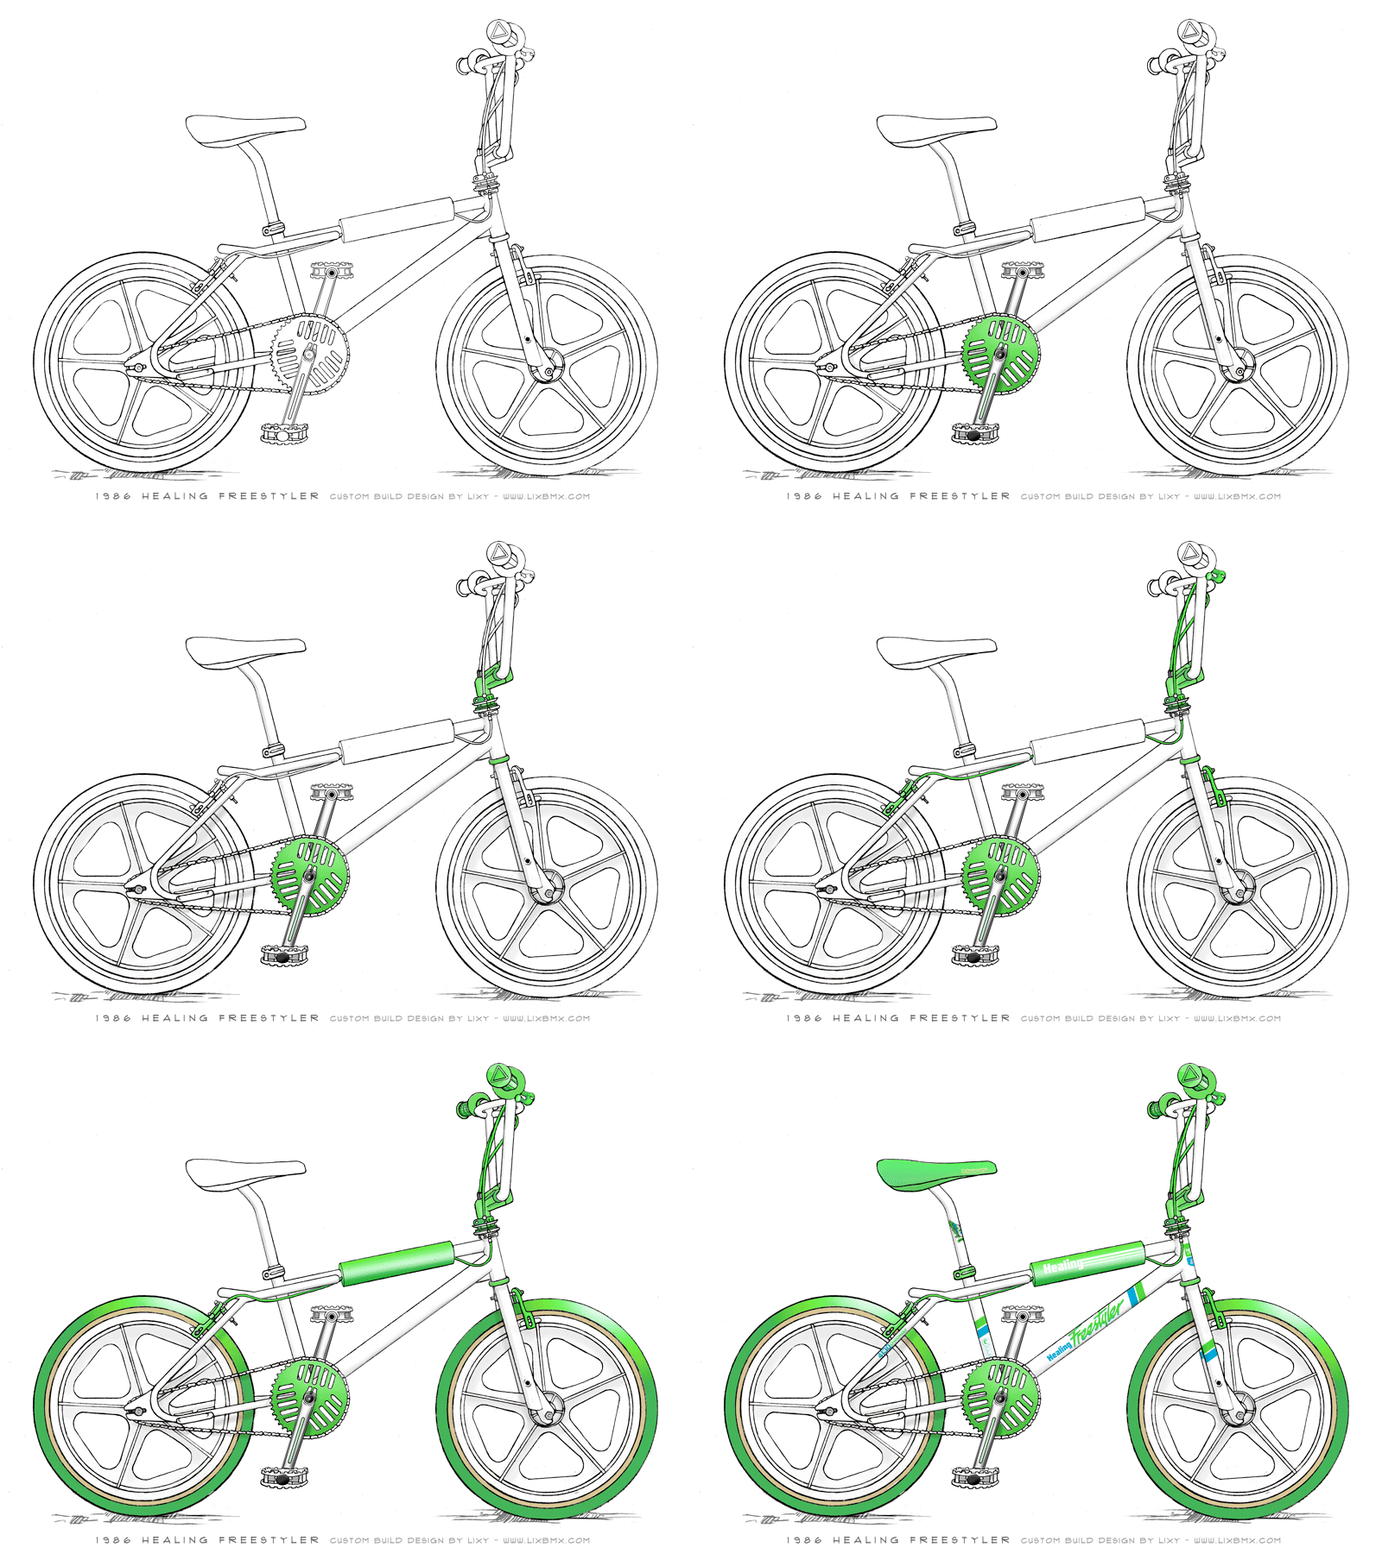
…which then made it really easy to mess around with colour ideas so that I could settle on on this simple yet minty fresh combo:
At this point I had no idea how I was going to get hold of frame and forks. Only a limited number were produced BITD (less than 100 as legend has it) and I knew of less than 10 still in existence, in NZ), I decided to work on the good ol’ Field of Dreams theory… ‘if you build it, they will come.’
It’s suprising how many things you can ‘build’ for a build without actually…. building it. I started by putting together an initial custom parts list:
(OG spec in blue, custom additions in green)
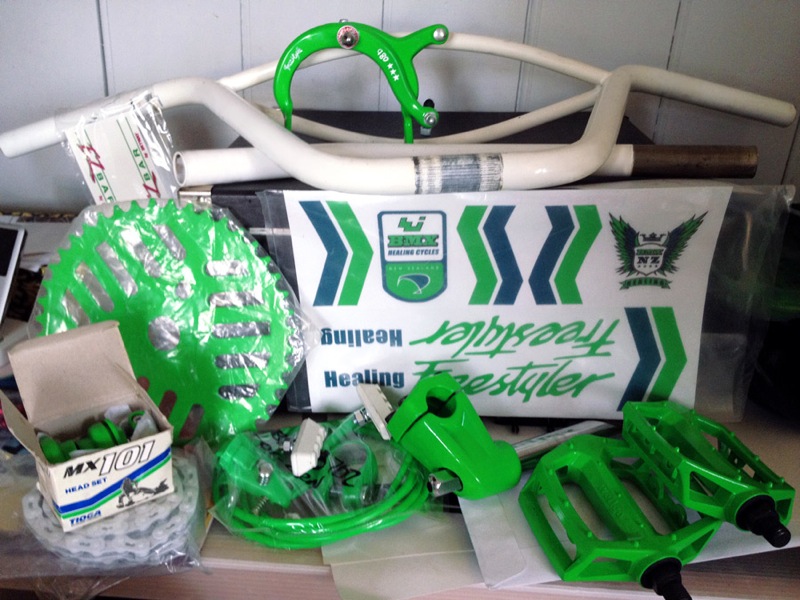
Frame & forks – 1986 Healing Freestyler, powdered white
Bars – Skyway EZ Bars Gen 1, powdered white
Grips – AME green CAM grips or green/white F1 style
Stem – Forklifter with Potts’ Mod, green
Headset – Tioga MX101, green
Bottom Bracket – Odyssey Dynatron 24tpi
Wheelset – Sealed Bearing Skyway Tuff II with coaster, white
Tyres – Duro Freestyle skinwalls 20×1.75, green
Sprocket – Tri-Wing (Performer style) 44t, green
Cranks – SR Sakae or Sugino OPC, 165mm, chrome
Chain – YBN Freestyle or KMC nono-lite 1/8″, white
Pedals – Wellgo Alloy 1/2″, DX style, green
Seat – Viscount Dominator, green **integral to the build
Seat post – CrMo layback 22.2, powdered white
Seat Post clamp – Suntour copy, green
Front Brake – Chang Star 980 Freestyler, Potts’ mod setup
Front Brake Lever – Dia Compe Tech 6, green
Brake Cable – Hi-Tech, green
Pegs – OG Healing threaded fork pegs (white, lemon squeezer design)
….and moved on to drawing up artwork for a decal set, combining my memory of the colours from my OG bike with specs and measurements garnered from pics of a survivor on the Museum… (with an additional couple of Lixy-style custom stickers for luck, you gotta have wings!)
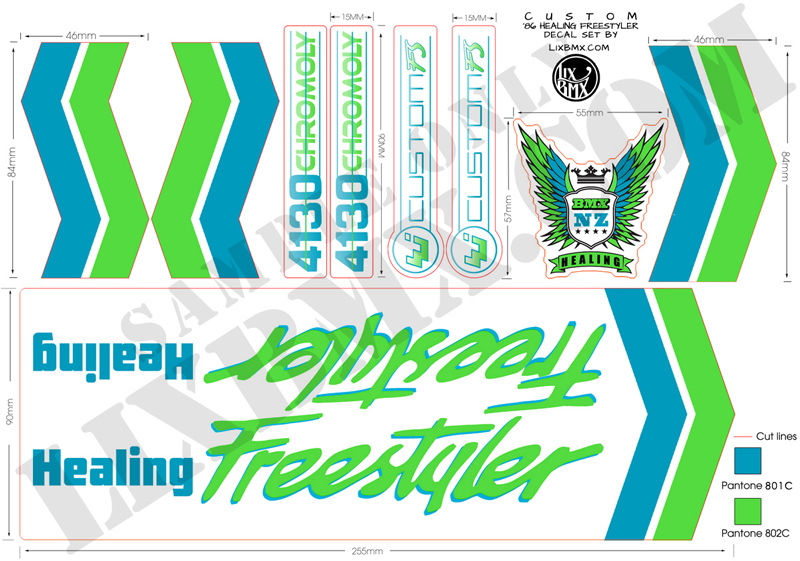
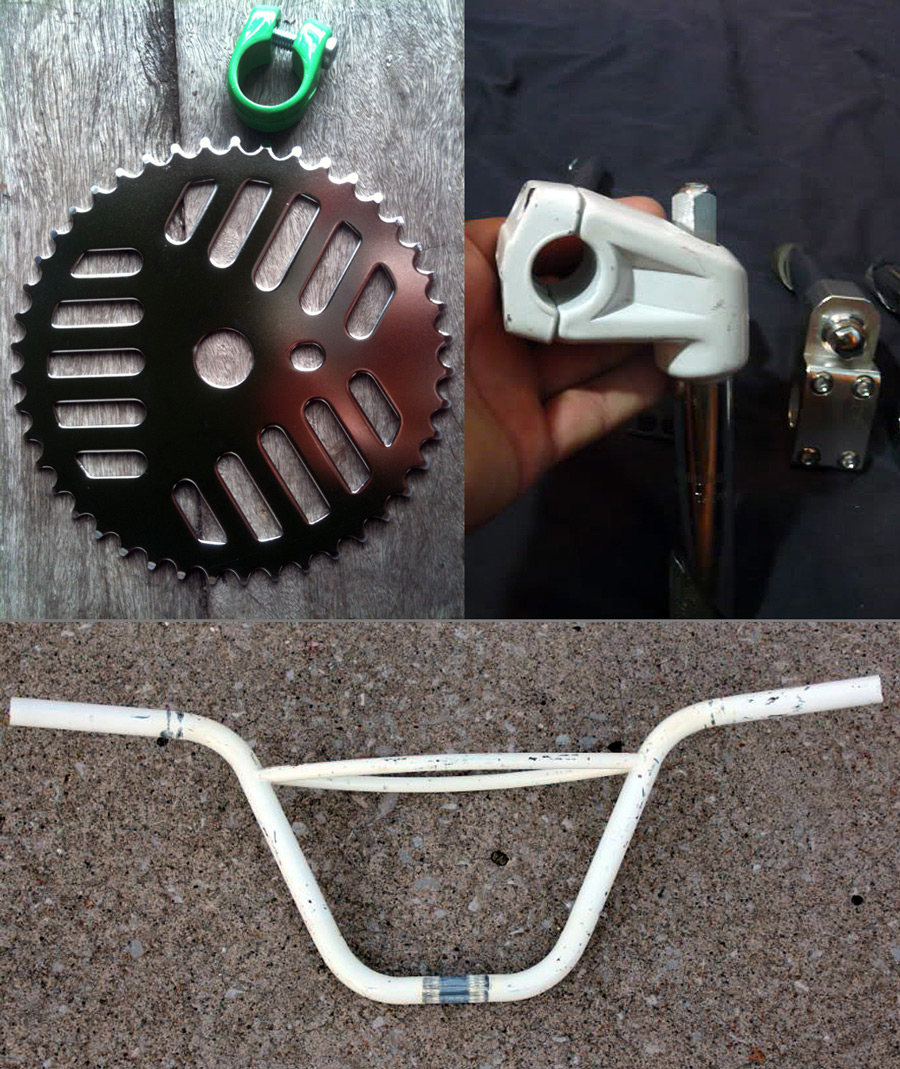
…then I turned my hand to parts acquisition, scouring dark corners of the interwebz, making my way through the list over the next 6 months. I found some killer bargains, a lot of NOS going for less because of shelf wear, which didn’t bother me as I was going to be re-finishing most of them in a custom green anyway (except for the Skyway Gen 1 EZ Bars which would be powdered white with f/f).
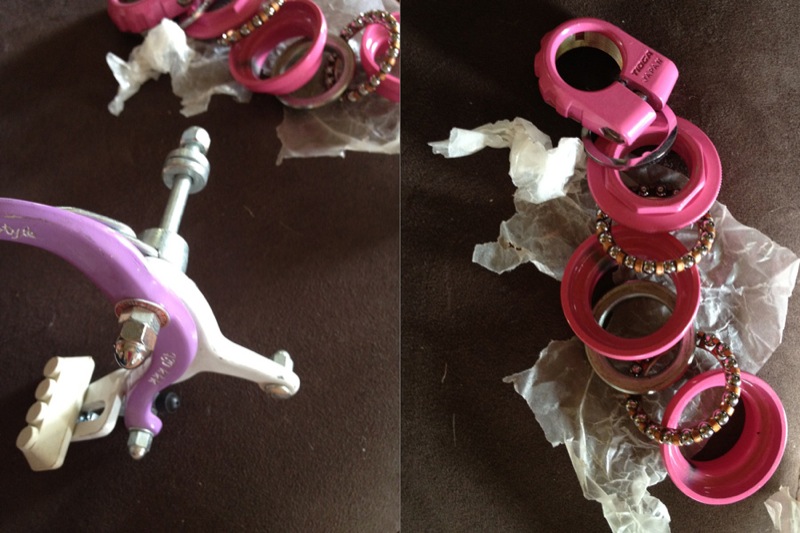
The MX101 headset is one of the coolest little mouthfuls of old-school awesomeness that I’ve ever held in my hands.
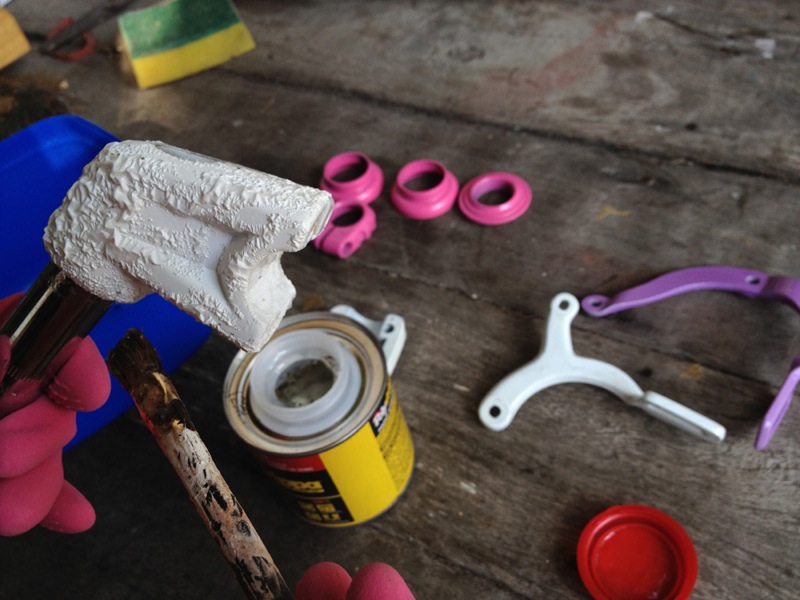
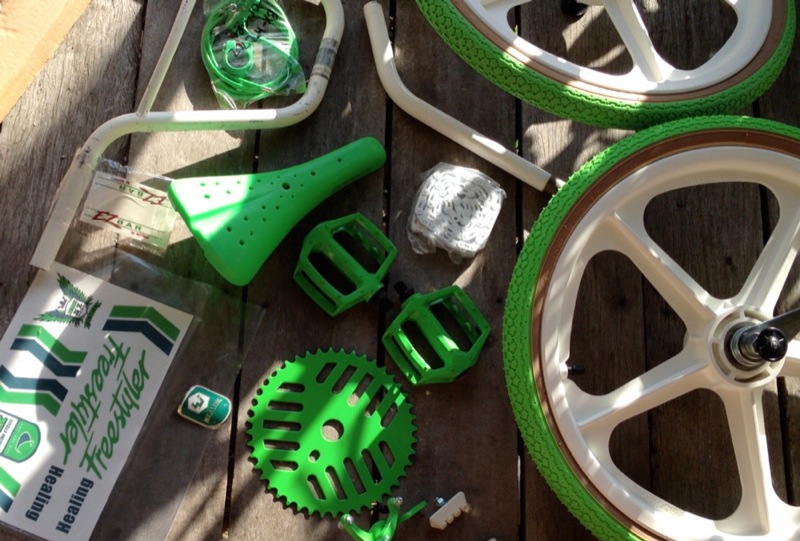
After a few months of mergers and acquisitions I was knee deep in my ‘freestyle stockpile’. Time to begin stripping and refinishing the stem, headset, callipers, chainwheel and pedals…
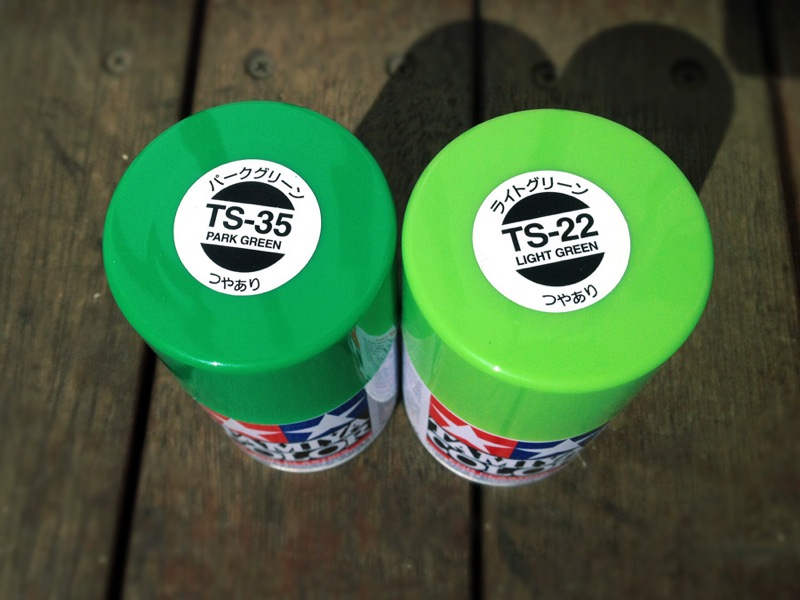
…using a custom green I created by layering four coats of the two green lacquers below (park green, light green, park green, light green) which made for a really cool depth of hue in the resulting Haro-esque green.
After etch priming, 4 coats of colour, 3 coats of crystal-clear top coat, curing at low heat in the oven and then 4months to rest and harden I couldn’t be happier with the refinished parts….
Finding the super minty green Dominator seat from another awesome OzBMXer was like WOAH…. SHIT JUST GOT REAL! There it is, just like the original. A pivotal point in the momentum of the build.
I fondly remember running my fingers over the indented ‘freestyle’ lettering on the Chang Star 980 front calliper as a kid…
It’s easy being green, if you’re an MX101…
’86 stamped SR Sakae cranks!! Perfect. (Thanks to another awesome OzBMXer!)
The seat post clamp and Dia Compe Tech 6 stayed OG green, no refinishing necessary..
AME CAM grips, colour matched with the Duros…
New pristine white sealed bearing Skyway Tuff IIs with coaster, new re-issue Duro green freestyle skinwalls… so minty fresh I’m pretty sure you get fresh breath just from looking at this wheelset…
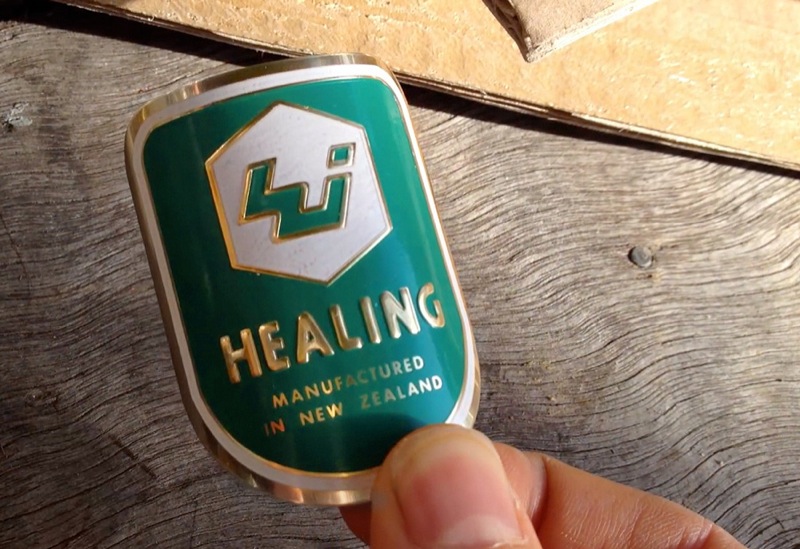
I managed to get hold of two original Healing head tube badges from a dude in NZ. One is red/black/white and is identical to the one on my OG Freestyler. But I’m choosing to go with this one, it’s waaaaay stylier with the embossing and the aqua/white goes perfectly with the build colours.
And then….
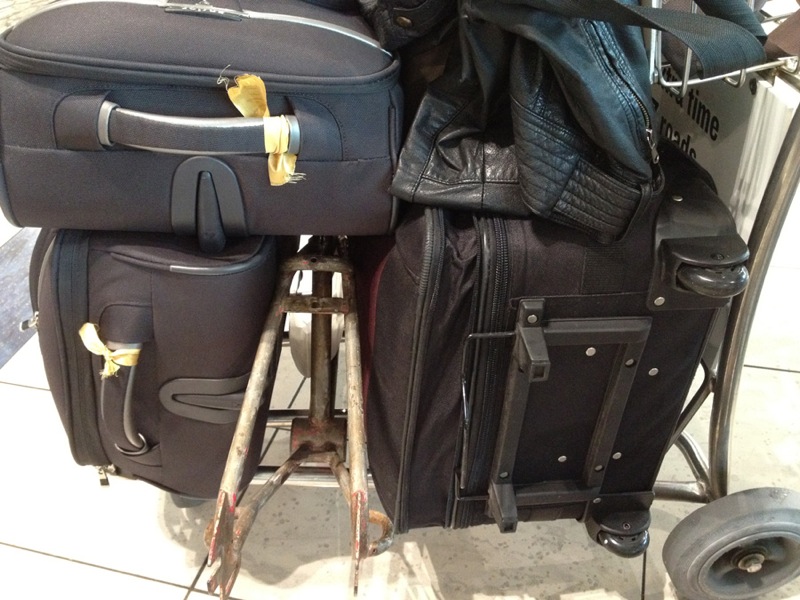
I FOUND IT!! Well, actually, it found me really. After about 6 months of searching, a cool cat from Wellington contacted me having heard I was on the look out for a Freestyler F/F. He had an ’86 frame he’d been rolling as a low-rider and had the OG forks too. Needless to say, I was all over it. Signed, sealed… and I arranged to come to Wellington to pick it up personally.
Score one for the Field of Dreams theory! And one for airport luggage trolleys….
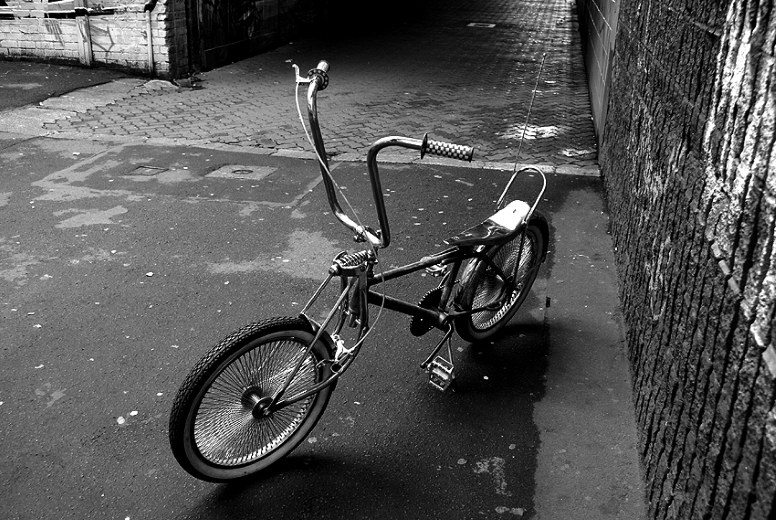
Here’s the frame in its previous incarnation as a lowrider:
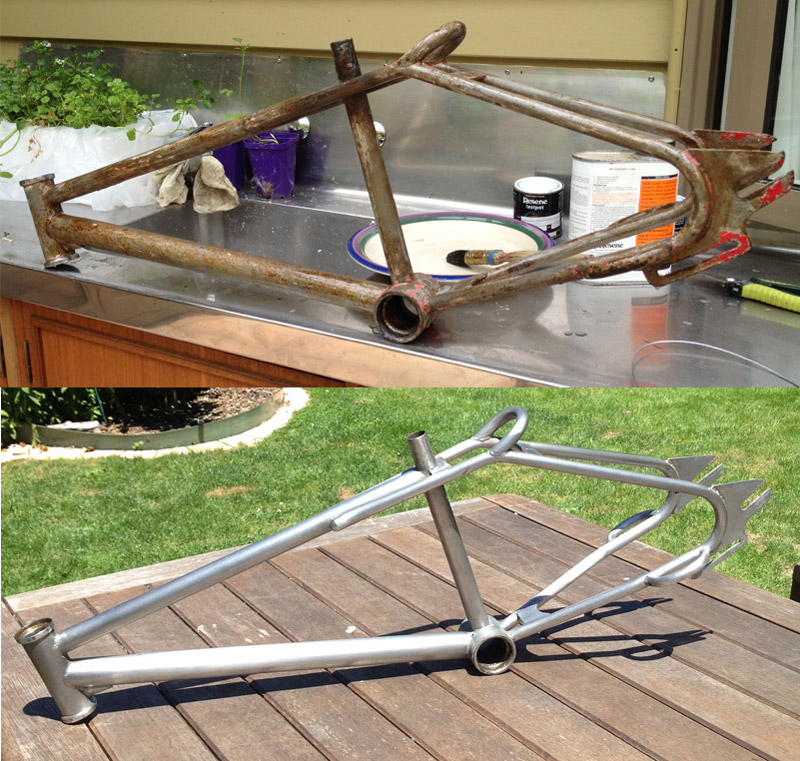
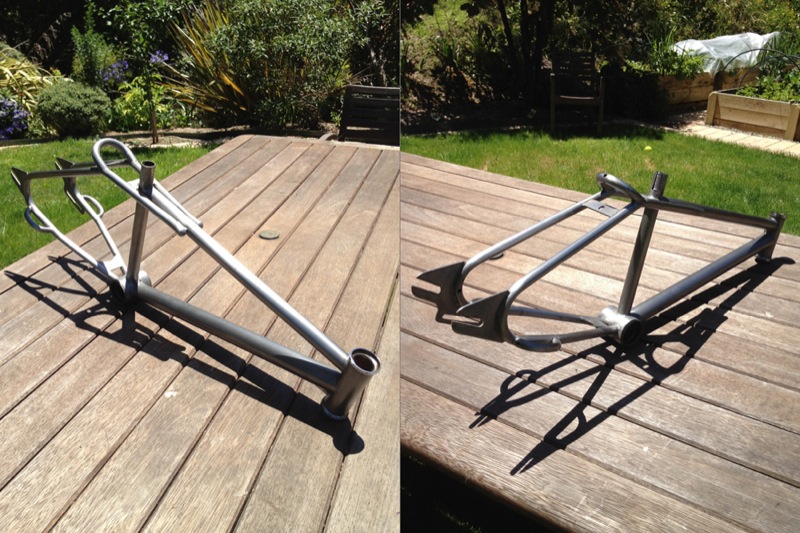
Over New Year at my folks place in NZ I dropped the frame in a citric acid bath for 72 hours, it came up wicked shiny!
Stripped the forks and bars when I arrived back in Brisbane….
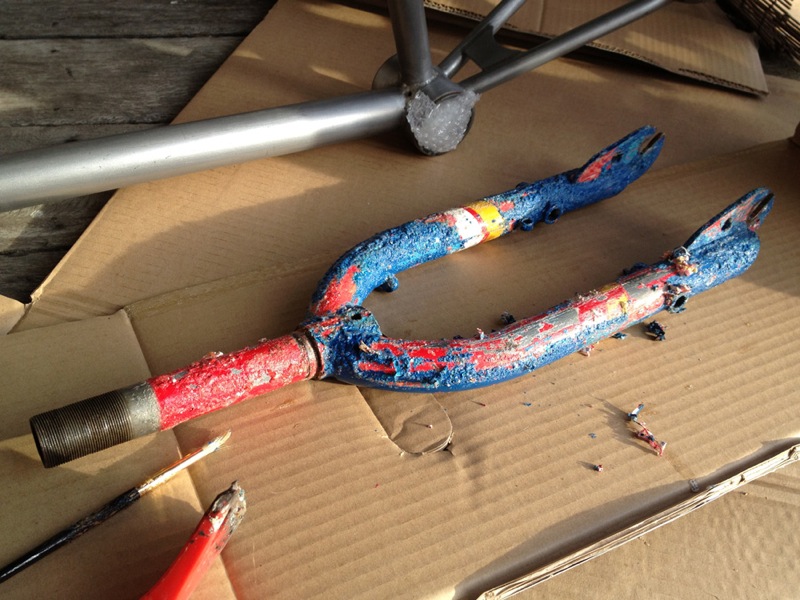
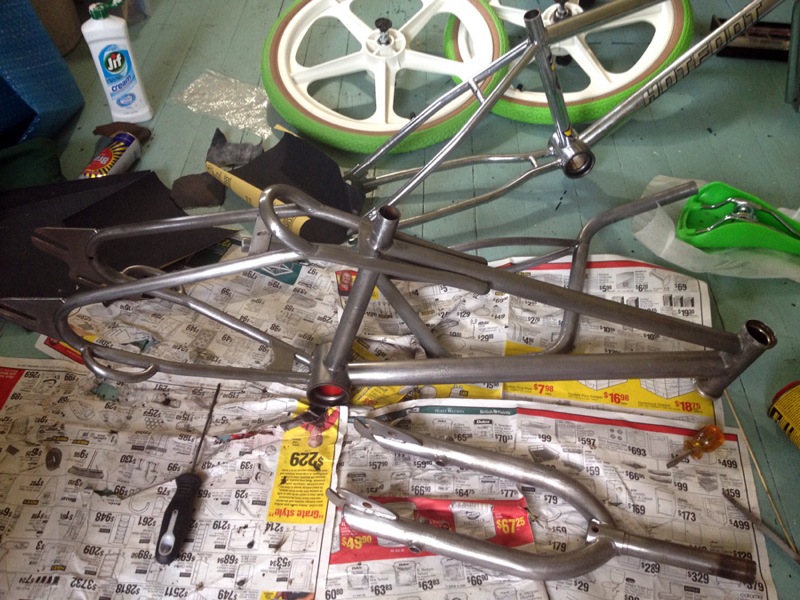
F/F/bars ready to head to the powder coater (minus bearing races, of course)…
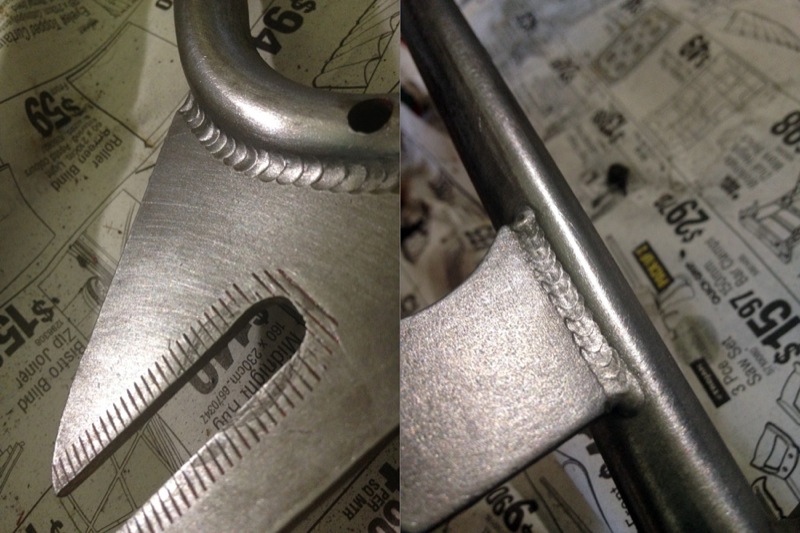
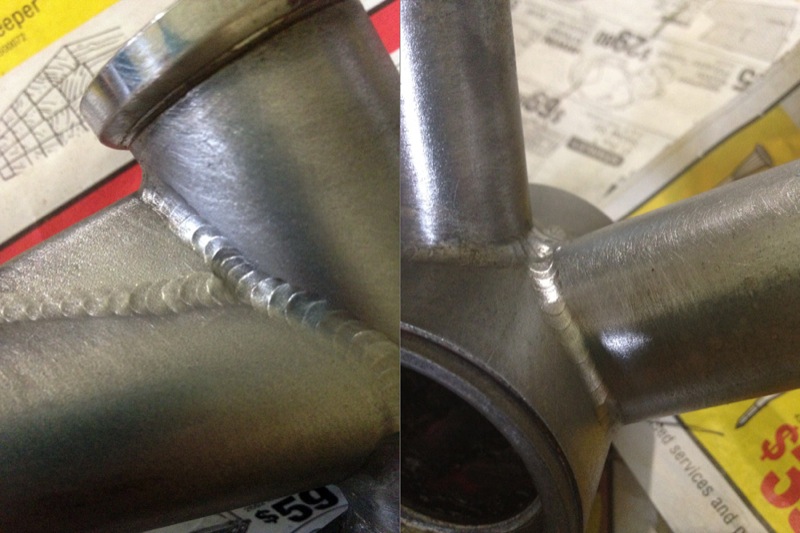
You can’t beat classic 4130 quality – I’m a sucker for some tidy tig welds! Especially when they’re naked…
Sporting the Merida/Hutch format serial number….
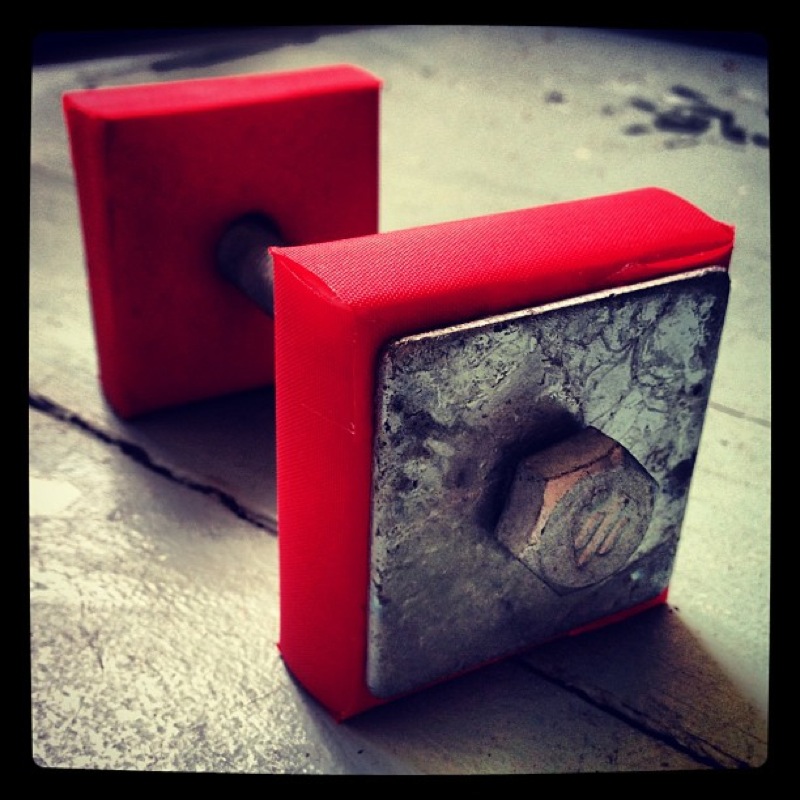
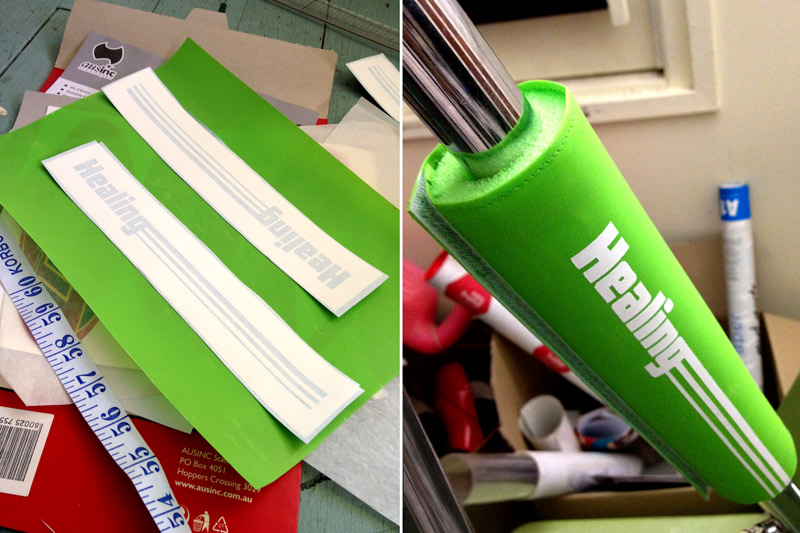
While the frame’s at the powder coater I picked up some nylon from a local sailmaker to make a top tube pad for the Freestyler (and some red for the Team Hotfoot). Also put together a DIY tool for installing bearing races with minimum effort, no need for a mallet to come anywhere near the MX101! $3.80 at the hardware store for a coach bolt, 2 large square washers and nut.
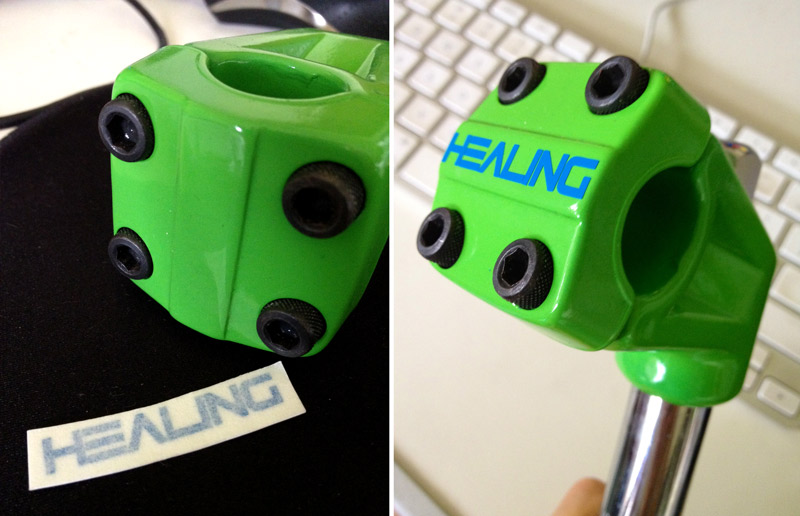
Just put the finishing touch on the forklifter, a Redline-esque ‘HEALING’ decal. Looks killer!
Also finished up making the top tube pad (actually made 2, so I have a spare). I used vinyl cut stencils to mask of the background of my design, and then sprayed the nylon with 3 coats of white gloss enamel (I did a few adherence tests on the nylon with heat sealed Permaset vs spray enamel and the enamel totally ruled the skool). When it was dry, I peeled off the stencil and finished by stitching the edges and velcro. Pretty stoked with how they’ve turned out for only around $20 in materials for the two pads.
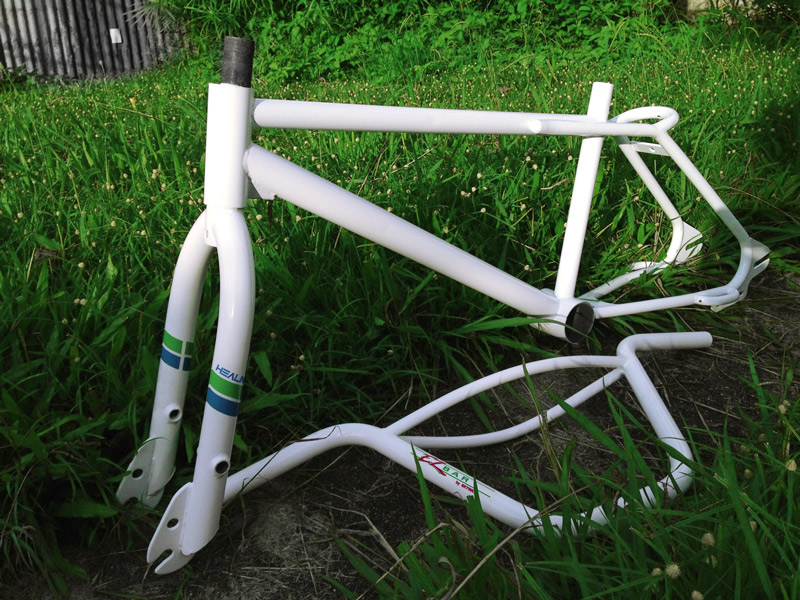
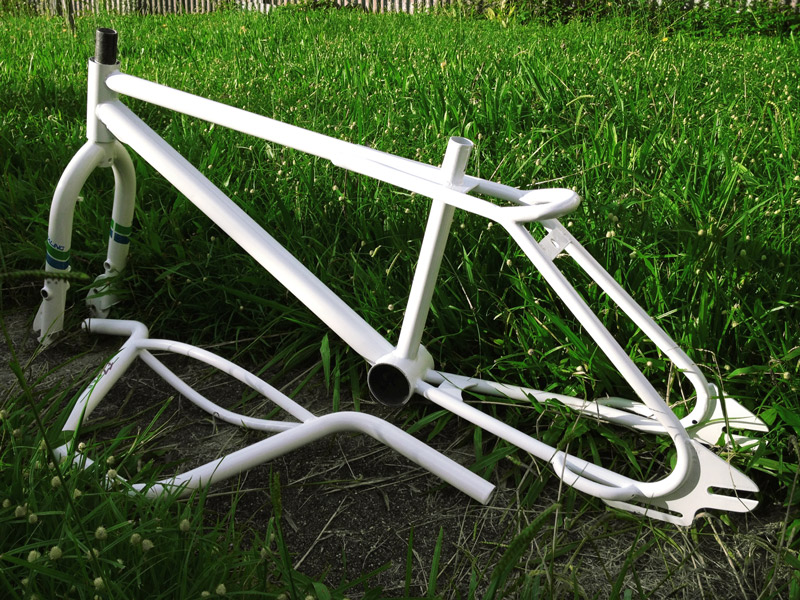
The frame is back from the powder coater and ready to build!
Freshly powdered frame with my decal set applied…
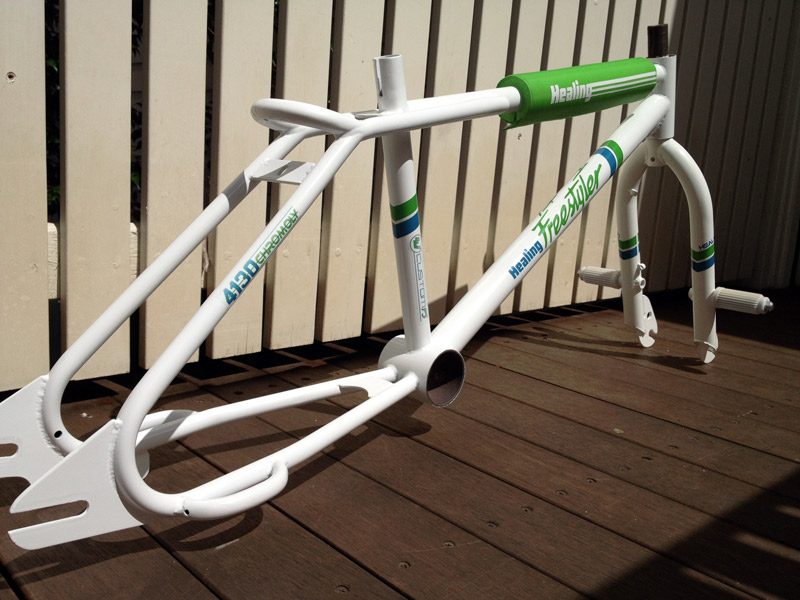
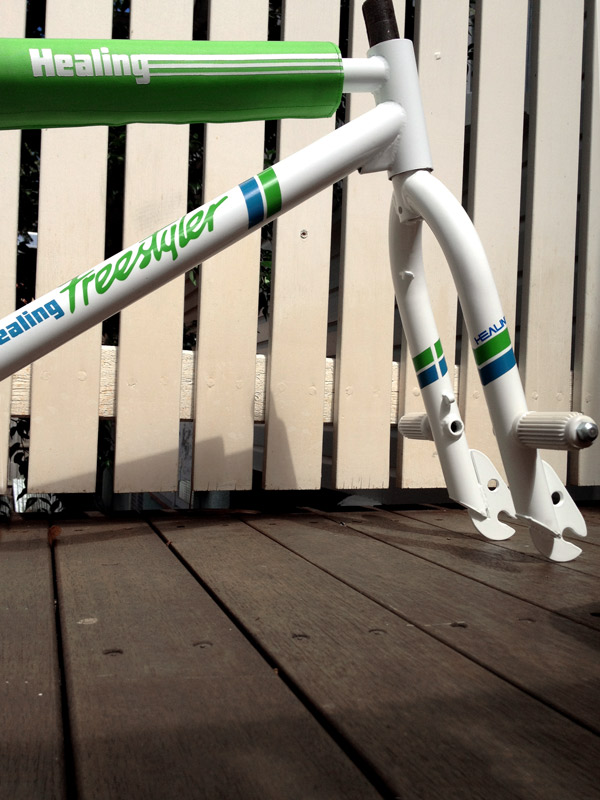
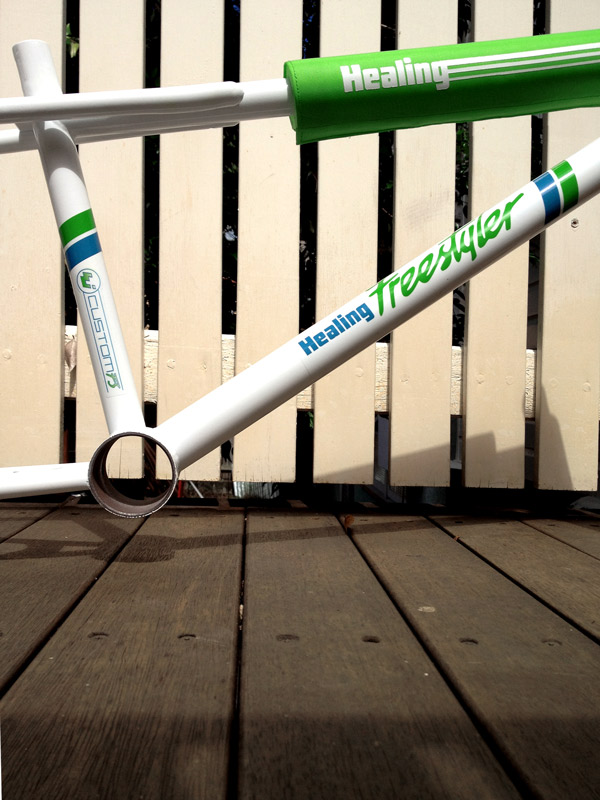
As soon as the build was complete it was time for a photo shoot…
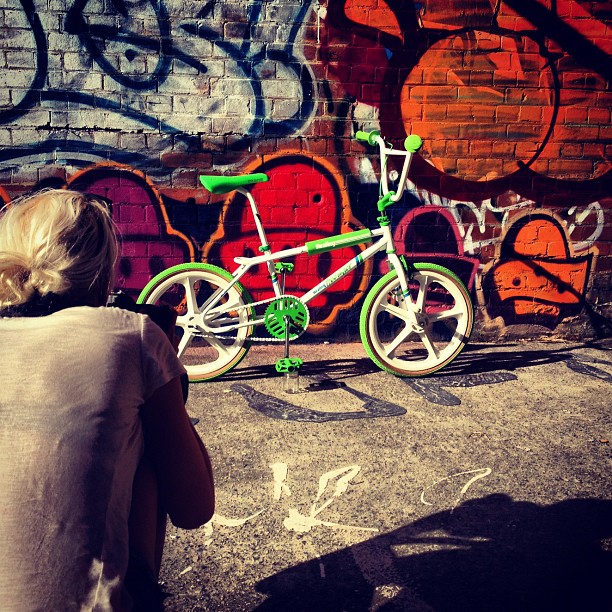
Here’s the first version of the build, finished in March 2012…
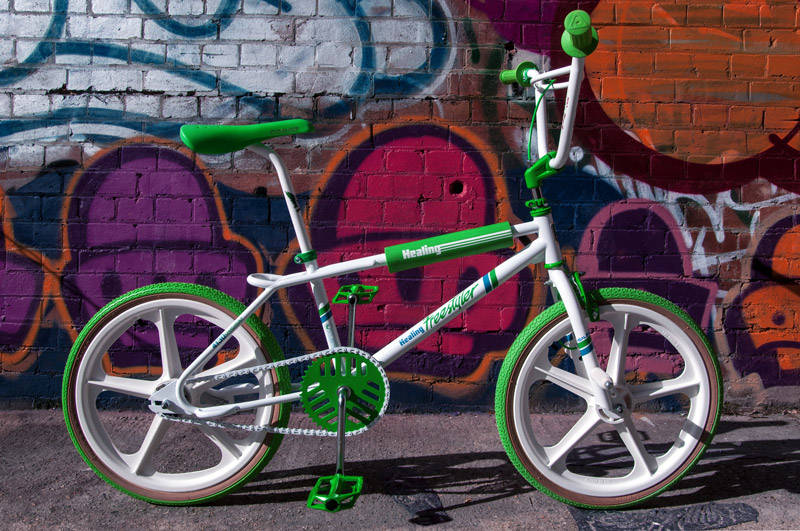
After a few months of riding with the rear coaster and one piece cranks I got the urge to take the build to the next level…
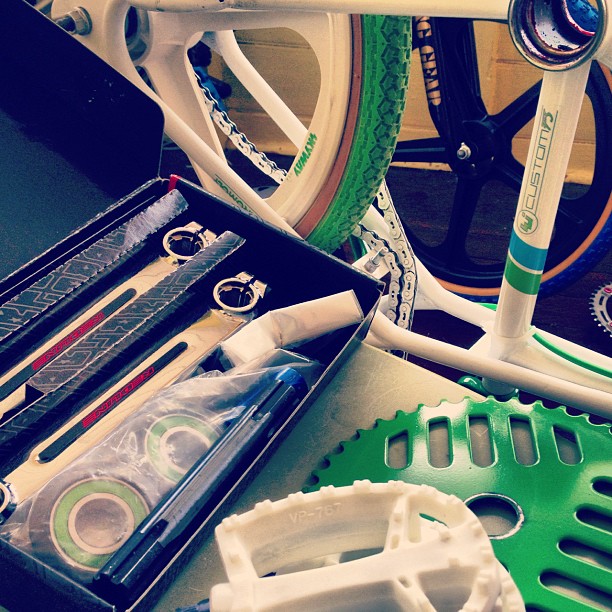
FINISHED BUILD PICS
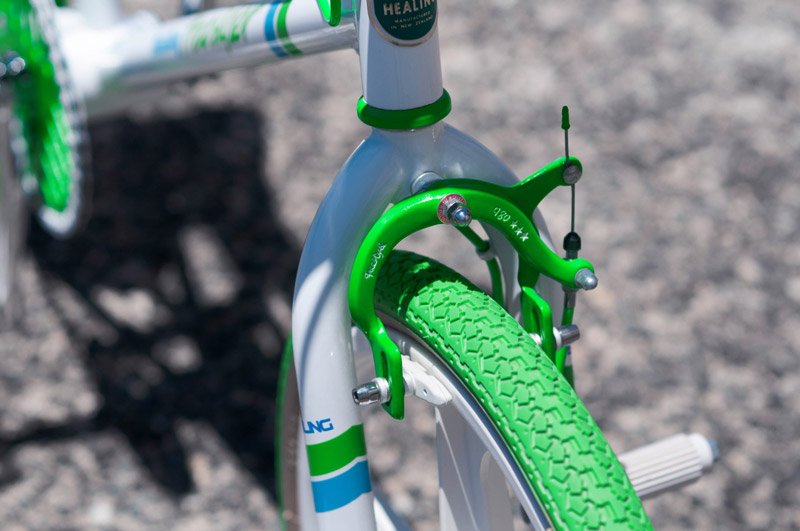
And here’s the latest version of the build with a few revisions (Redline Flight Cranks with custom Healing decals, VP-767 pedals, Odyssey Gyro 2 with Savage extra-long Gyro cables, and a matching CS 890 FS caliper at the rear), as of Nov 2012…


Shout-outs:
To Brett ‘KingpinNZ‘ Foster for kindly offering up the frameset that fulfilled all my ‘grail’ build wishes.
To Mick ‘Mr.Hotfoot‘ Belette and his lovely partner Mel for their generous donation of a matching rear CS Freestyle 890 caliper which I’ve refinished and fitted with my new Gyro setup.
To Ross (aka ‘Risole‘) Hall for being a Gyro legend and offering his advice and encouragement for my updates to the build.
To the late Virginia Rini for so many of the cool little parts that really made the build sing (chainwheel, seat clamp, pegs, Tech 6 lever, CS front caliper) and for so being so lovely in all our dealings. RIP ♥.

