1987 KUWAHARA MAGICIAN PRO
I’ve always loved the Kuwahara Magician frames. I was lucky enough to score a frameset and bars from an awesome dude called Chris in Pennsylvania.
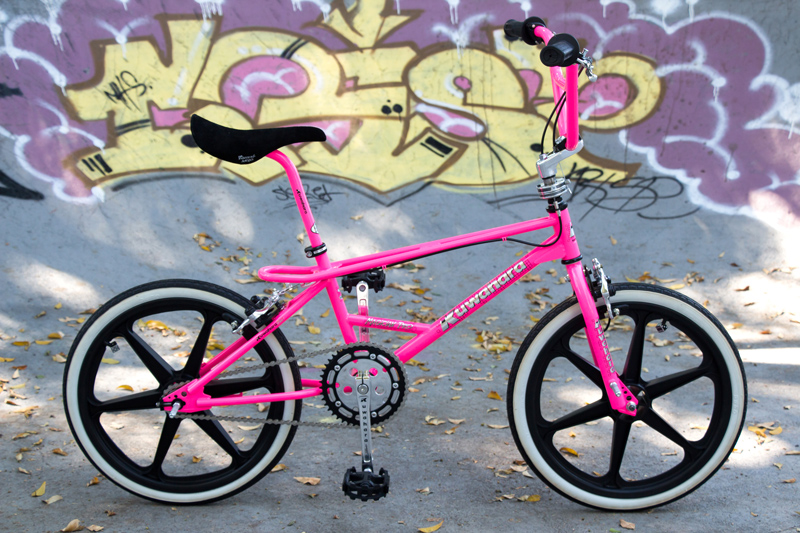
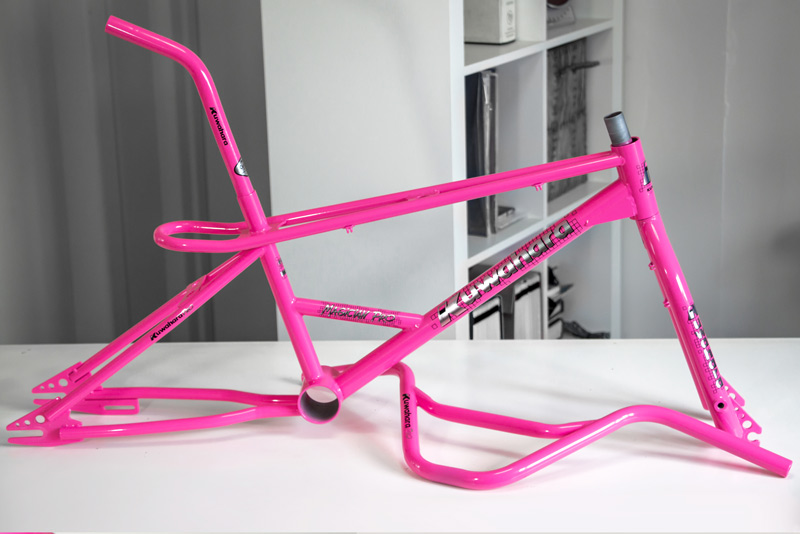
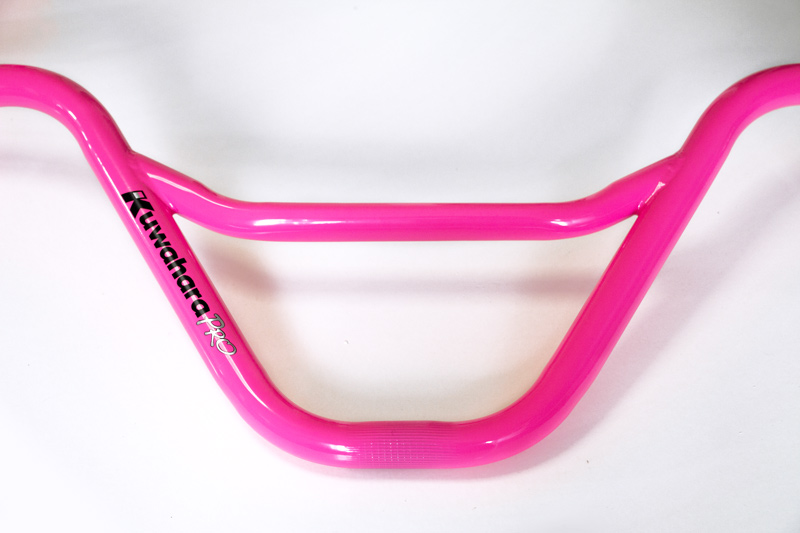
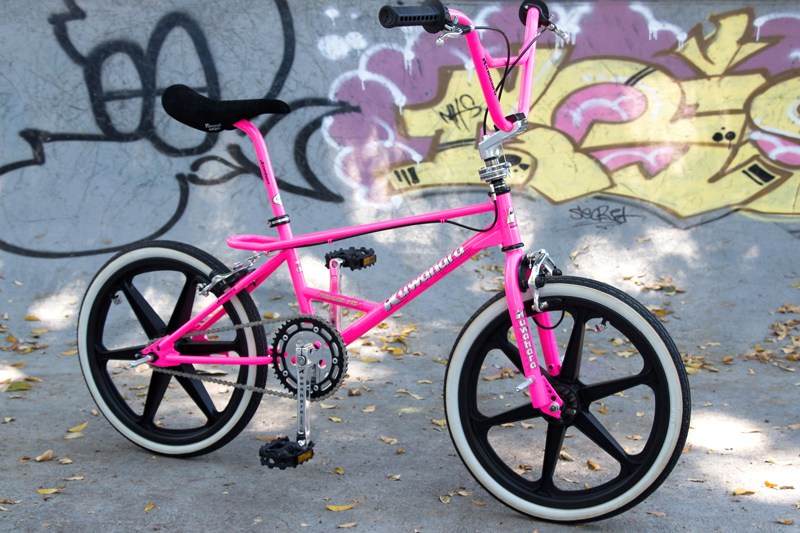
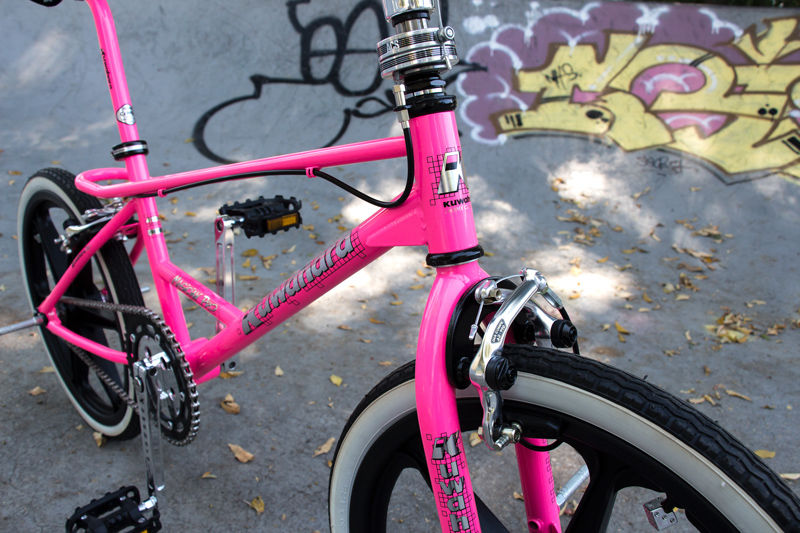
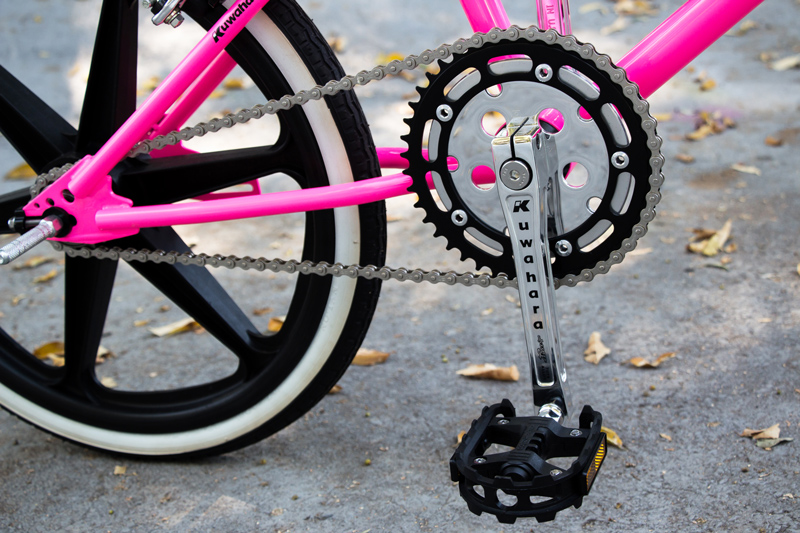
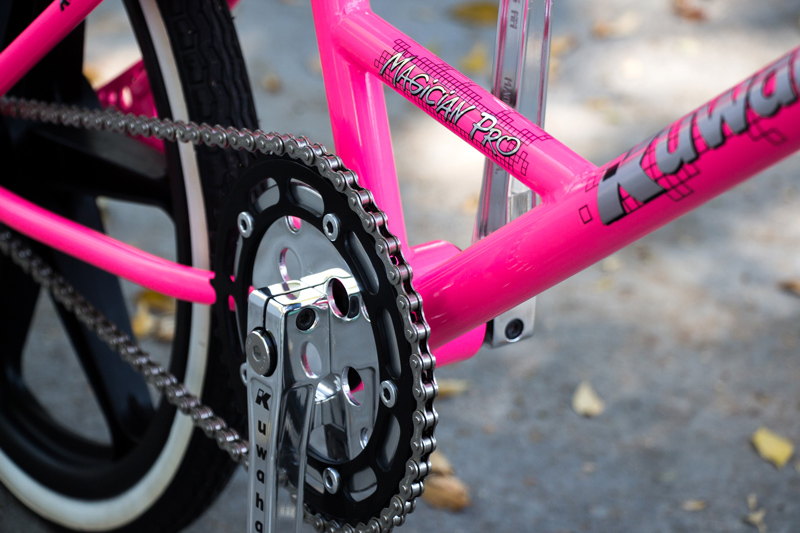
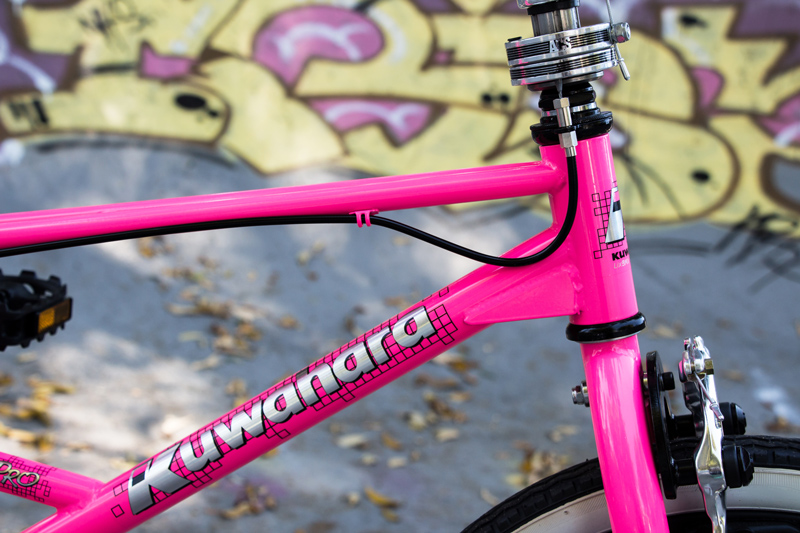
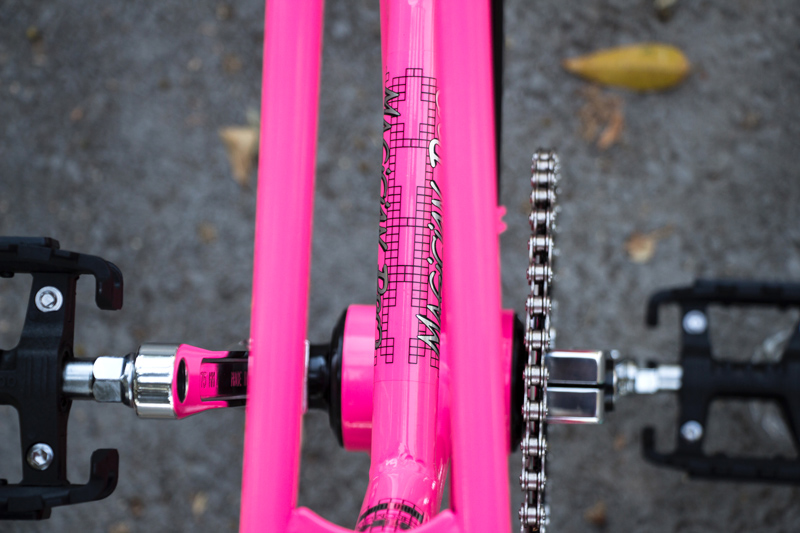
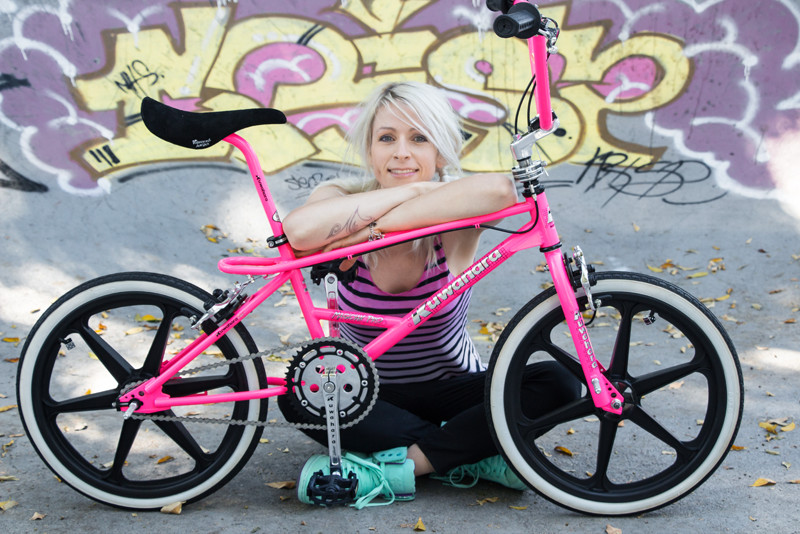
From the get go, my plan was to go seriously neon! Roberto’s Custom Powder did an absolutely stunning job of the neon pink powder, it has to be seen in the flesh to be believed, the camera just can’t capture its truly awesome glowy-ness!
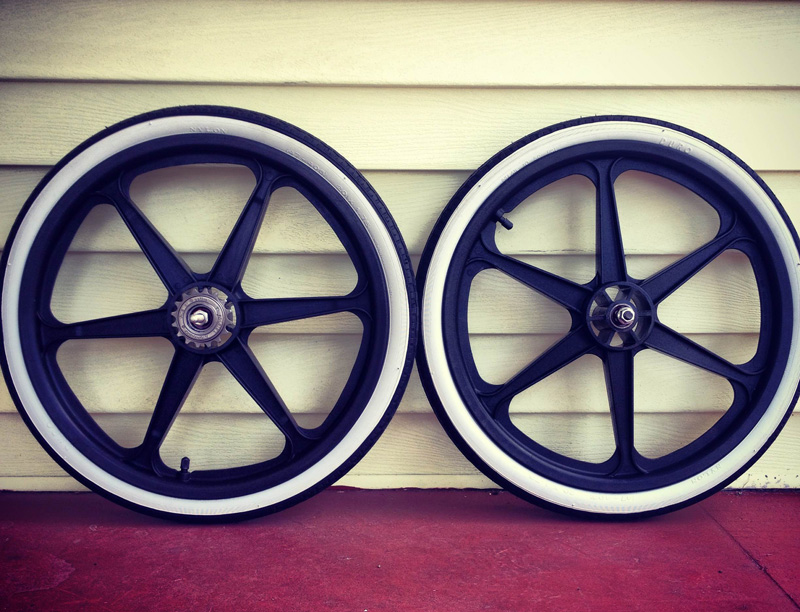
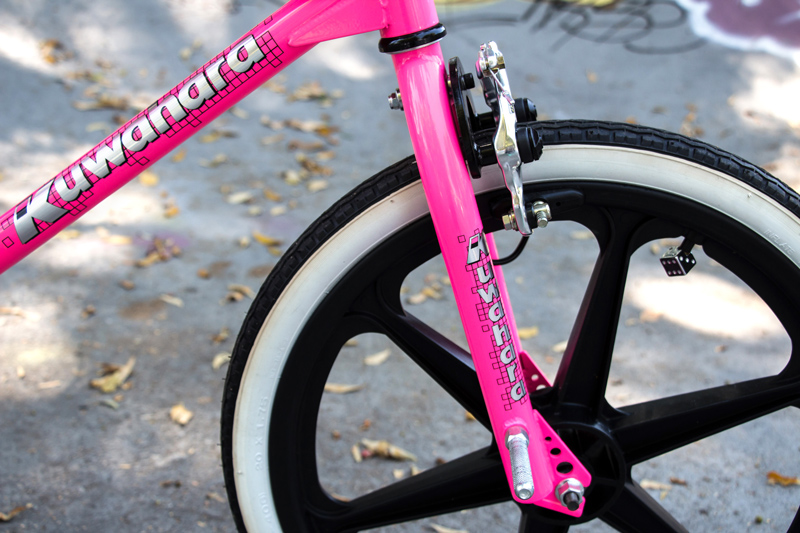
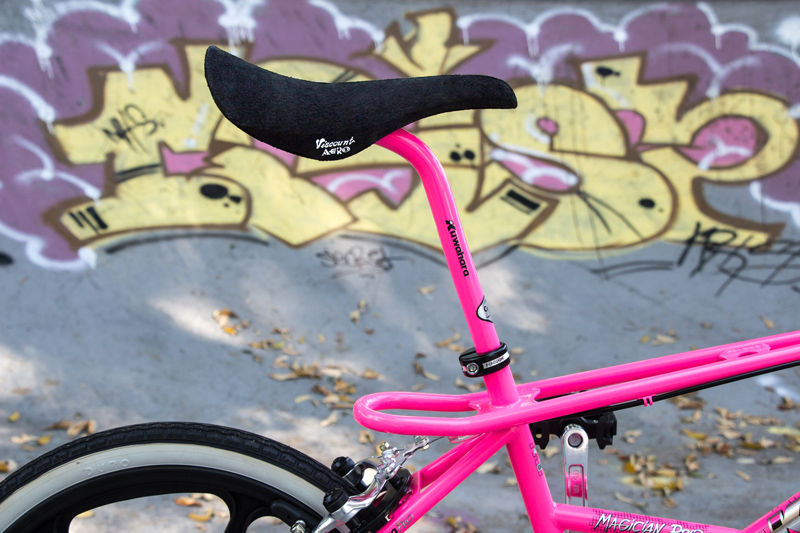
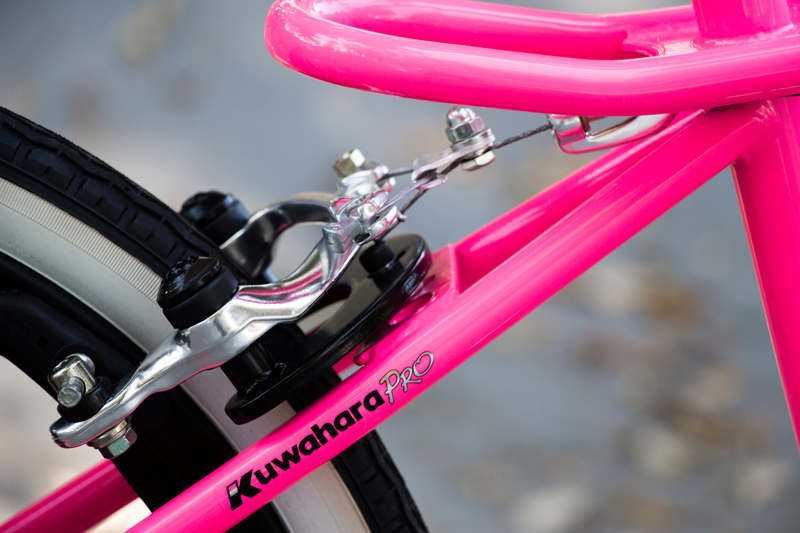
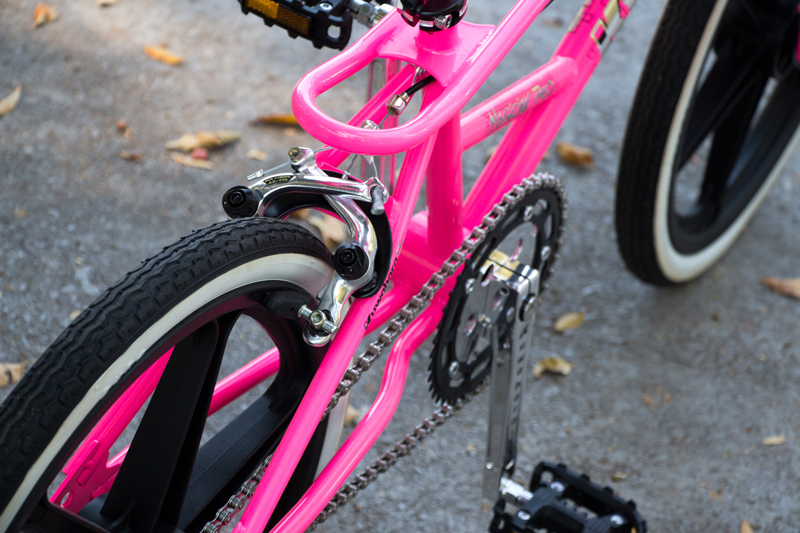
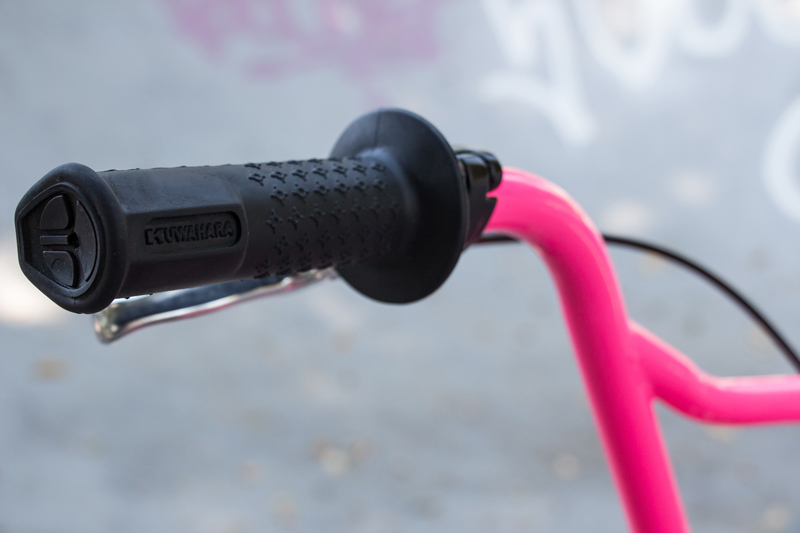
I was extremely lucky to score a rare black O.E. wheelset off eBay for $50(!!) shortly after I got the frame set. I rebuilt the hubs and after an epic scrub and some tyre shine they came up beautifully. I paired them black Duro whitewalls for a bit of gansta ‘out-on-the-town’ style. I restored and recovered a Viscount in black pigskin split suede. I’m running silver Dia Compe 990 calipers with black Dan’s Comp U-brake adapter plates, black Tange Kuwahara grips, Japanese made USA BMX freestyle rotor stem (restored/polished/anodised) and a set of 4 ‘pencil’ that I customised to fit the Magician forks.
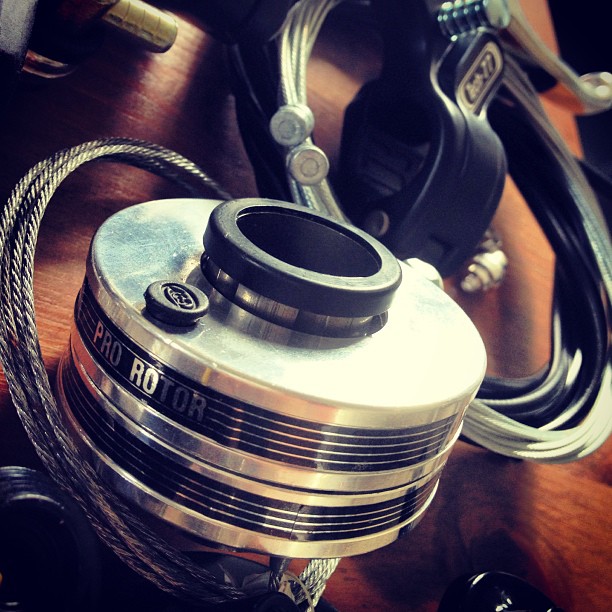
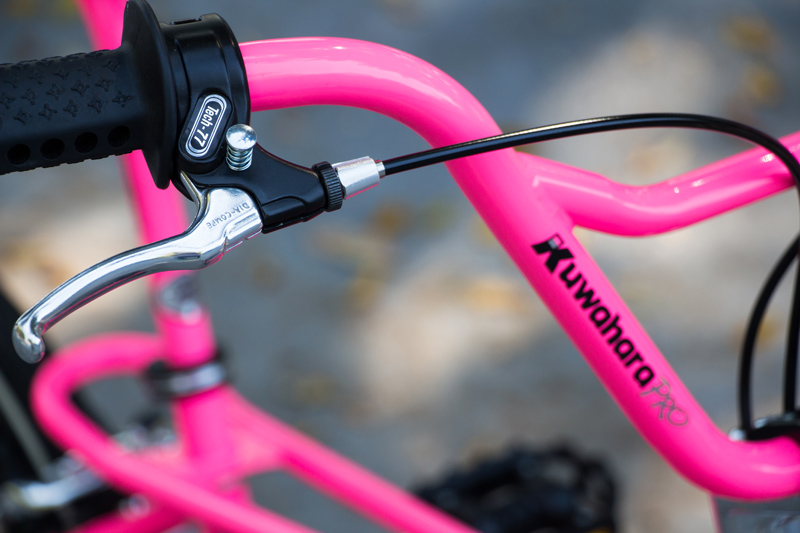
I picked up a mint ACS Pro Rotor which is a deviation from the Odyssey Gyro that that came factory fitted on the ’87 Magician Pro (although, the original ’86 Magicians came with the ACS Rotor factory fitted). Rotors just look so damn cool, plus I had the perfect stem setup for it, and as I already have a Gyro on my Healing FS, I’m excited to be running a different detangler system on this build. I topped off the brake setup with black and silver DC Tech 77 levers locking levers, black cables and a special little handmade cable hanger solution for the rear 990.
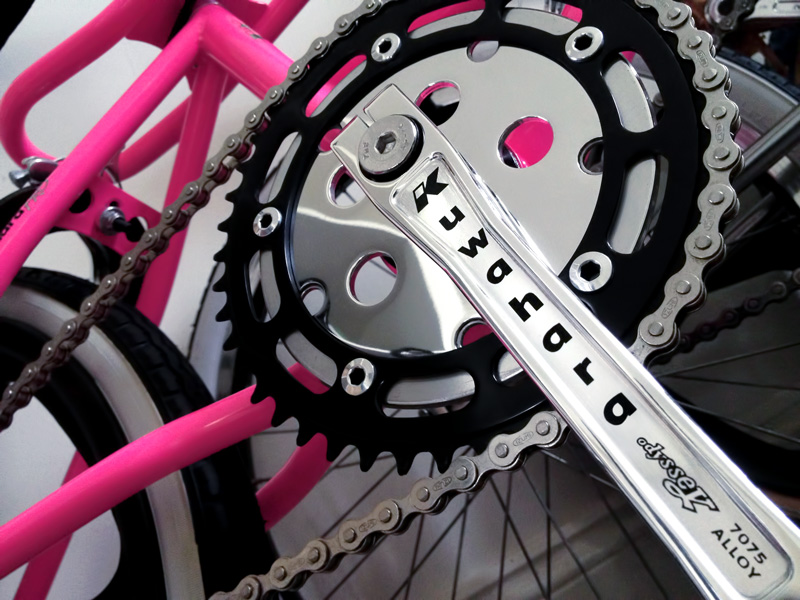
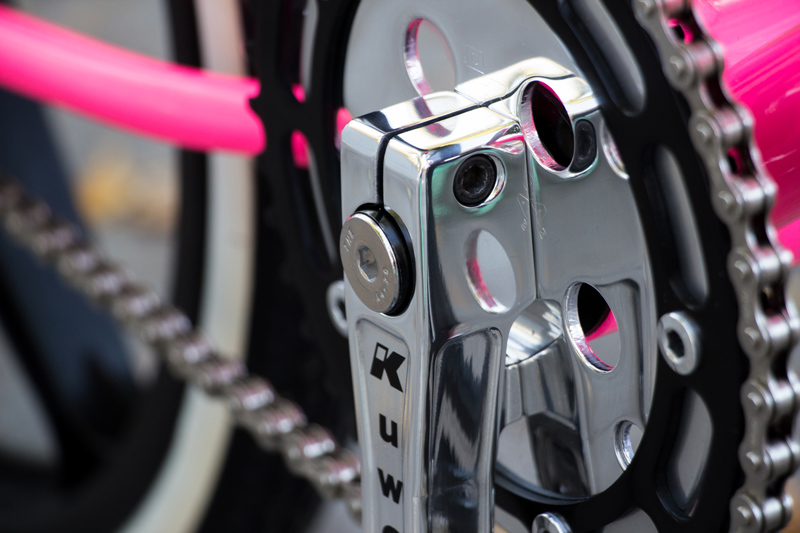
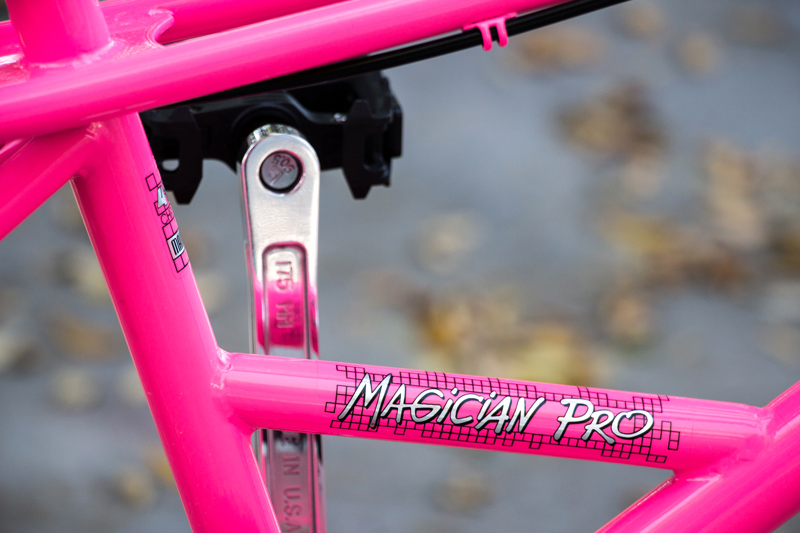
Cranks? I wanted something with a tough ‘boxy’ look, something I could polish to a high shine to match my polished, custom engraved power disc. I went with 2nd gen Odyssey Black Widows and designed some custom Kuwahara crank decals for them in bold Bullseye-esque descending letters.
(More finished pics at the bottom of the page)
PARTS LIST
Frame/forks/bars: 1987 Kuwahara Magician (trimoly frame with original chromoly forks and hit-ten bars)
Wheelset: 1987 Skyway O.E. six spoke mags, black
Tyres: Duro whitewall freestyle tyres, black, 1.75″
Freewheel: ACS Crossfire, 16th
Brakes: Dia Compe 990 (fitted with Danscomp.com u-brake adapter plates)
Brake levers: Dia Compe Tech 77 locking levers, black/silver
Brake Cables: Hi-tech, black
Detangler: NOS ACS Pro Rotor
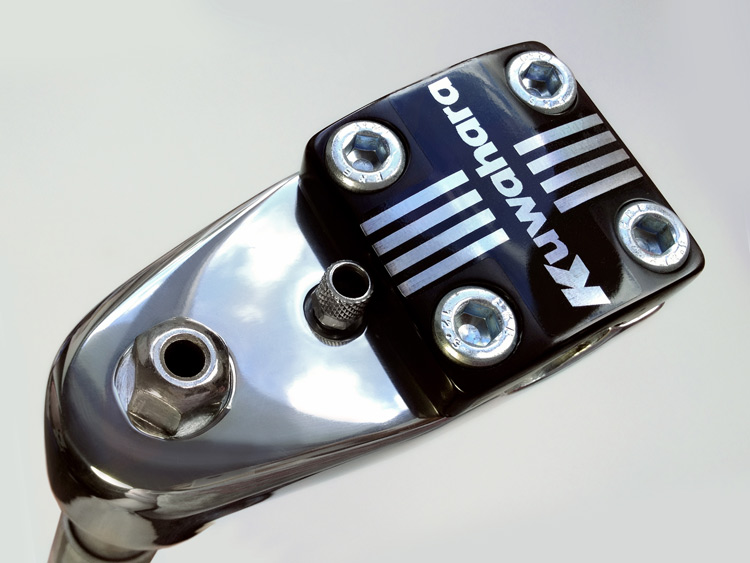
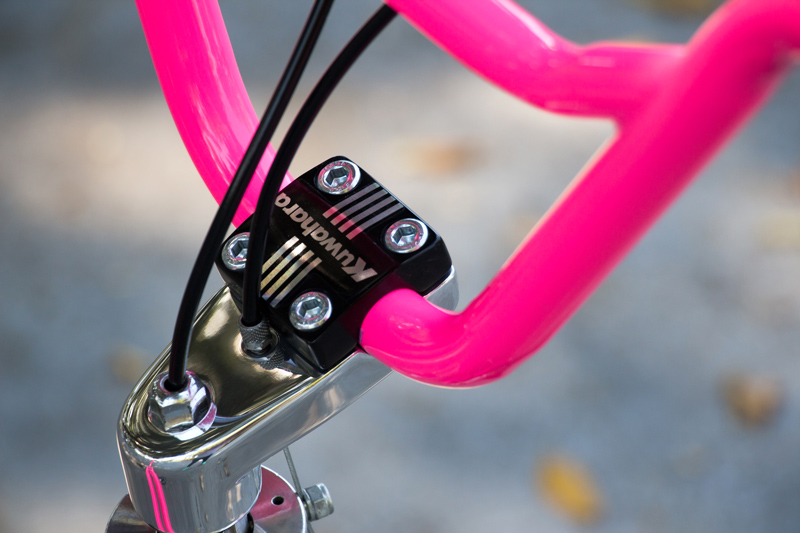
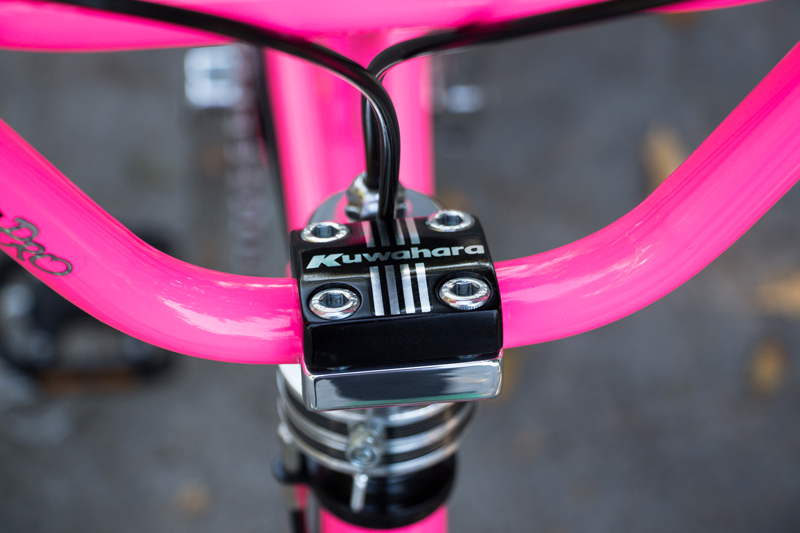
Stem: USA BMX (MIJ) freestyle rotor stem, black and polished
Headset: Tange MX-2
Seat: Viscount Aero, black suede
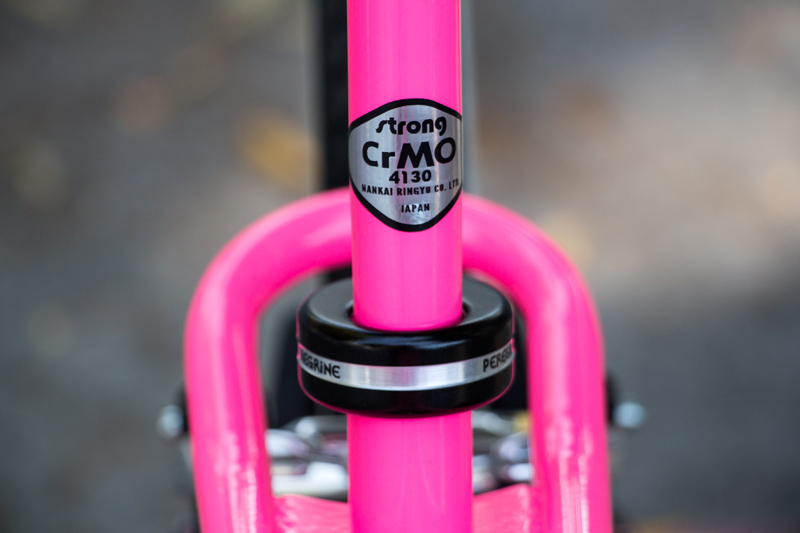
Seat post: ‘Strong’ (MIJ) chromoly layback
Seat post clamp: Peregrine ‘donut’ copy, black and silver
Grips: Tange Kuwahara, black
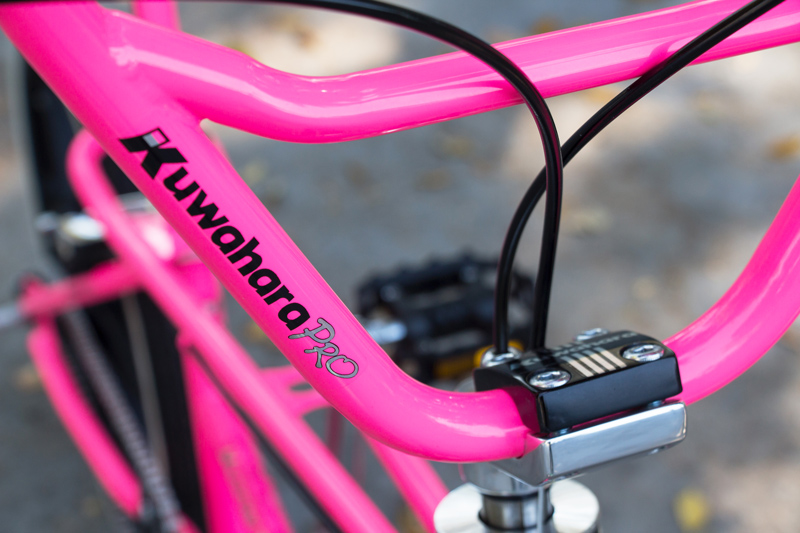
Decals: Custom LixBMX designed/printed, based on a trace of the original frame decals.
Cranks/BB: Odyssey Black Widow, 175mm, polished 7075 aircraft grade aluminium
Powerdisc: Tioga, Kuwahara engraved, polished aluminium
Chainring: Takagi 44T, black anodised aluminium
Chain: Izumi
Pedals: MKS Grafight 2000, black
BUILD DIARY
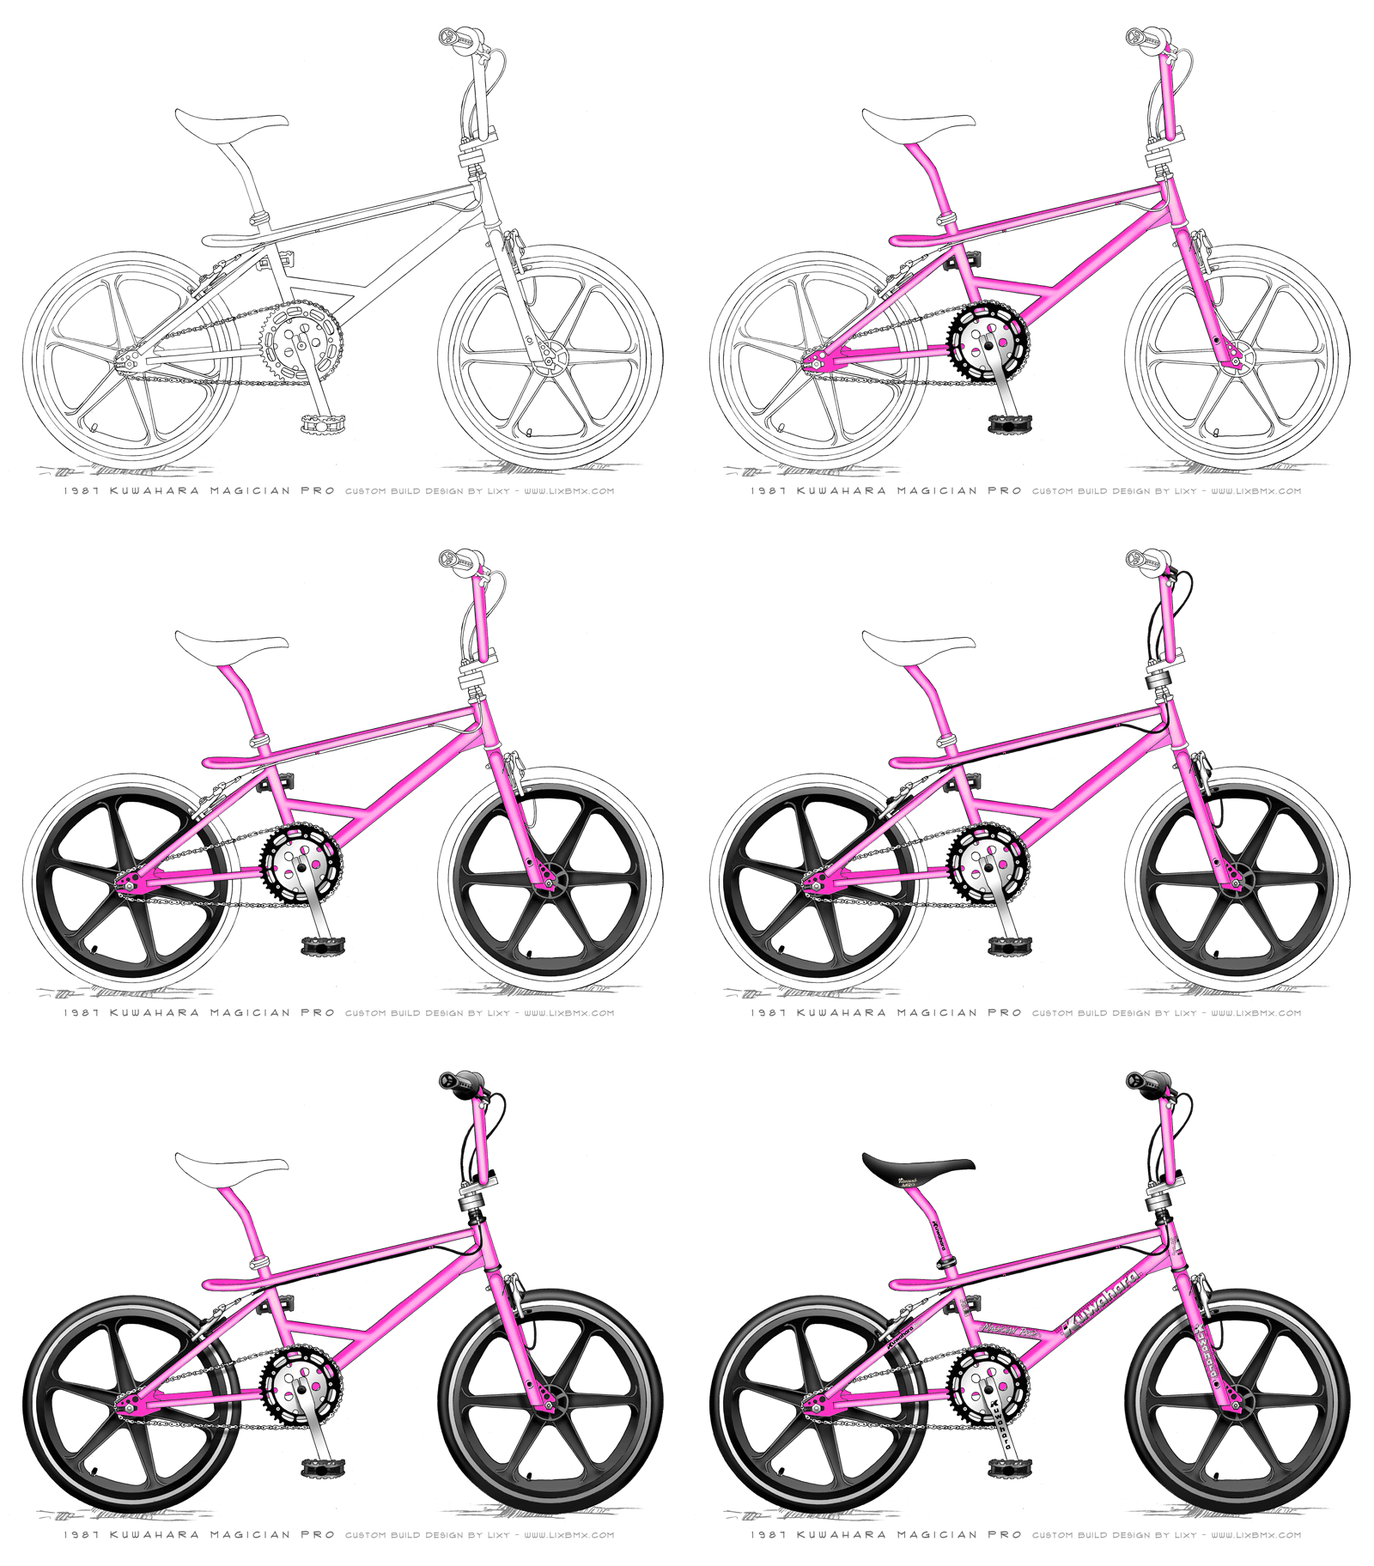
Here’s my custom build sketch, where I nut out the finer details of colour combos and custom parts…
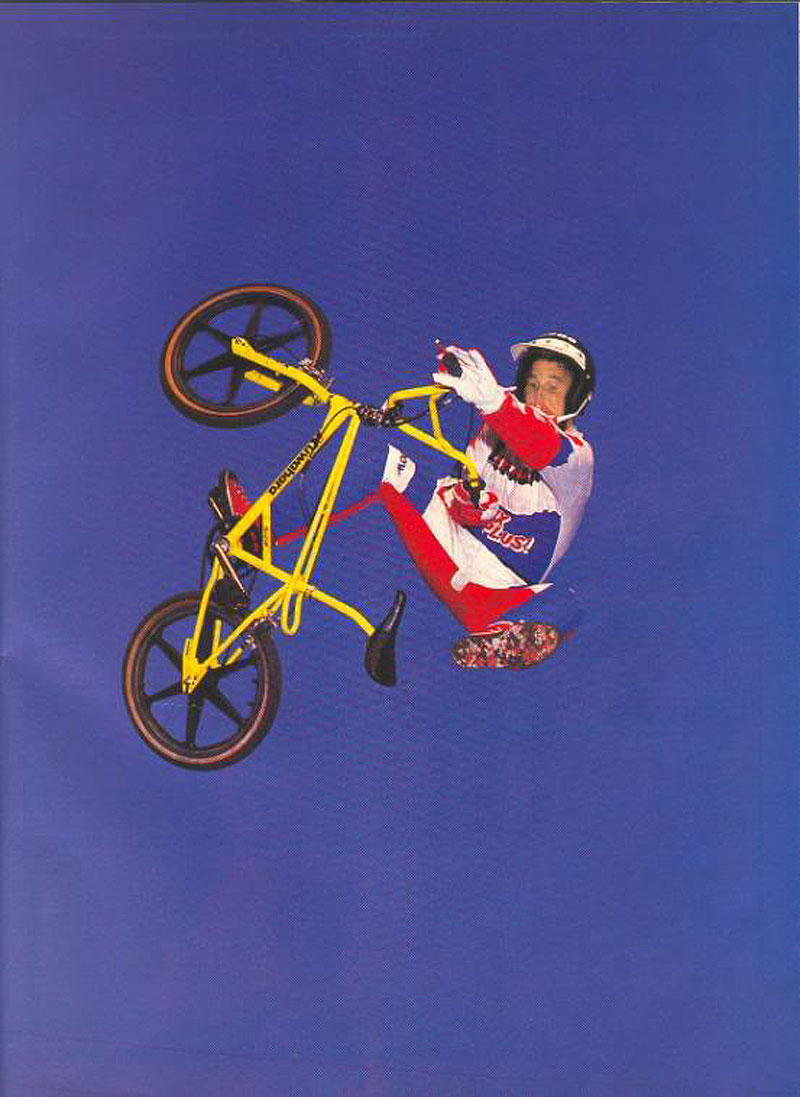
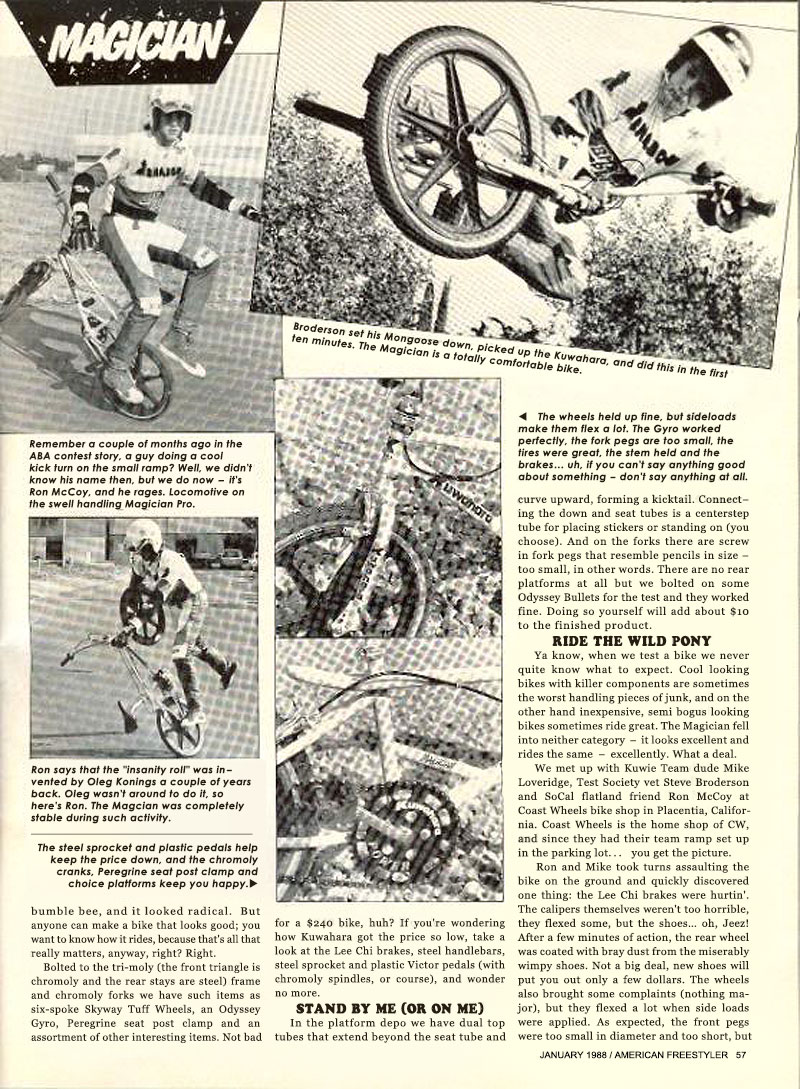
ROAD TEST – JANUARY 1988
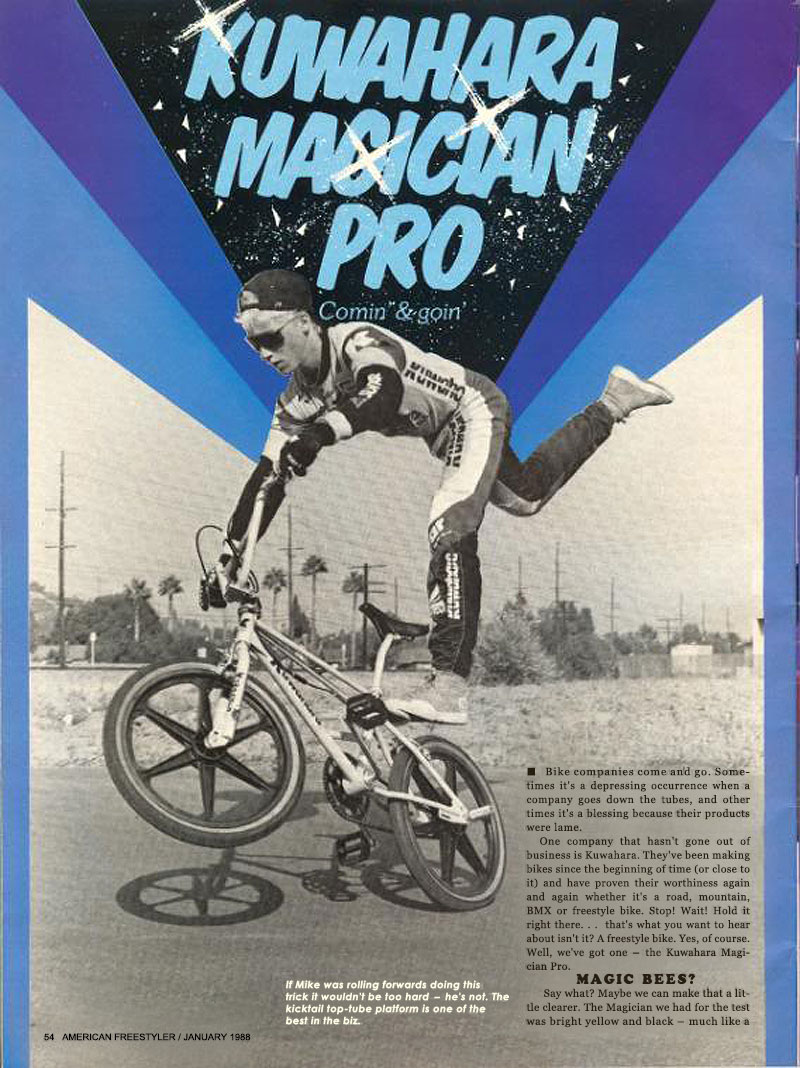
Here’s American Freestyler Magazine’s official ‘Road Test’ of the ’87 Kuwahara Magician Pro, a four page spread in their January 1988 edition….
‘Ya know, when we test a bike we never quite know what to expect. Cool looking bikes with killer components are sometimes the worst handling pieces of junk, and on the other hand inexpensive, semi bogus looking bikes sometimes ride great. The Magician fell into neither category – it looks excellent and rides the same – excellently. What a deal.’
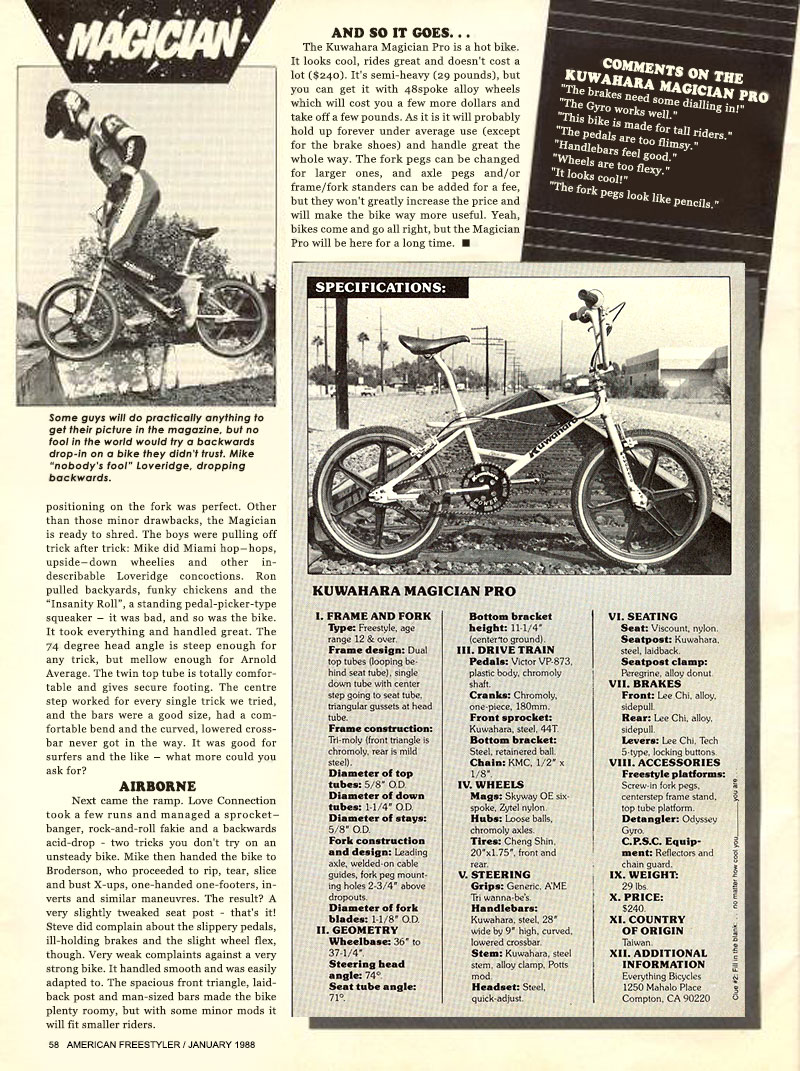
And a close up of the spec sheet…
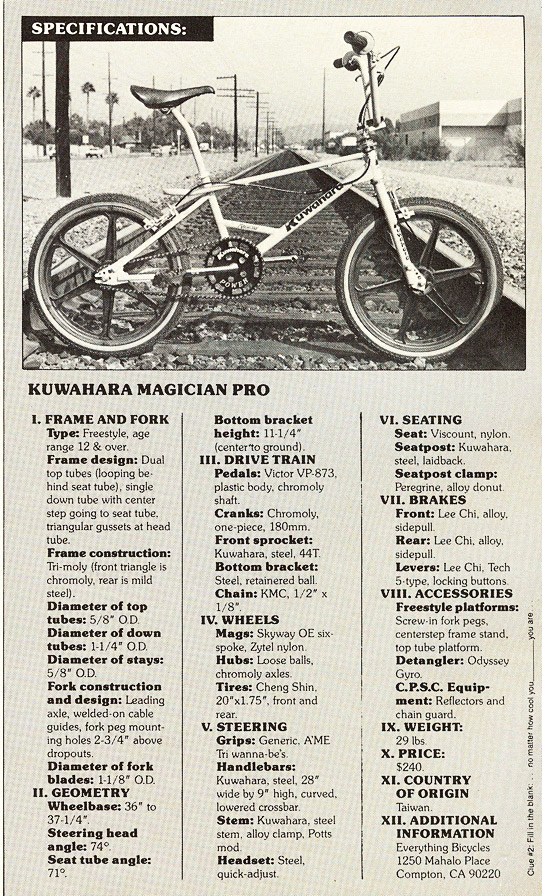
And on with the build…
Here are a few pics of my frameset as it currently sits in survivor condition, ready for the decals to be traced and repopped in the perfect colour combo before refinishing…
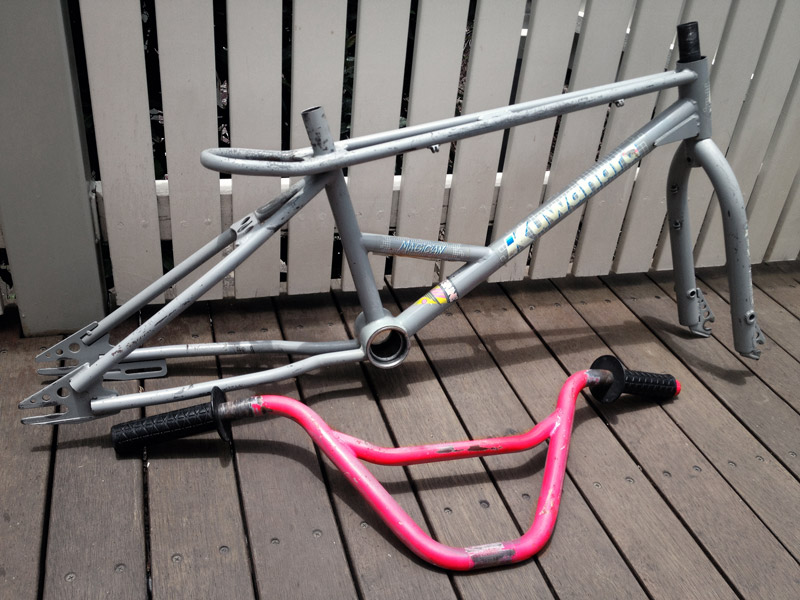
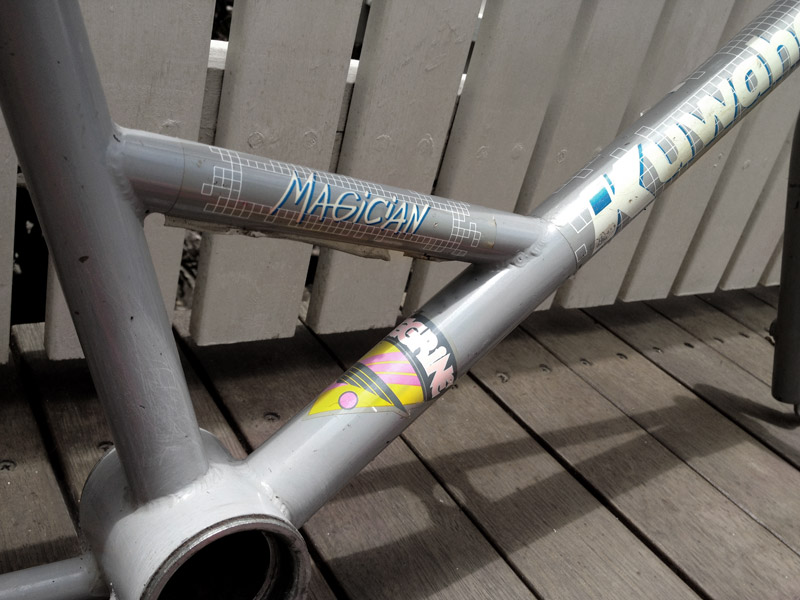
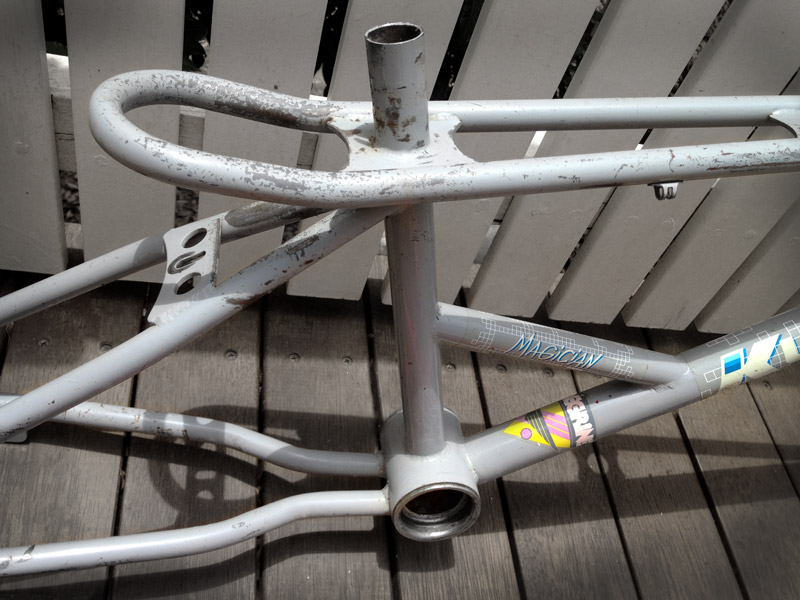
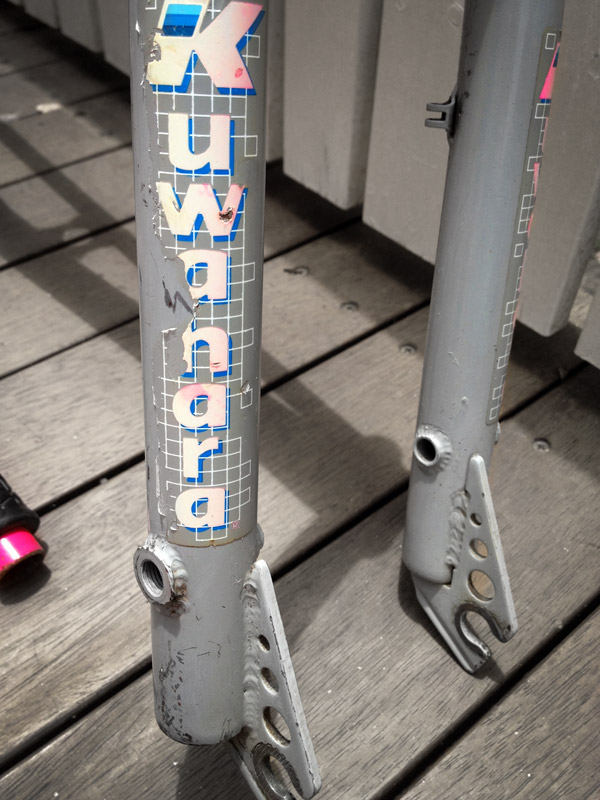
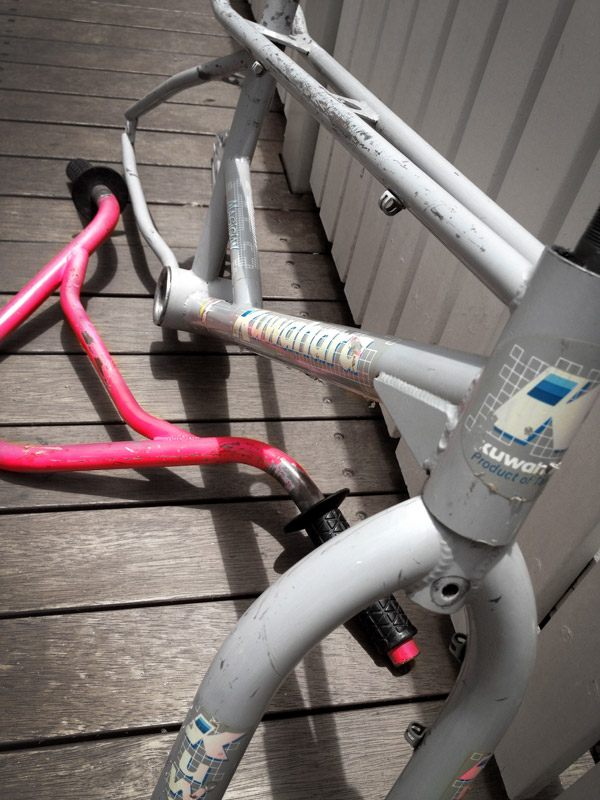
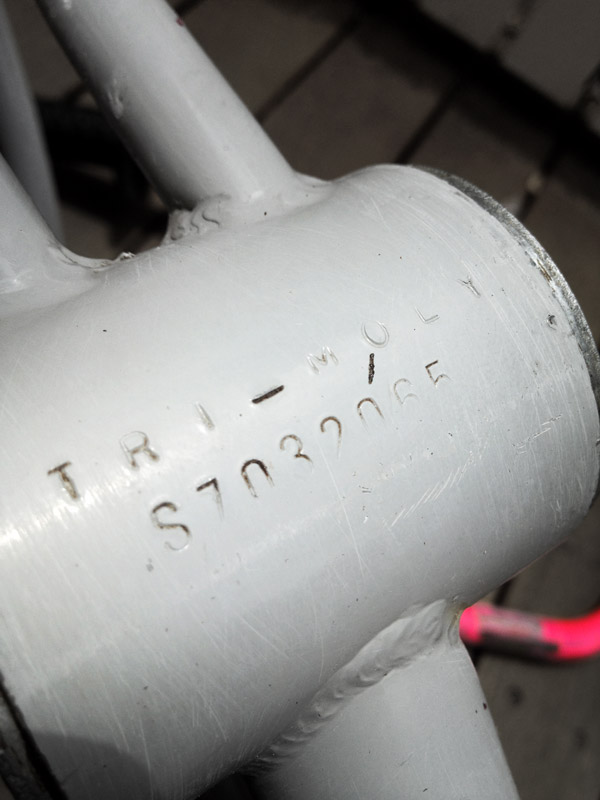
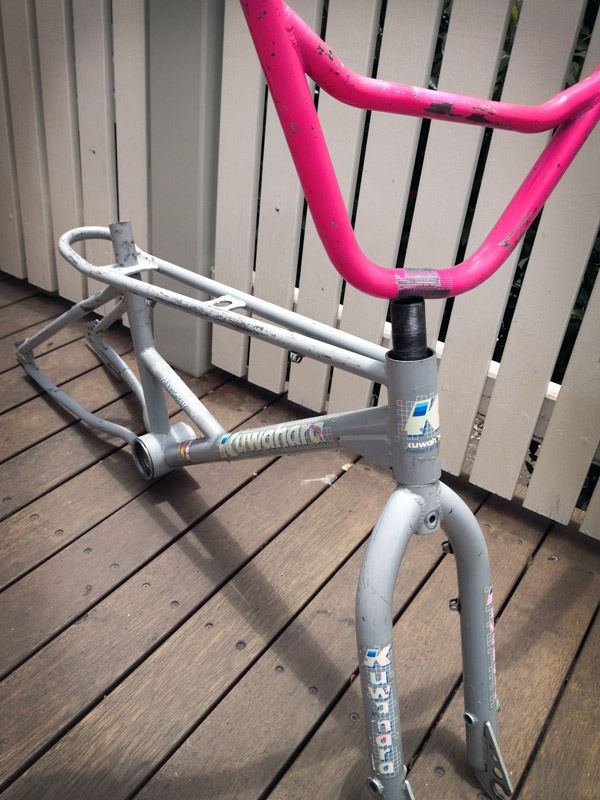
Tracing the OG frame and fork decals before powder coating…
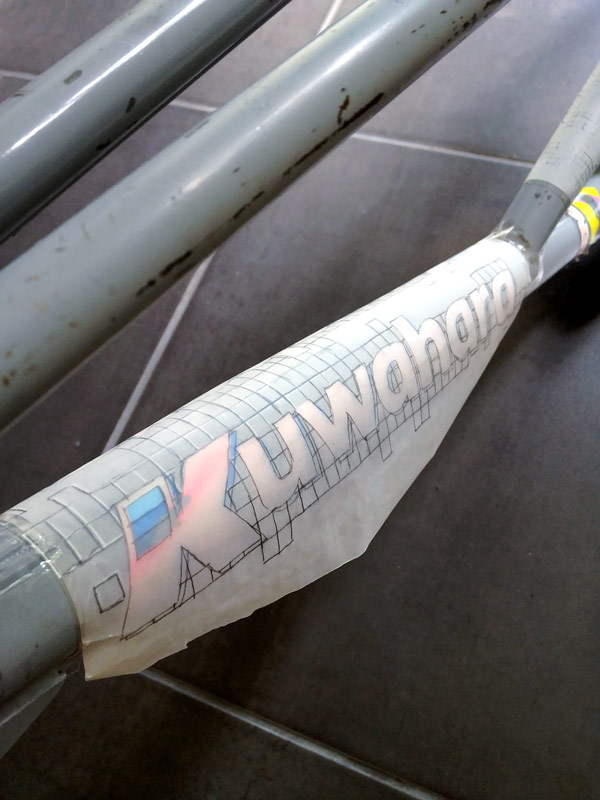
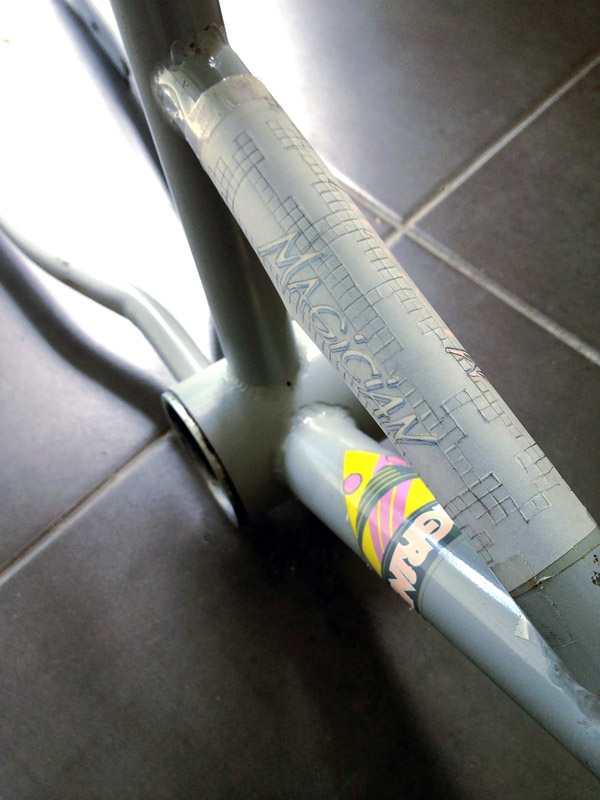
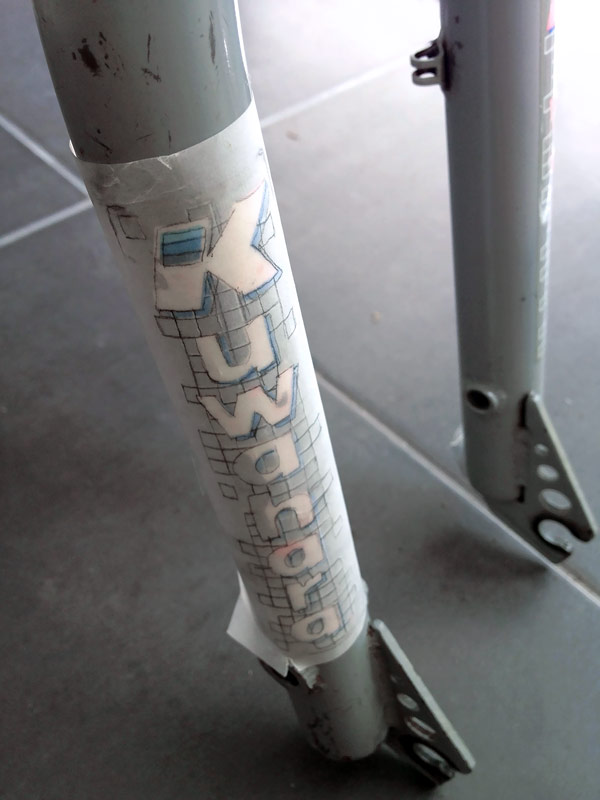
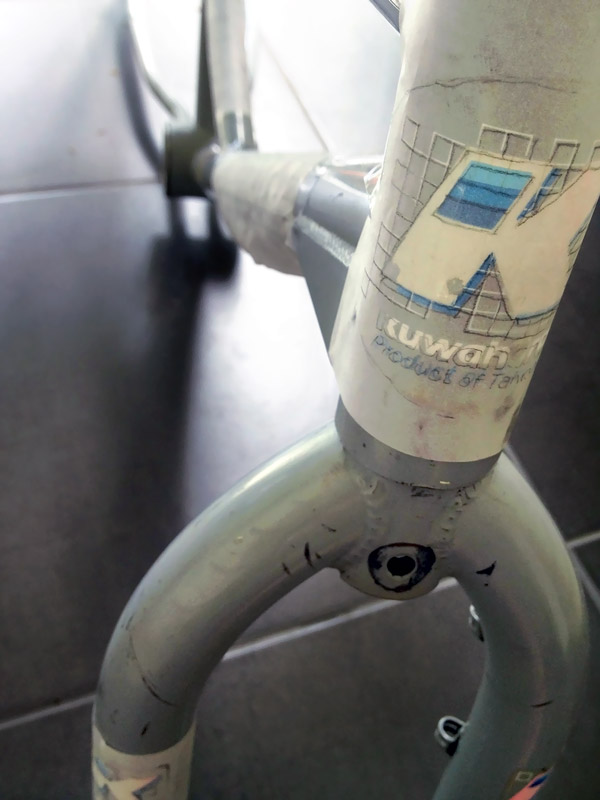
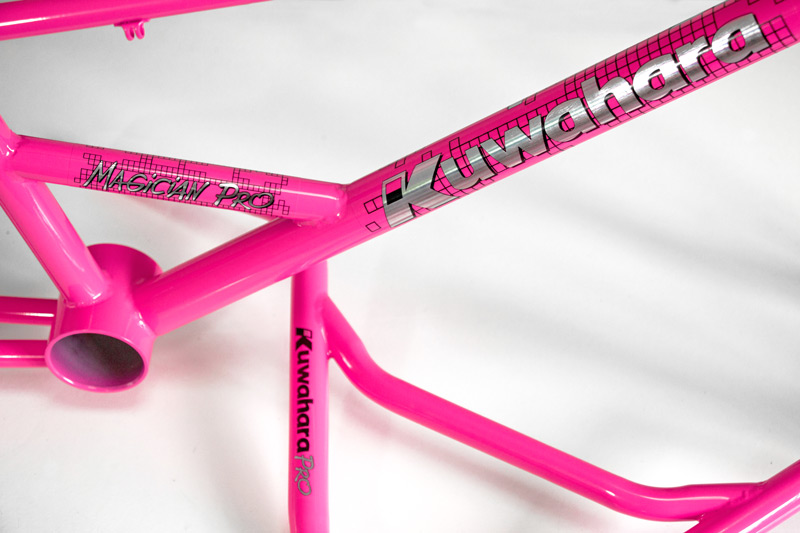
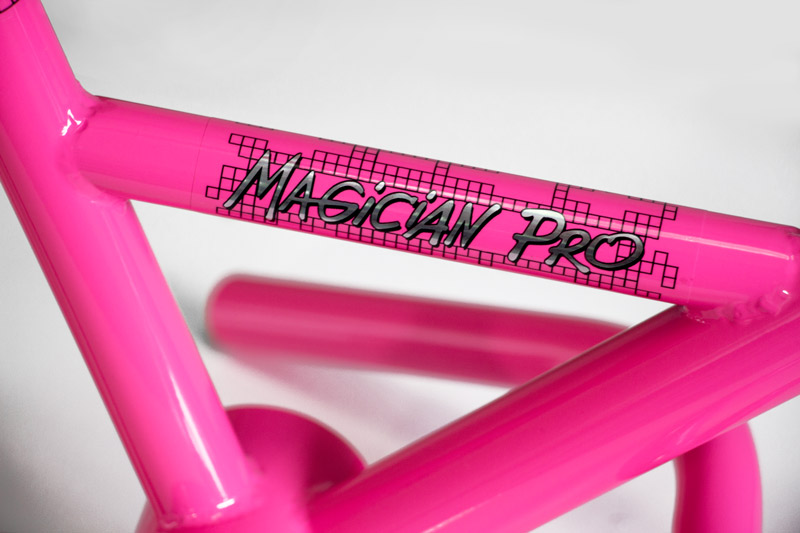
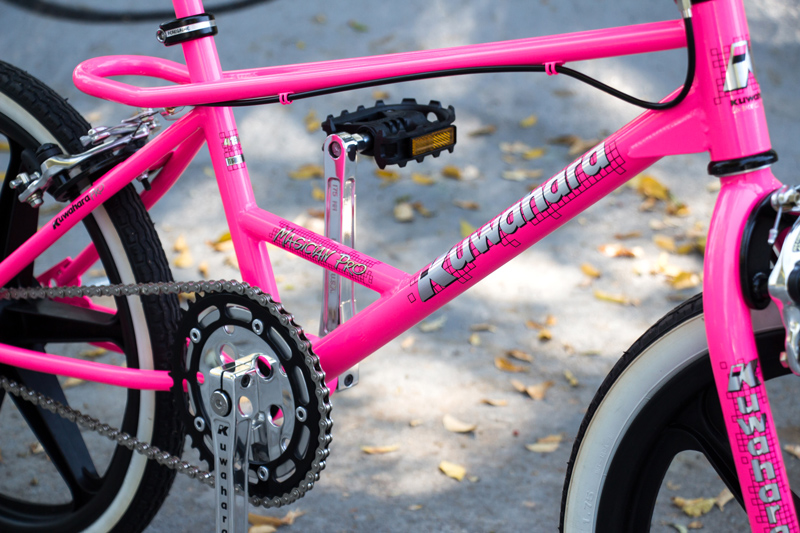
The earlier ’87 Magician Pro frames had ‘Magician Pro’ written on their centre-step decal, the Pro frames released later in 1987 (like the one road tested in the Jan ’88 American Freestyler Magazine) lost the word ‘Pro’ and, other than in parts, were only distinguishable from the Magician Ex by the absence of the ‘Ex’ on the centre step decal. My frame is one of those later models, but I’ve chosen to include the ‘Pro’ on my centre-step decal, as per the earlier release.
The traced decal outlines scanned in and ready to be retraced into vector artwork…
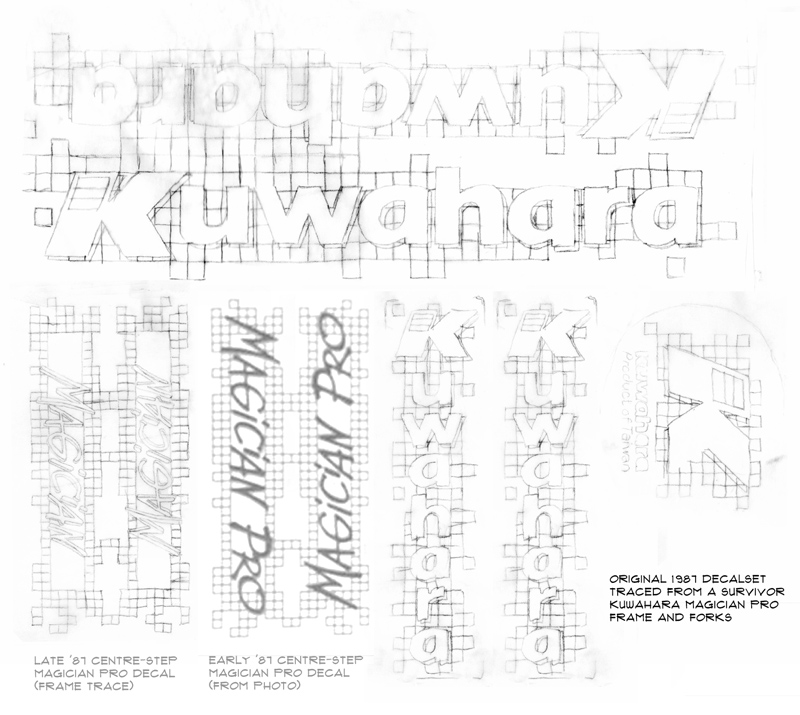
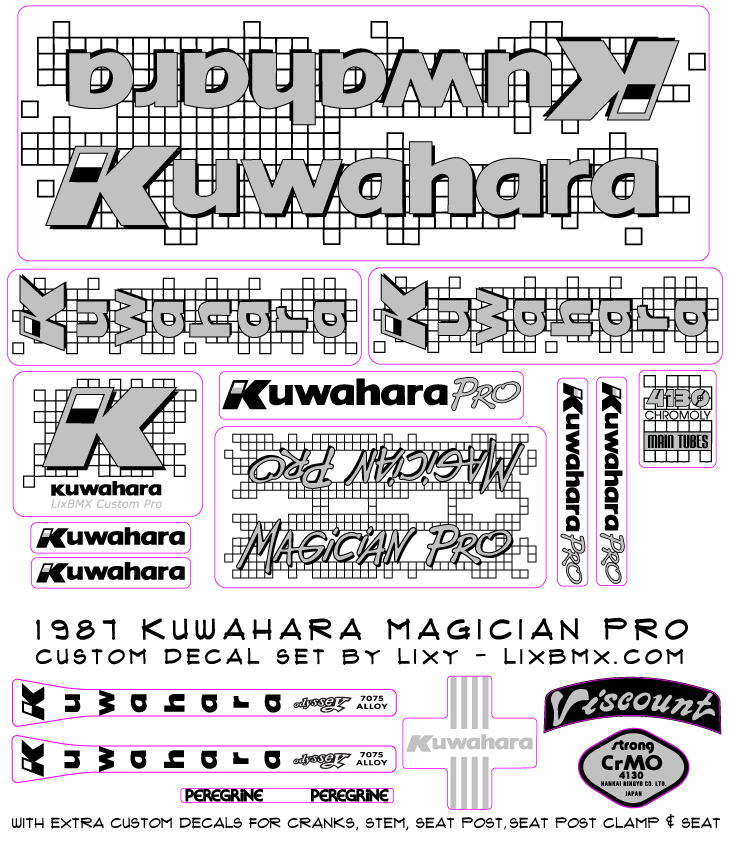
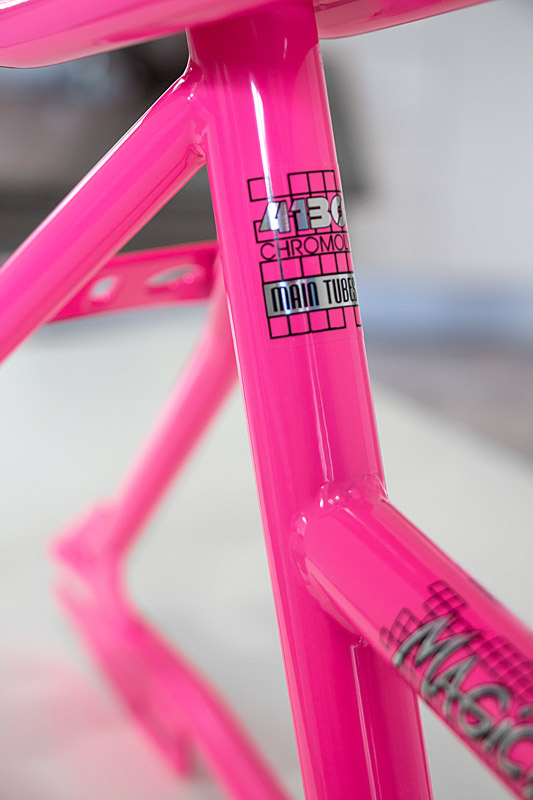
My finished custom decal set design, based on my tracing of the original decalset with some custom extras (incl. crank decals, stem decal and ‘Strong’ seat post decal), to be printed in silver foil ink and black, on clear…
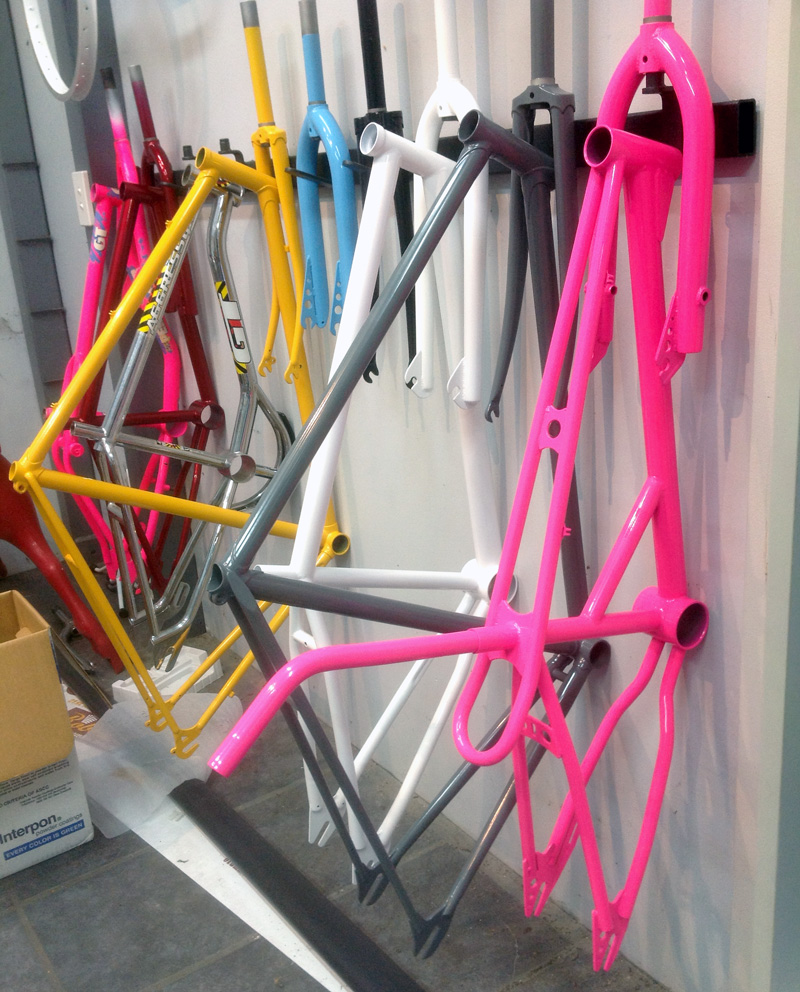
The frame, forks, bars and post hanging up at Roberto’s Custom Powder sporting a fresh seriously neon pink finish!
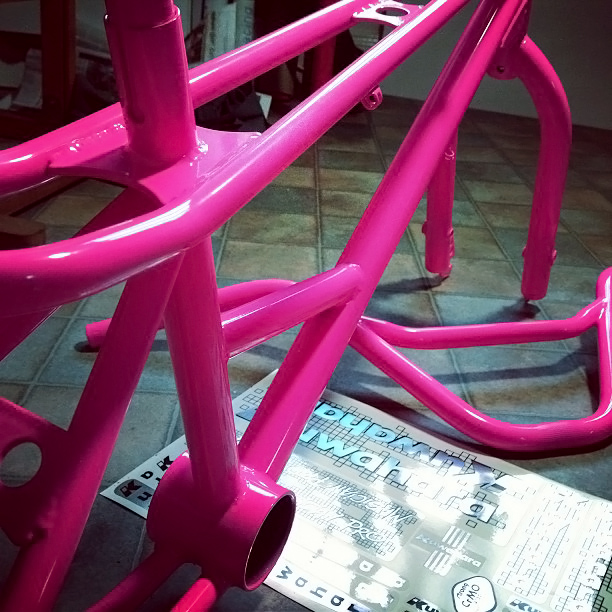
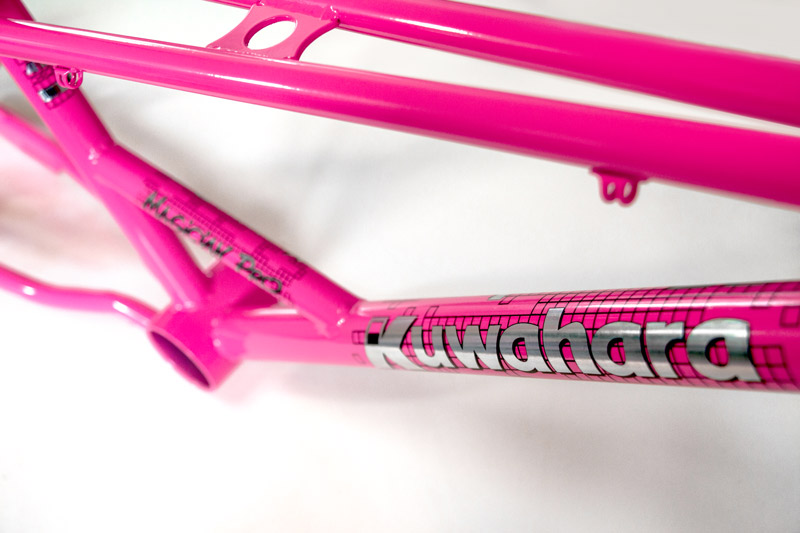
Beeeeeeautiful fresh powder all ready for my special silver foil and black custom decals….
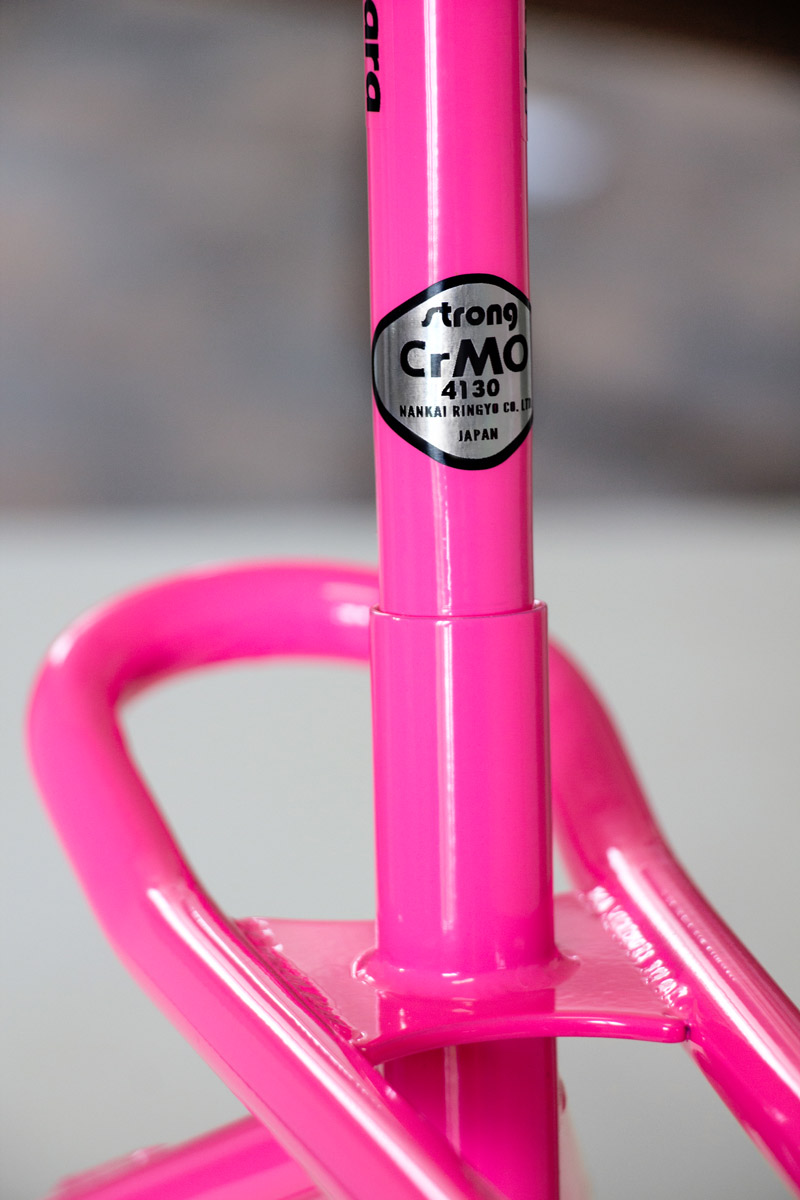
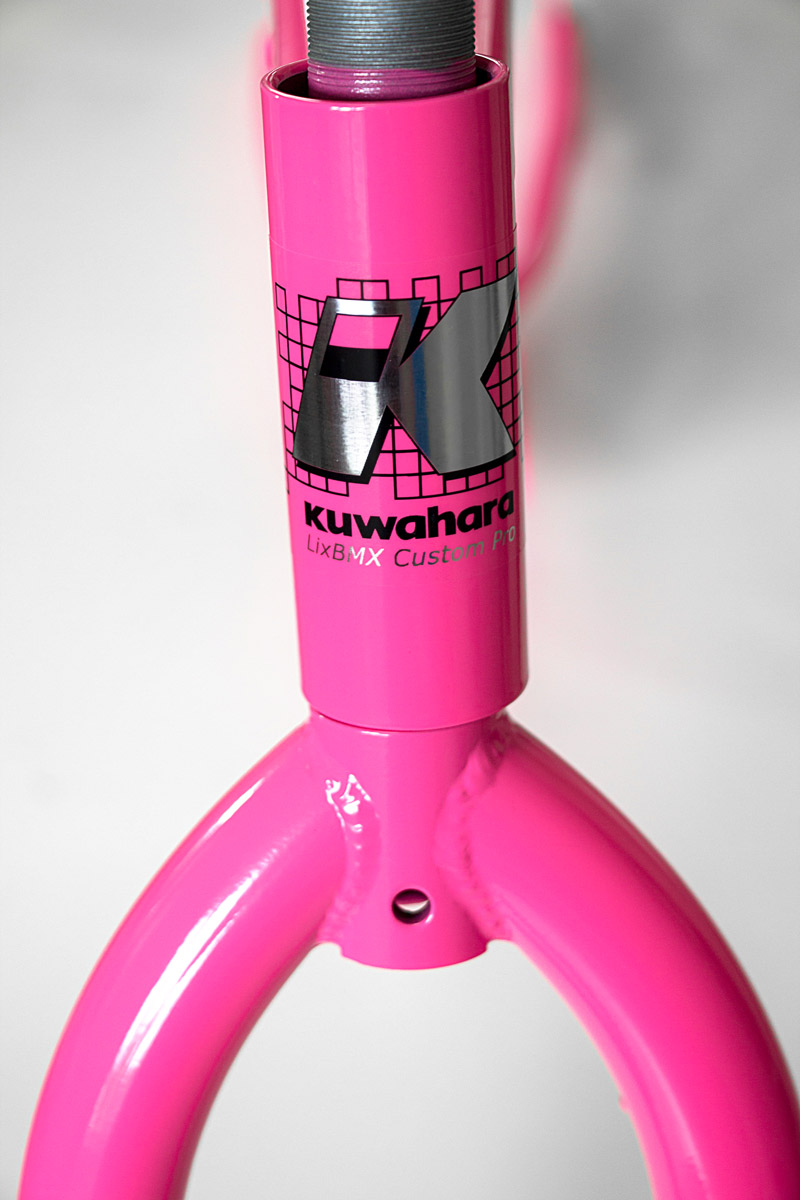
The neon pink powder is so incredible in real life, it’s very hard to capture the way it really glows in just a photo. Here it is with the decals on…
Here’s my Viscount Aero seat getting some killrust and chrome spray treatment after a CLR bath…
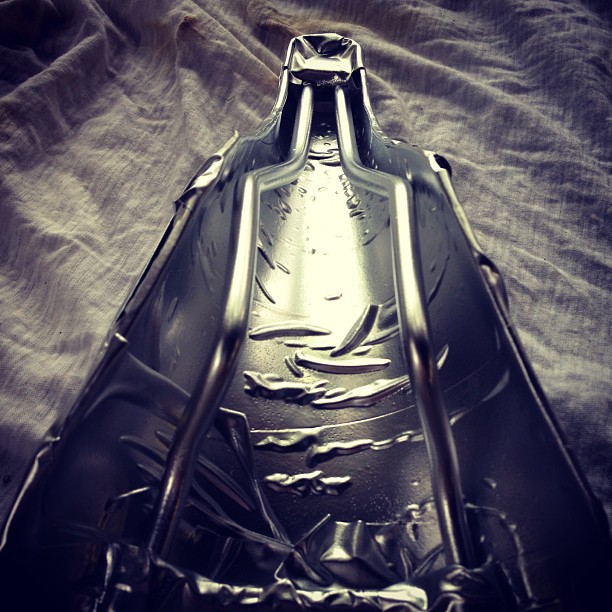
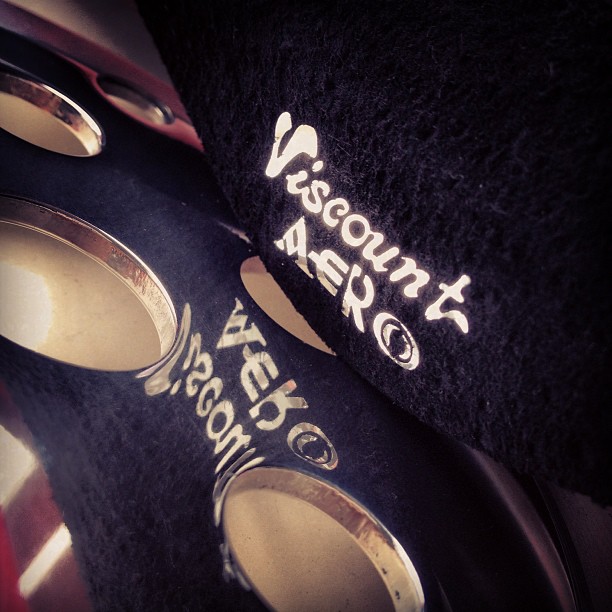
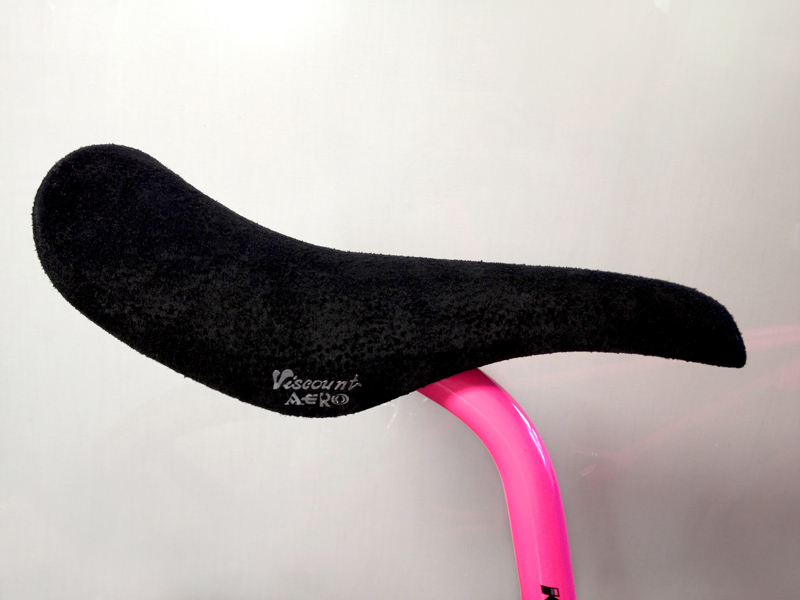
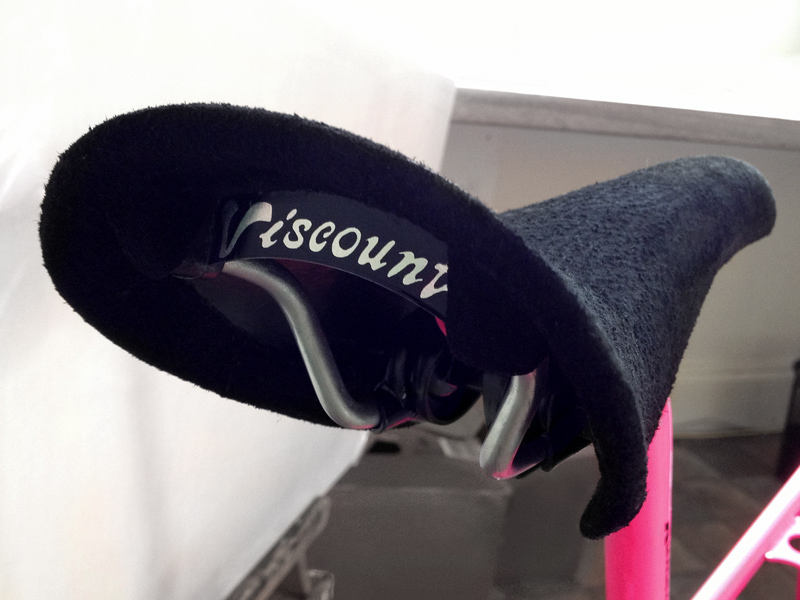
Viscount Aero seat re-covered in fine grain black split suede and finished off with new silver decals cut for me by the most awesome Glynn Hicks at prosixtyfive.com – it’s so hard to find anyone who’ll cut decals this small with their plotter – Glynn’s a champ!
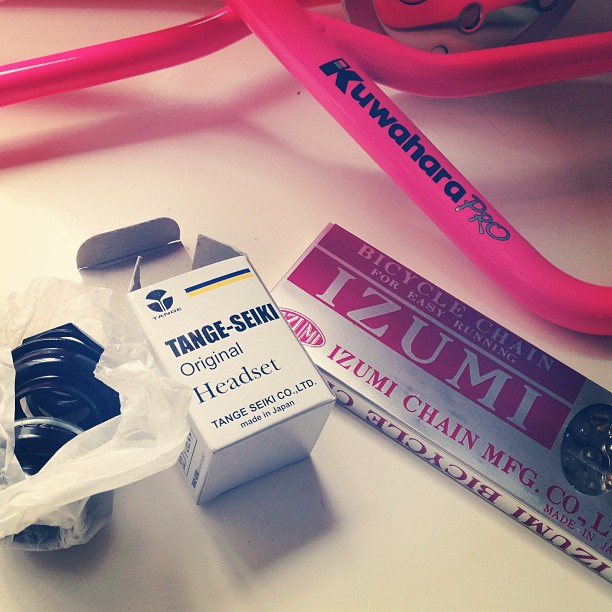
Black Tange MX-2 headset and silver Izumi 1/8″ chain – new arrivals for the parts pile from Natsukashi.jpn.com, Japan….
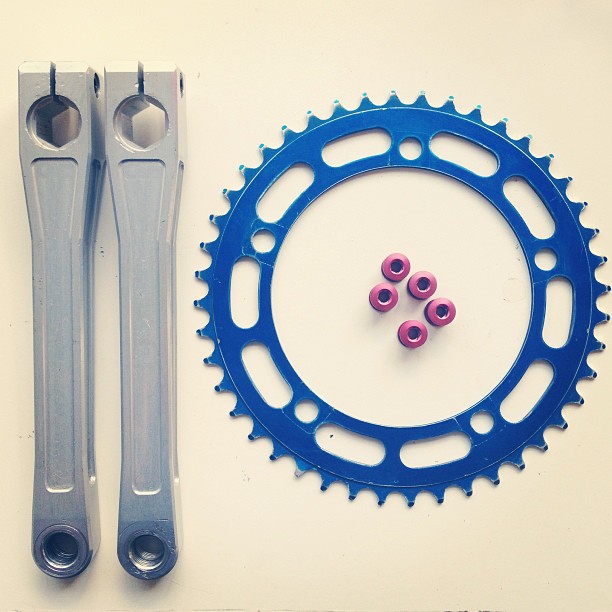
Odyssey Black Widow cranks and Takagi chainring ready for a caustic soda bath to strip off the old anodising…
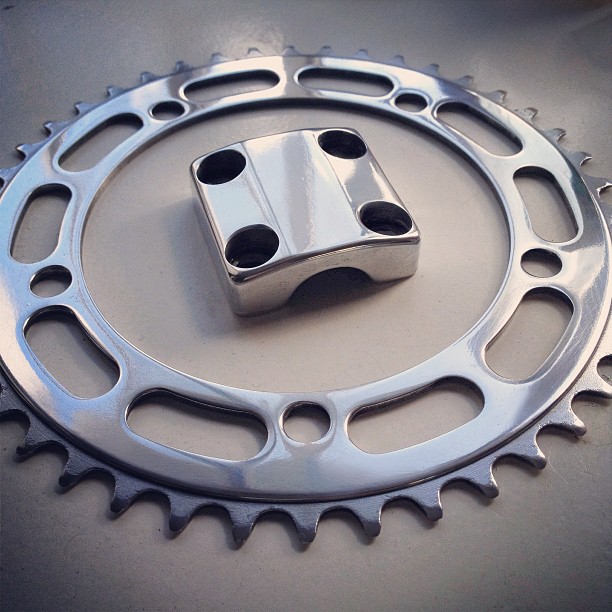
Takagi chainring and USA BMX stem cap after stripping and buffing before reanodising…
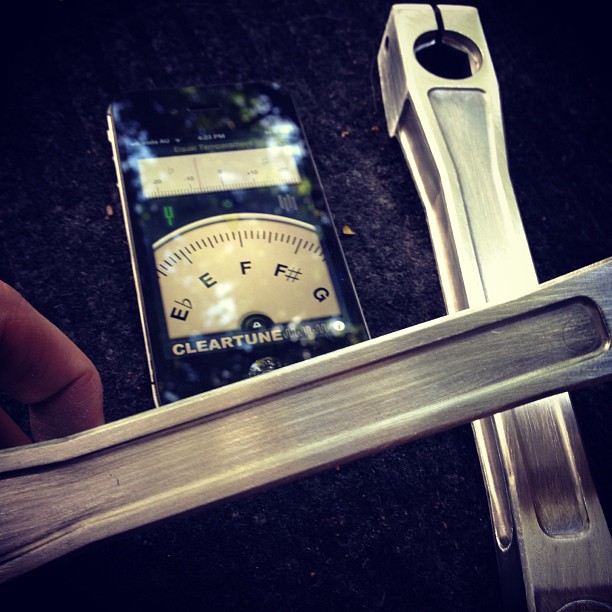
Crazy cool fact: while sanding the Black Widows prior to polishing I realised that they sing with a near perfect ‘F’ note when I run the sanding block over them or lightly tap them together. I’ve never noticed anything like that with other aluminium parts… it must be the 7075 alloy!
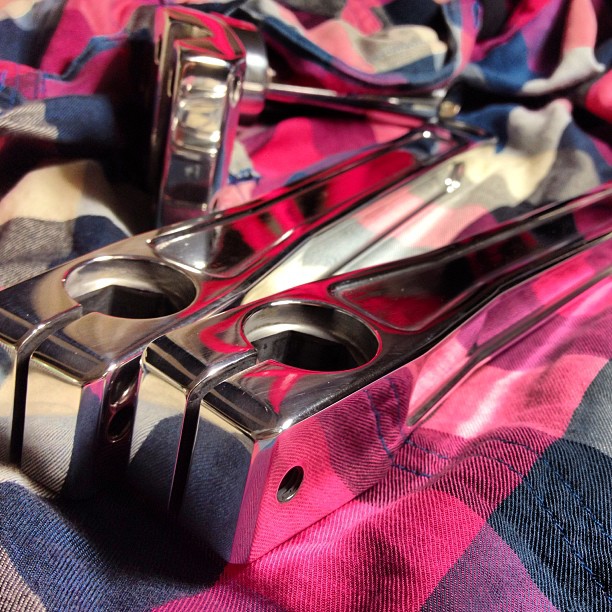
Crazy mirror-finish reflections in the cranks and stem after polishing…
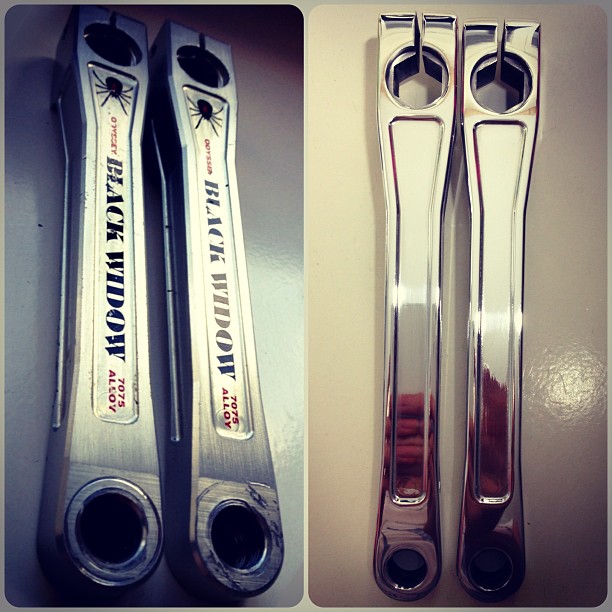
Odyssey Black Widow Gen2 cranks before and after polishing…
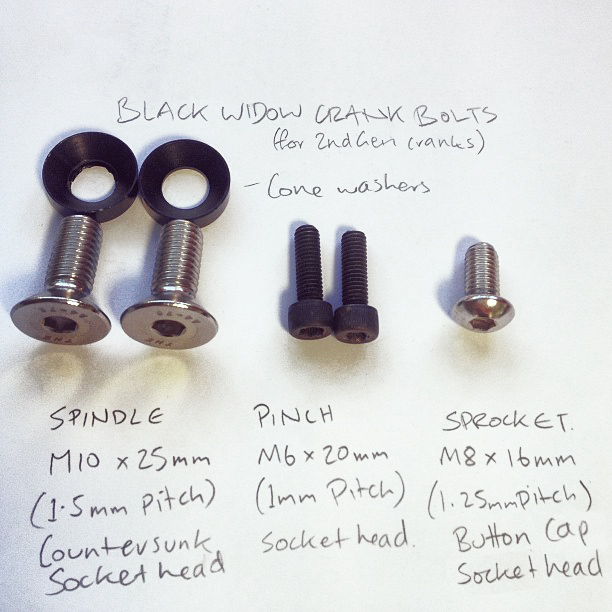
Sharing the love (and the research)! If there’s anyone else out there needing to replace their Black Widow crank bolt set just head to your nearest specialty fastener store with these specs and you’ll be sorted! (I go to www.boltmasters.com.au here in Brisbane – they’re great!).
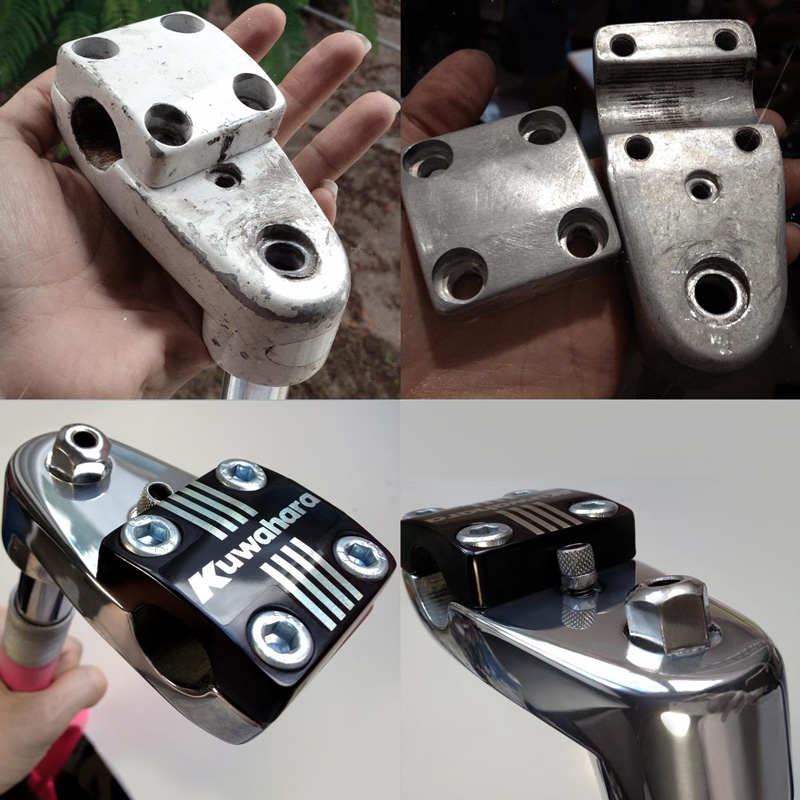
Before and after of the the completed USA BMX freestyle rotor stem. The black cap was beautifully re-anodised in a rich glossy black by Griffin Engraving, and my custom silver Kuwahara decal fitted perfectly (yay!) and really tops it off.
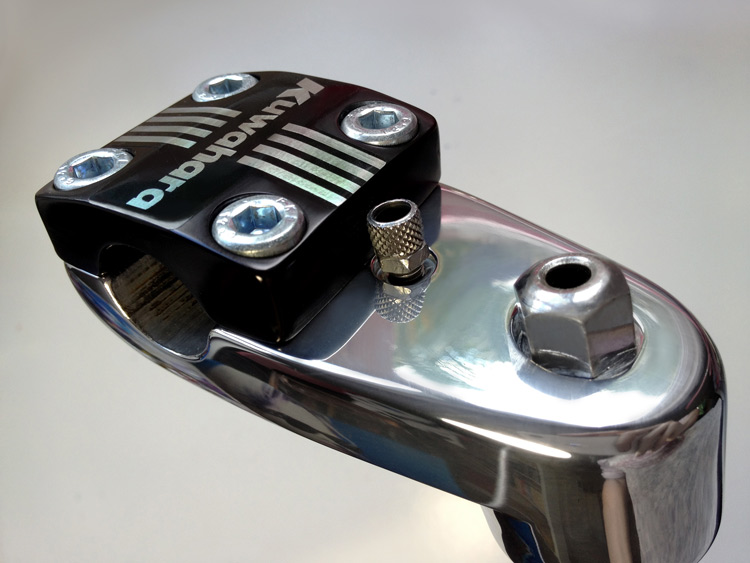
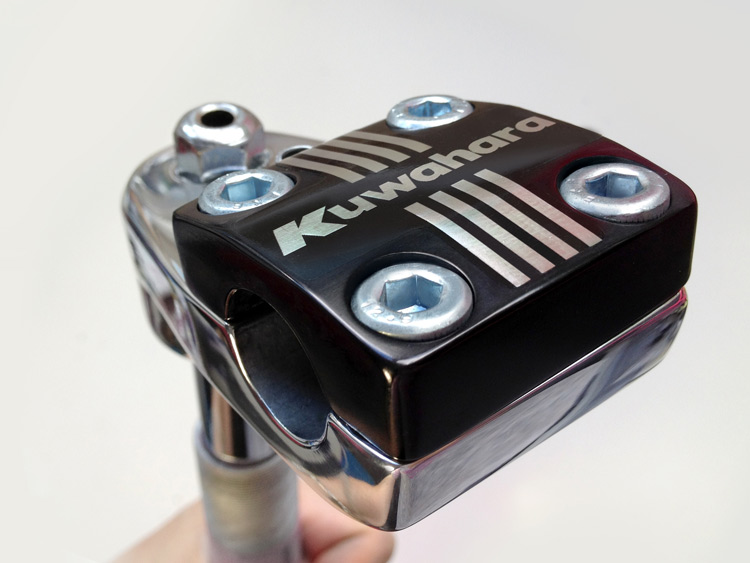
A few close-ups…
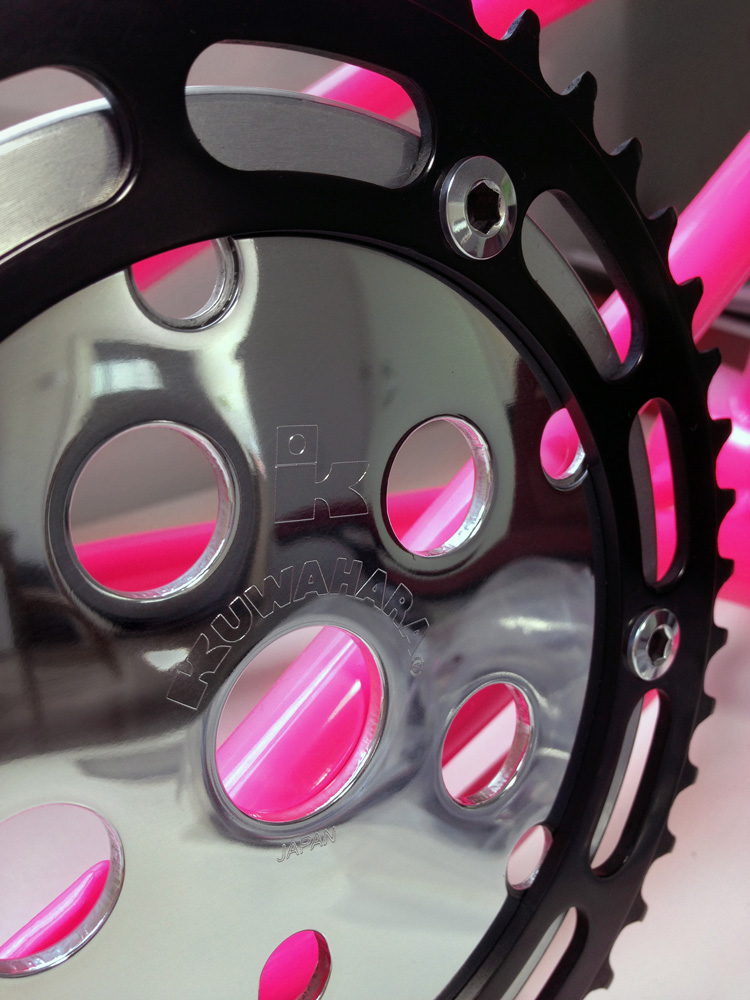
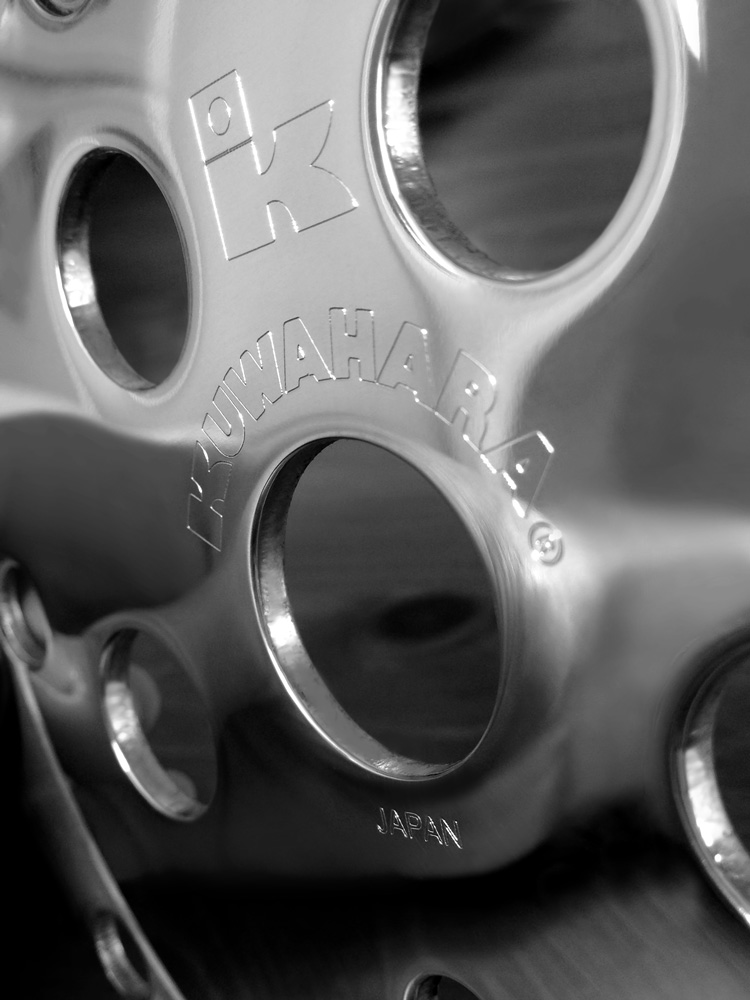
Finished restoration of the Takagi chainring and power disc after a lot of elbow grease followed by some beautiful black anodising and detailing by Griffin Engraving.
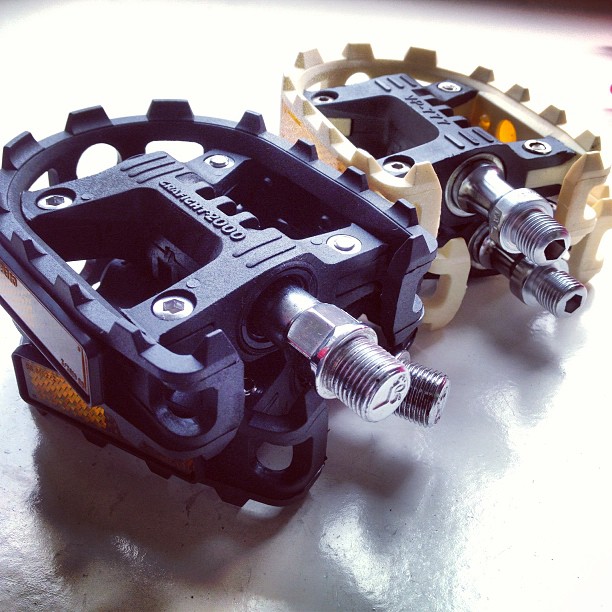
So, it’s crazy hard to find a pair of minty black MKS Grafight-2000 pedals in 9/16″. Finding 1/2″? Not a problem. But as luck would have it, a pair of 9/16″ VP-777s (Victor’s late 80s Grafight-2000 copies) recently popped up for sale in Sydney, never fitted and going for a song. So I grabbed them with with an inkling of hope that perhaps, if they were accurate enough copies, the 9/16″ axles might just fit in the Grafight-2000s. So I ordered a pair of 1/2″ black MKS Grafight-2000s from the fabulous Steve of Skatepool in Scotland and readied myself for some Frankenstein experimentation. When I got the 2 pairs side by side it all looked pretty good for a successful swap…
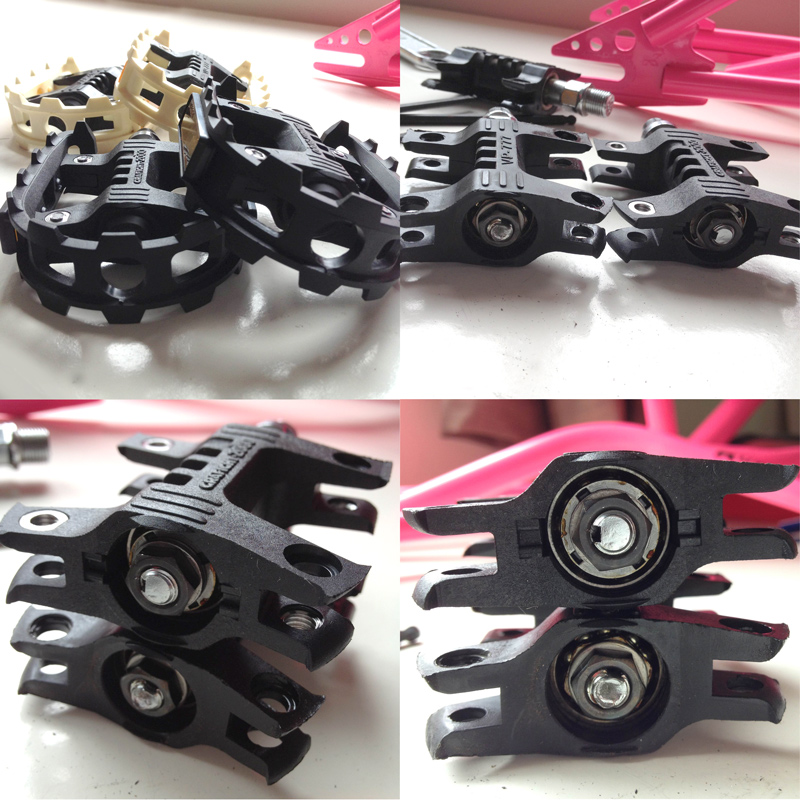
It worked perfectly!! Voila, minty black MKS-Grafight-2000s fitted with 9/16″ VP-777 axles (and vice versa)….
Disassembling, cleaning, re-greasing and re-building the hubs on the Skyway O.E. wheelset. I haven’t touched the hubs since I bought them and the front is feeling gritty, the back won’t spin at all. Time to see what’s going on in there! Really happy with how easily the guts all came apart 24hrs after a decent spray with WD40…
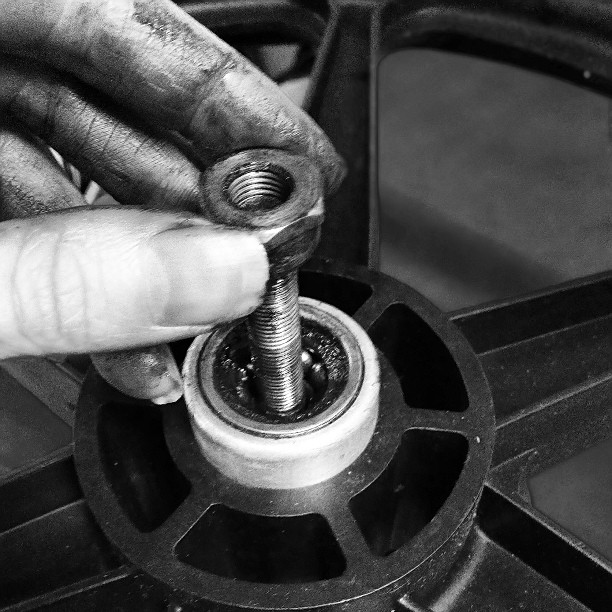
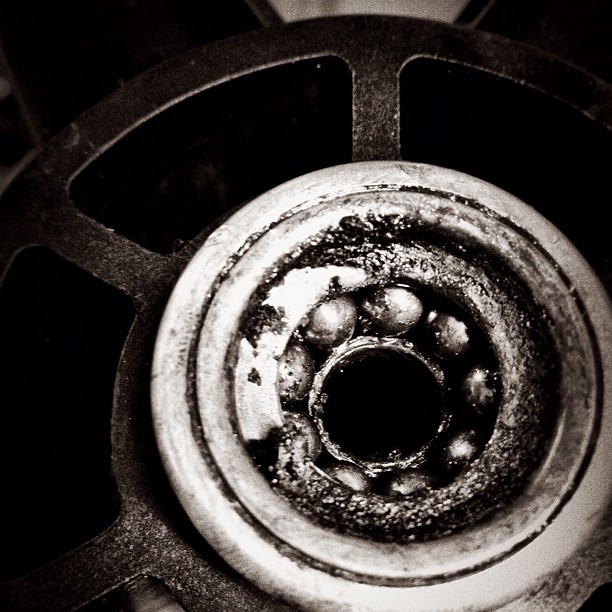
Pretty clear why the rear was totally locked up! Some seriously solidified grease going on in there…
This pair of O.E.s has turned out to have one of the more obscure Skyway axle sets with 24tpi axles both front and rear. According to Ed from Skyway, the most common pairing from the ’80s was 24tpi rear with 26tpi front, but there were the odd exception to that rule. I’m going to replace all four axle cones as I can see some evidence of metal fatigue happening, and I’ll swap the rear axle for 26tpi to suit the set of pegs I’m going to run.
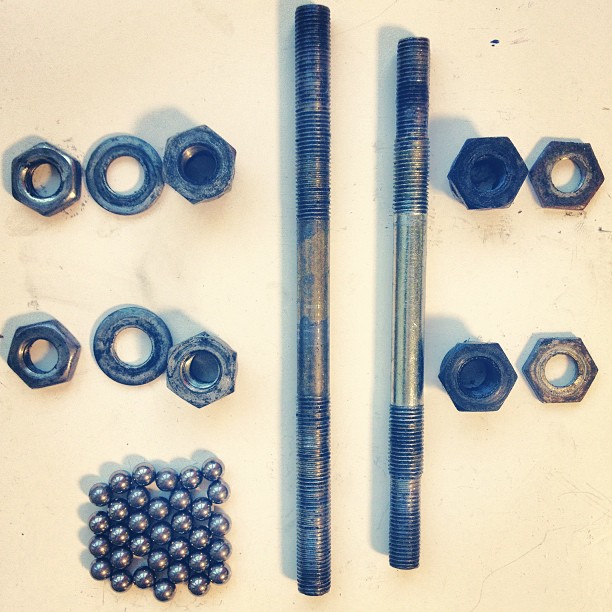
Skyway O.E. wheelset rebuilt and spinning beautifully with new Skyway axle cones in the front and a complete replacement 26tpi threaded axle in the rear. Fitted with Duro whitewall tyres and an ACS Crossfire freewheel. Ready to roll!
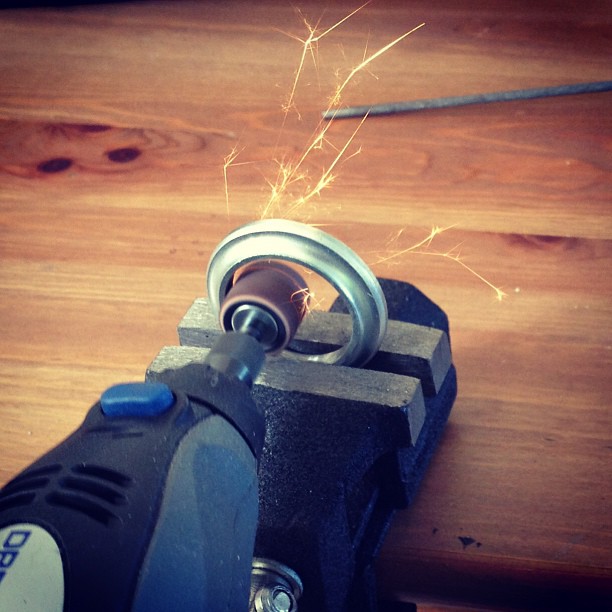
Using a coarse sanding bit on the Dremel to file out the inside of the 26.4mm Tange MX-2 crown race to fit the 27mm Kuwahara Magician fork crown.
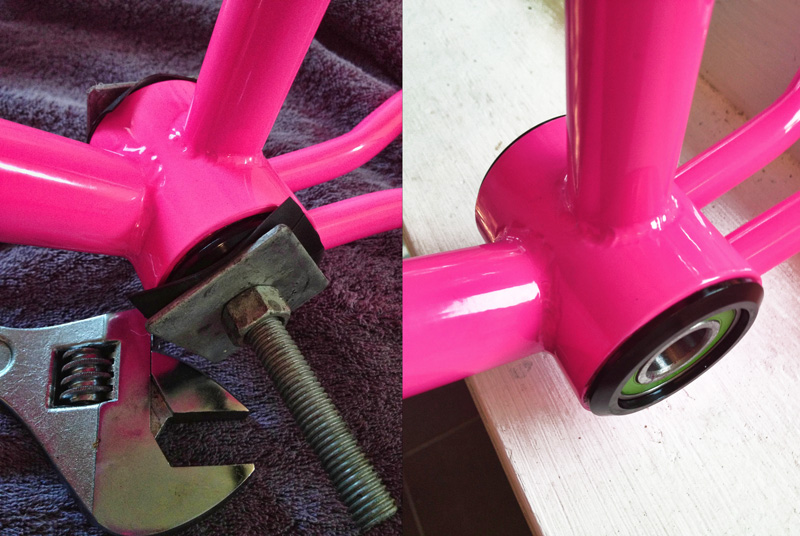
Fitting the sealed USA bottom bracket for the Black Widows with my DIY bearing press. The press is made from a coach bolt with a couple of large square washers lined with inner tube rubber for grip and to protect the bearing cups. With an adjustable spanner on each end it always works like a charm and no risk of damage to frame, cups or bearings…
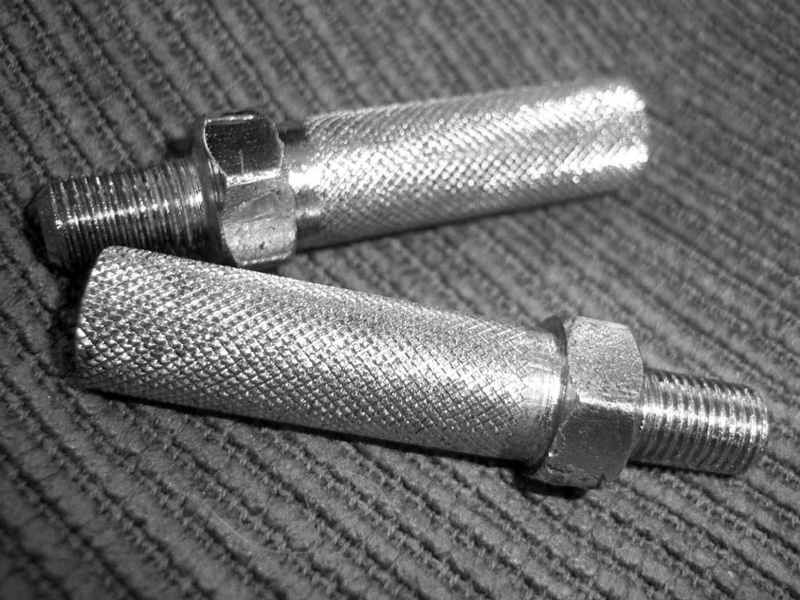
This is what the original ‘pencil’ pegs that were factory fitted on the Magician Pro looked like…
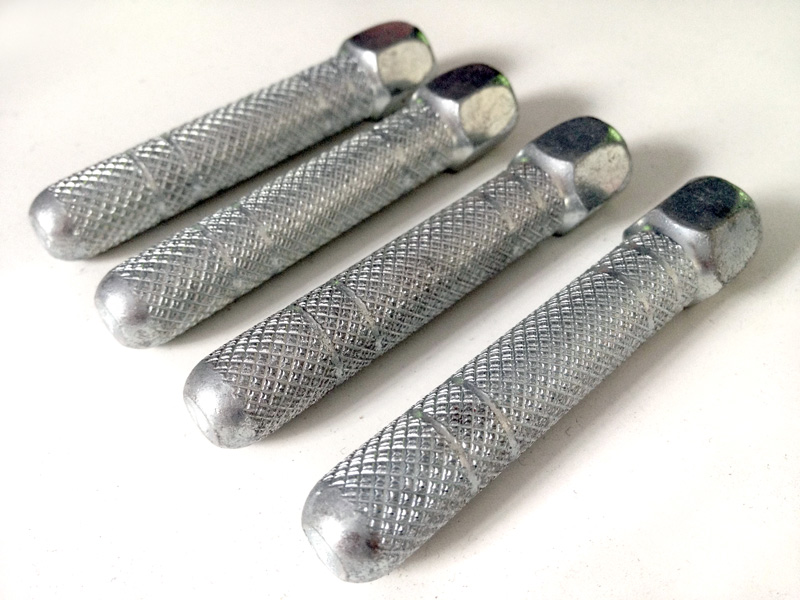
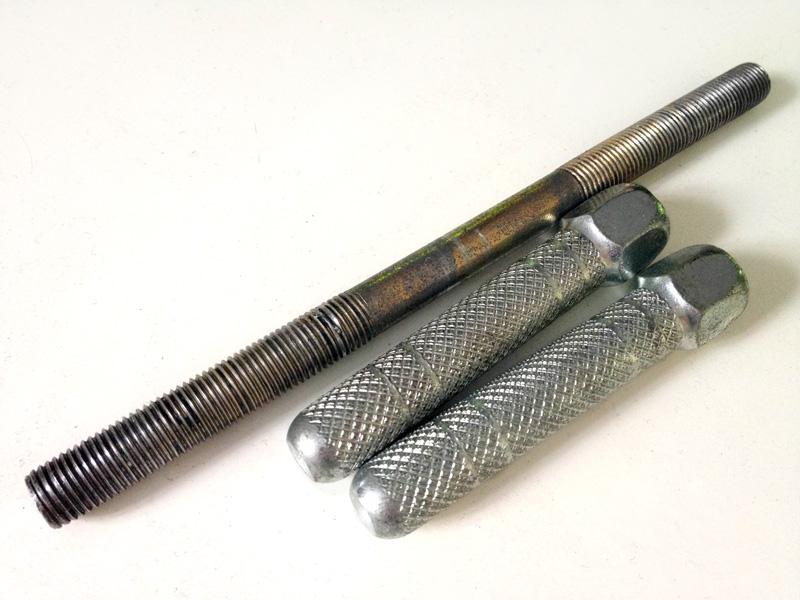
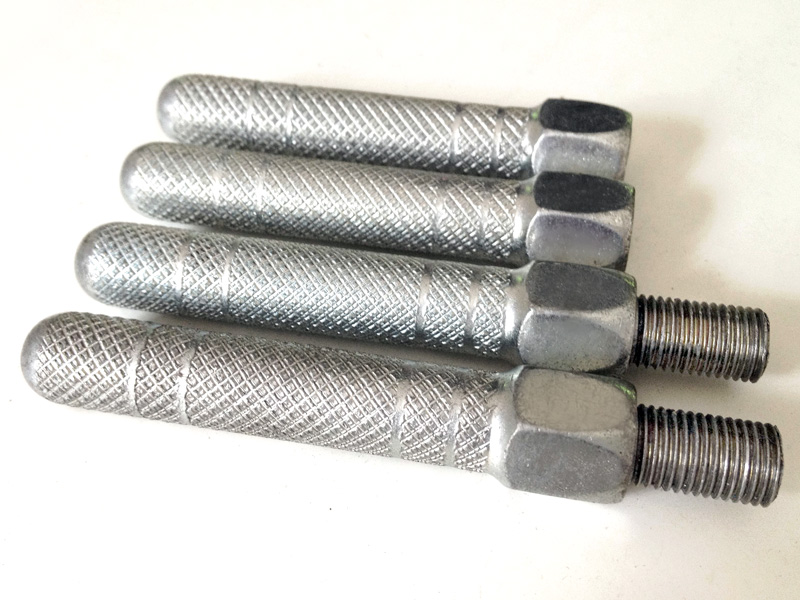
I had a chance to grab a set of the original Kuwi pegs when I picked up the frame, but instead I chose to run with an idea I had to take the pencil peg style both front and rear. I lined up a set of 4 matching generic pegs in a style very close to the OG Kuwi pegs. With this peg set sporting female 26tpi threads the rear pair will fit perfectly on my new 26tpi rear axle, and for the front I plan to make a pair of adapters out of the old rear Skyway axle to fit the 24tpi peg bosses on the Kuwi forks.
Here’s the old 24tpi axle and the two pegs ready to be adapted to fit the front peg bosses…
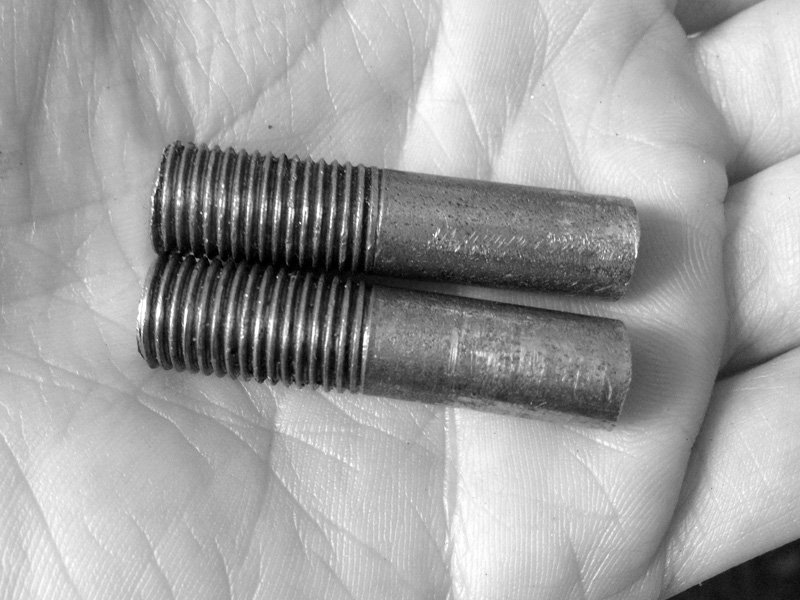
Axle measured and cut. With a bit of a push and a wriggle the smooth shafts of these little DIY adapters slide snuggly into the threaded holes in the pegs just as I’d hoped, leaving the 24tpi threaded ends protruding to attach to the forks.
I scored and roughed up the smooth shafts of the little adapters and ‘cold-welded’ them into the pegs with JB Weld metal epoxy.
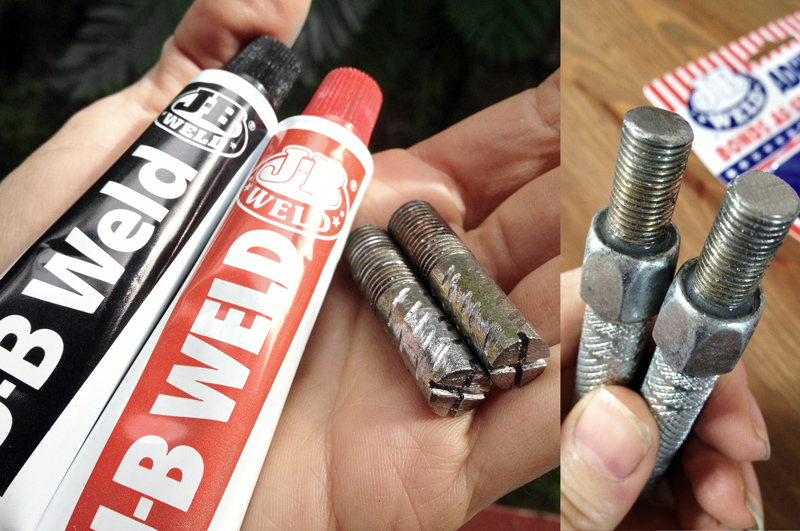
After 24hrs to cure I’m stoked with the finished set of 4 matching front and rear pencil pegs for the Magician Pro…
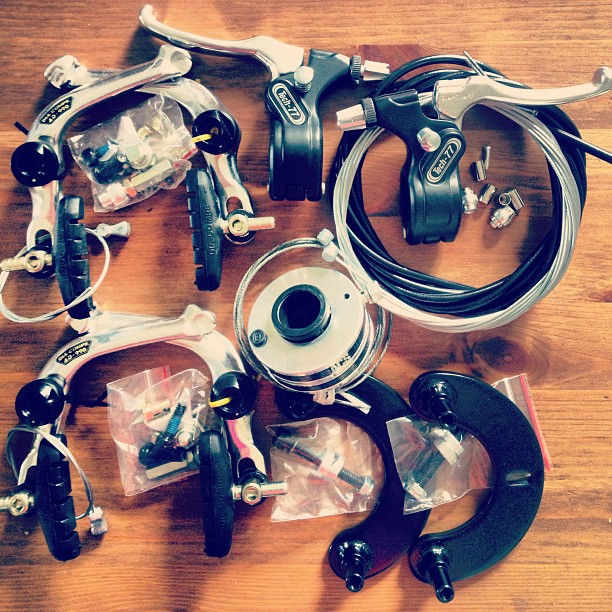
Complete brake setup ready to fit – Dia Compe 990 calipers, Dia Compe Tech 77 locking levers (from Detailed Bike Co.), 990 adapter plates (from Dan’s Comp) and an ACS Pro Rotor…
ACS Pro Rotor….
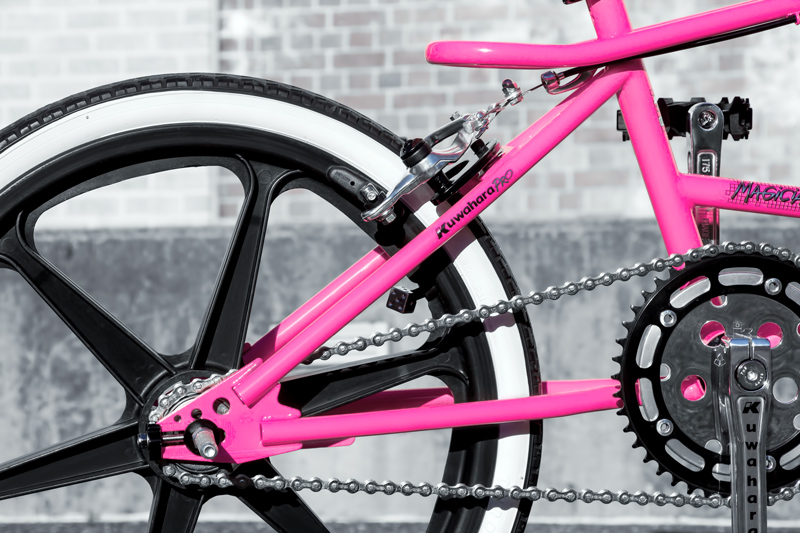
An elegant solution for the rear 990 cable hanger: I custom made a little polished aluminium clamp that nestles perfectly in the little gap between top tubes and seat stays. I cut the clamp from 1mm aluminium sheet, rounded the corners, mirror polished it, shaped it around the tube, folded out the end tabs, drilled them to accommodate the alloy hanger and fixed it all in place with a little stainless M3 nut and bolt. It all worked out beautifully with enough space for the centre pull to operate with room to spare.
Cranks fitted…
FINISHED BUILD PICS

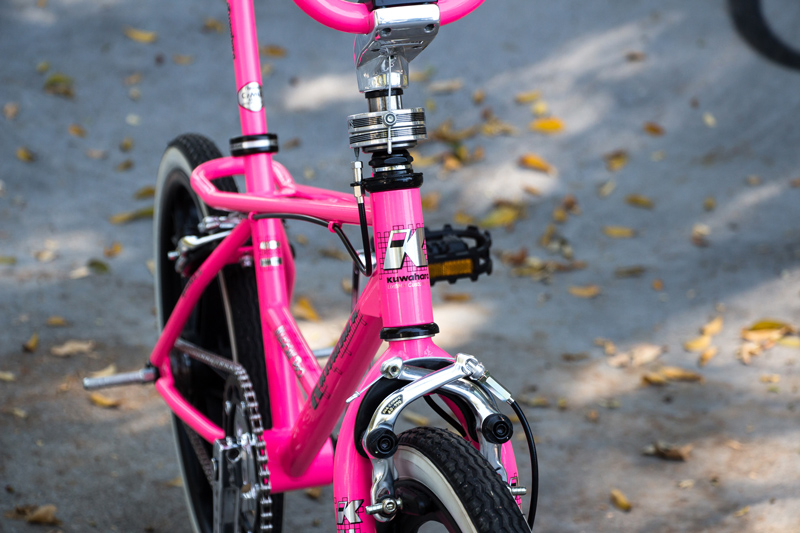
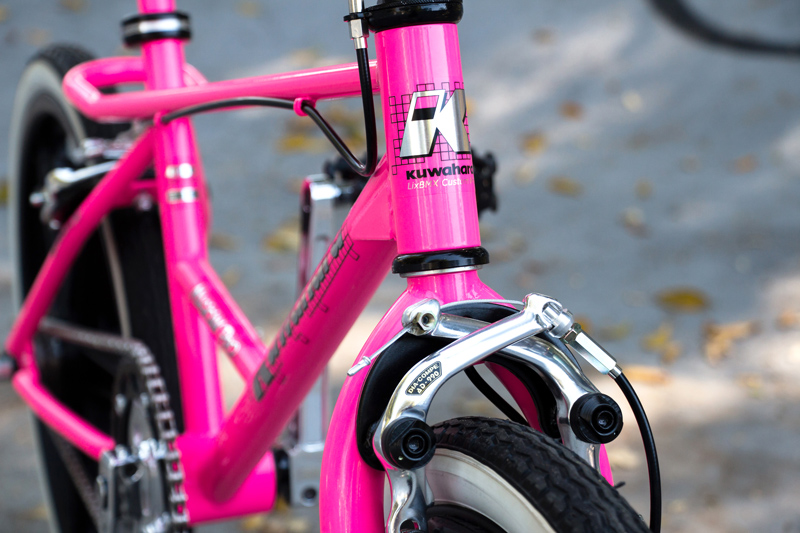
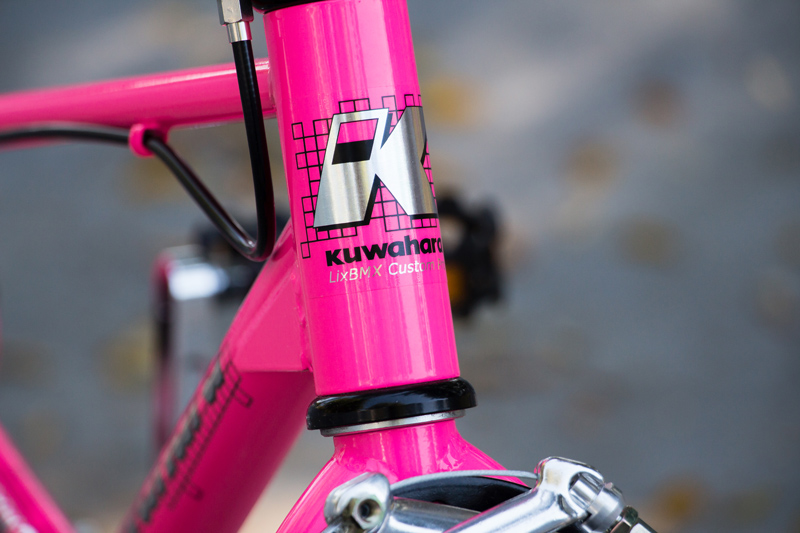
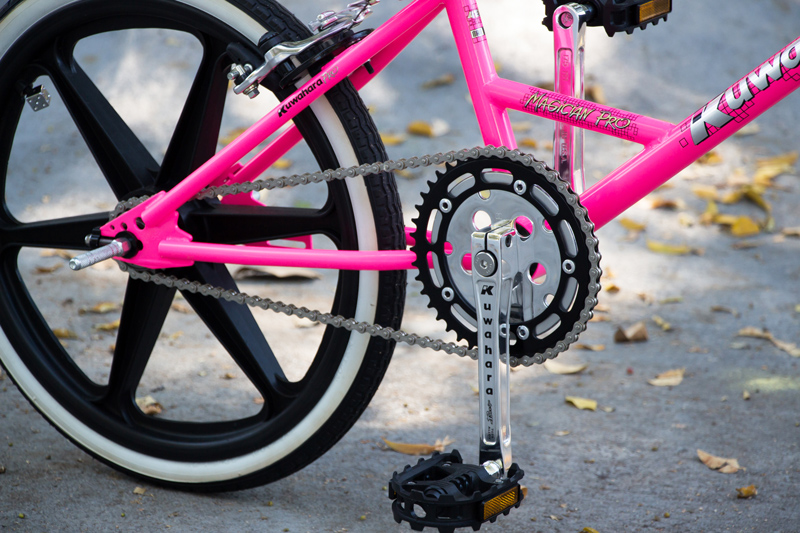
Merlin’ and me. Well chuffed!
Shout-outs:
A MONUMENTAL thank you to Chris in Pennsylvania for so generously parting with his Magician frameset and bars.
To Roberto for yet again blowing my mind with his mad powder coating skills. The flawless flow of that eye-popping neon just makes the build!
To Julian Daley of Griffin Engraving for his masterful engraving and anodising skills.
To Brett Tyack of Detailed Bike Co. for once again hooking me up with a myriad of awesome bits and pieces from my build list.
And always to James for his smiles and laughter in the face of my perplexing bike building obsession. And for NOT sneaking a ride on the Magician before I photographed it, haha.

